

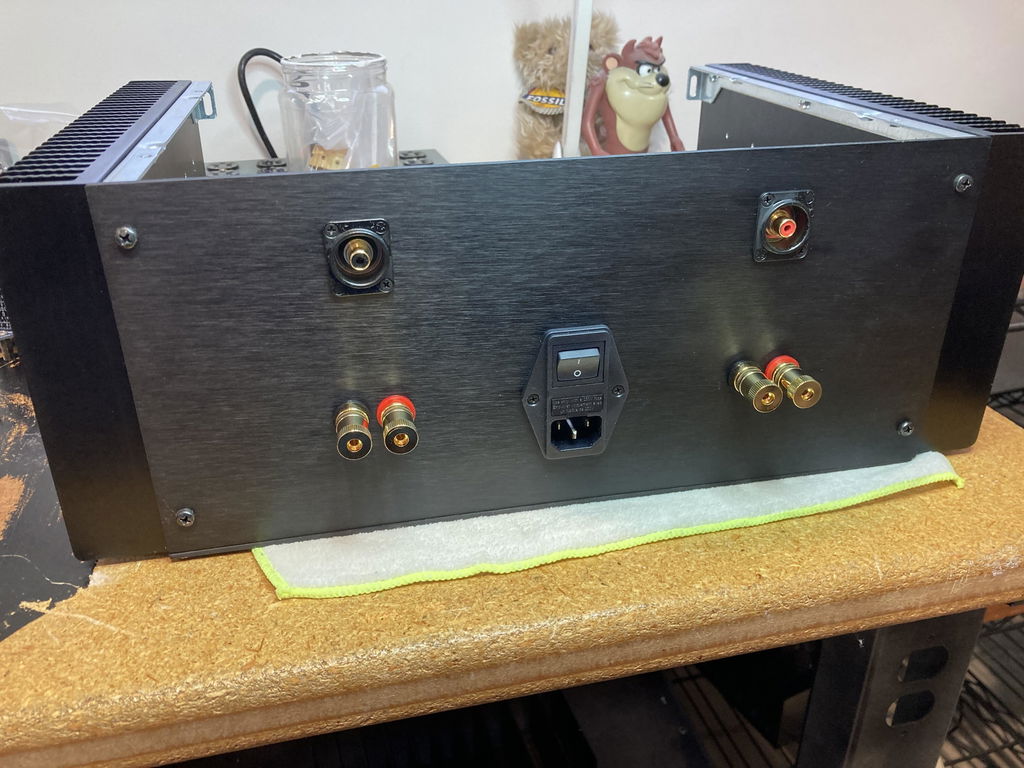
Back Panel Parts and Mounting Accessories for the diyAudio 2025 Deluxe Chassis
- Back panel parts kit
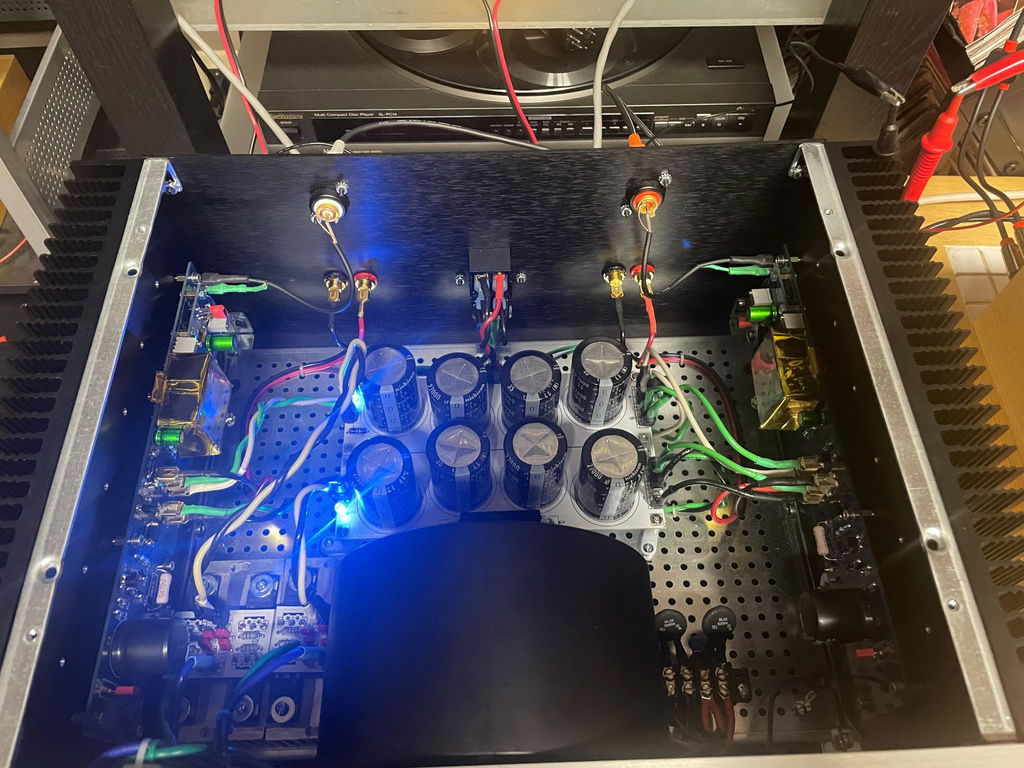
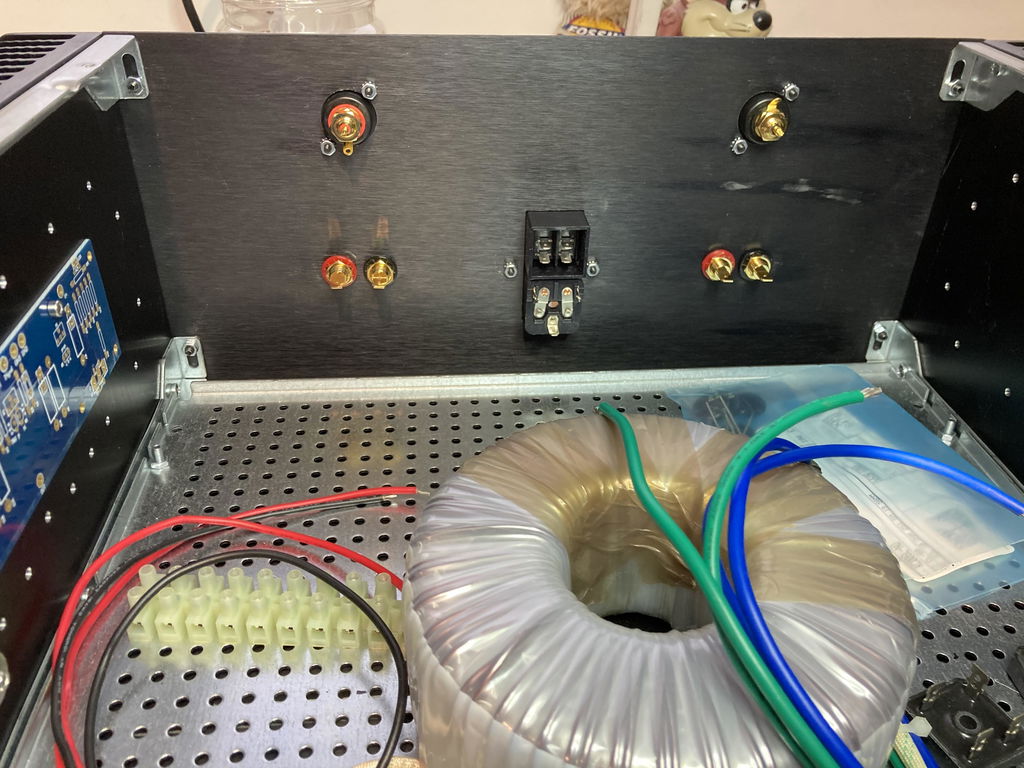
- Binding Posts
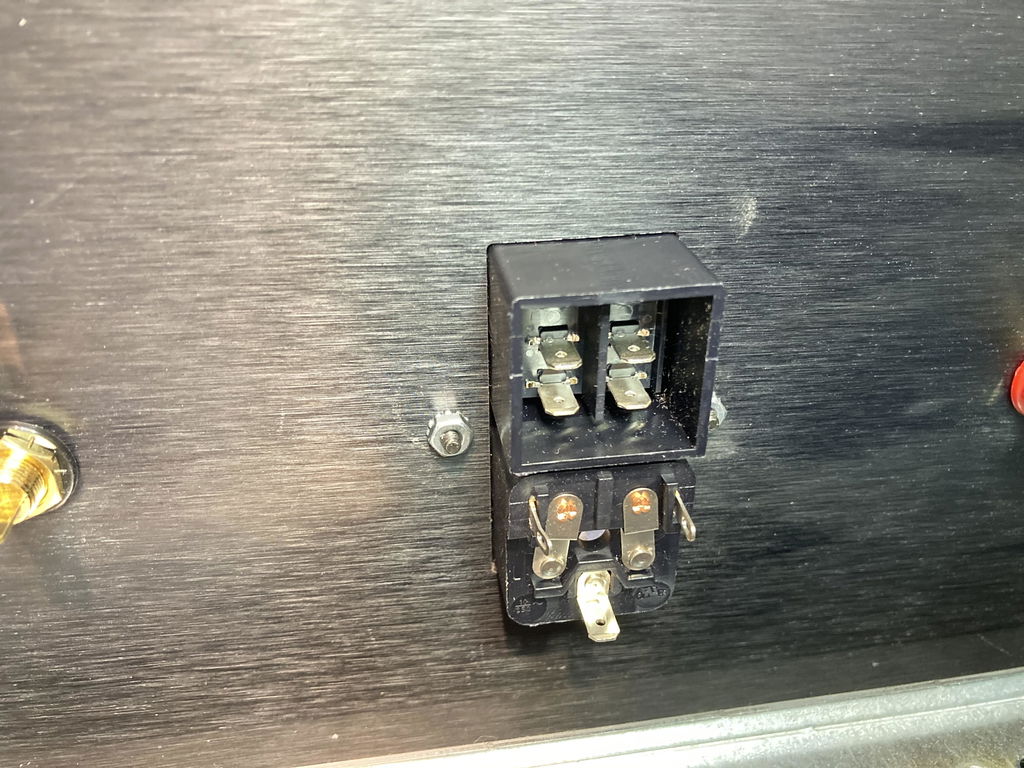
- Unfiltered PEM
The kits contain the parts you need to for the back panel of your diyAudio Deluxe chassis and the hardware you need to mount your project to your heatsinks.
Make sure you select your choice of Premium Schurter filtered Power Entry Module (PEM):
- The filtered PEM kits includes Part Number 4304.4045. It is a premium filtered, PEM, and the switch does not require wiring. This PEM is not compatible with previous versions of the Deluxe chassis, prior to 2025.
- The unfiltered PEM kits include Part Number 4304.6090. This PEM does not include filtering, and it requires that the user wire the switch. This PEM was included in previous back panel parts kits, and is compatible with all Deluxe chassis. The fuse drawer is Schurter 4301,0042 dual-fuse fuse drawer.
Make sure you select whether you would like the to include premium gold-plated binding posts.
All kits include:
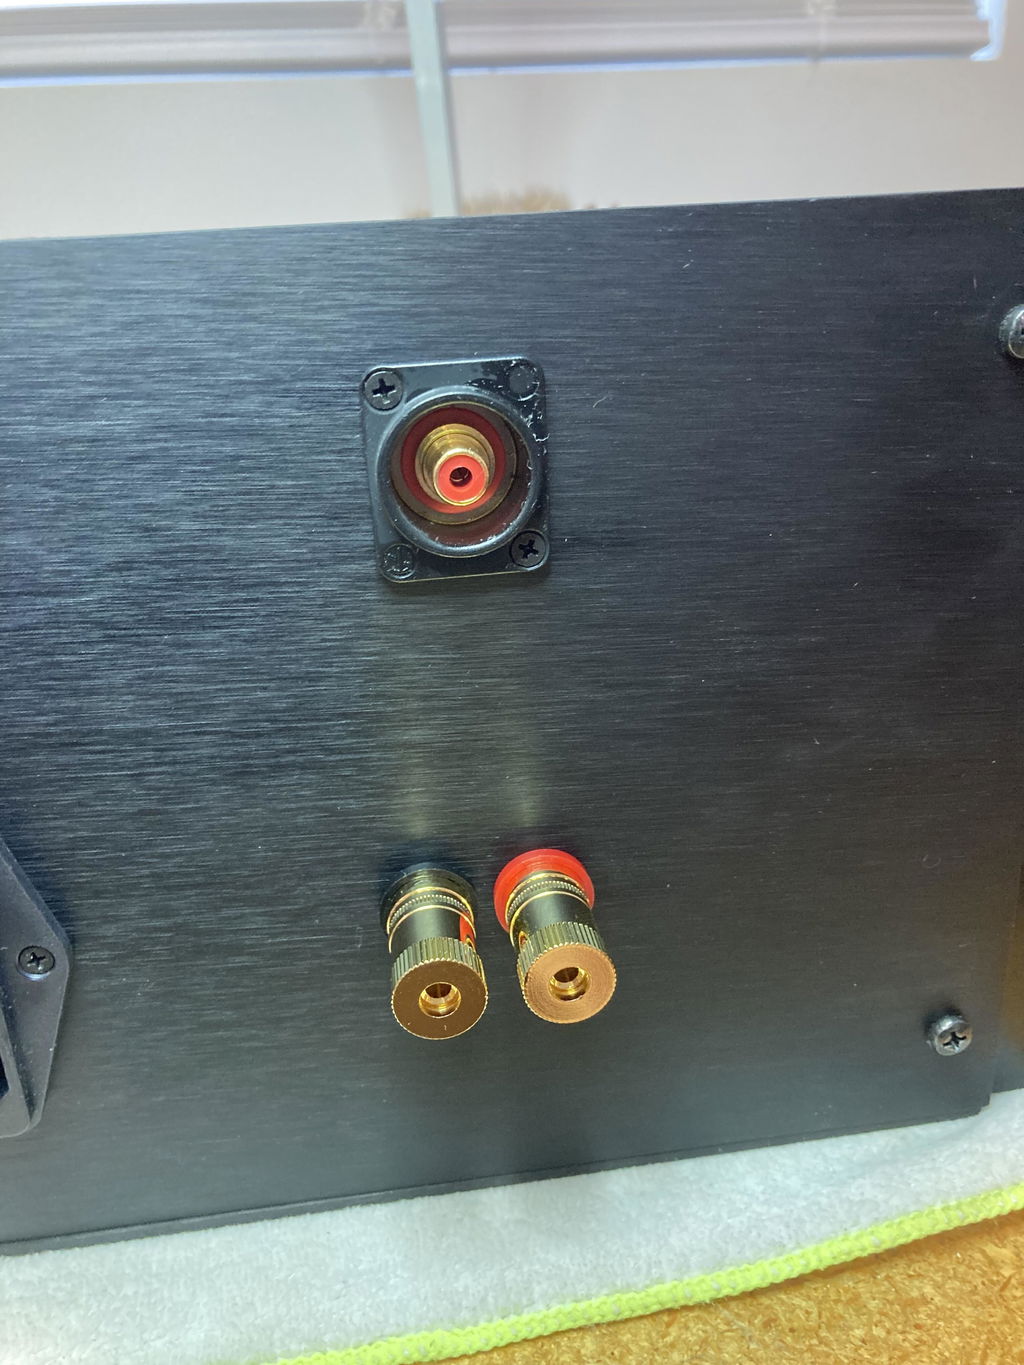
- Neutrik XLR input jacks
- Neutrik RCA input jacks
- Neutrik blank input covers
- All mounting hardware for the input jacks and power entry module
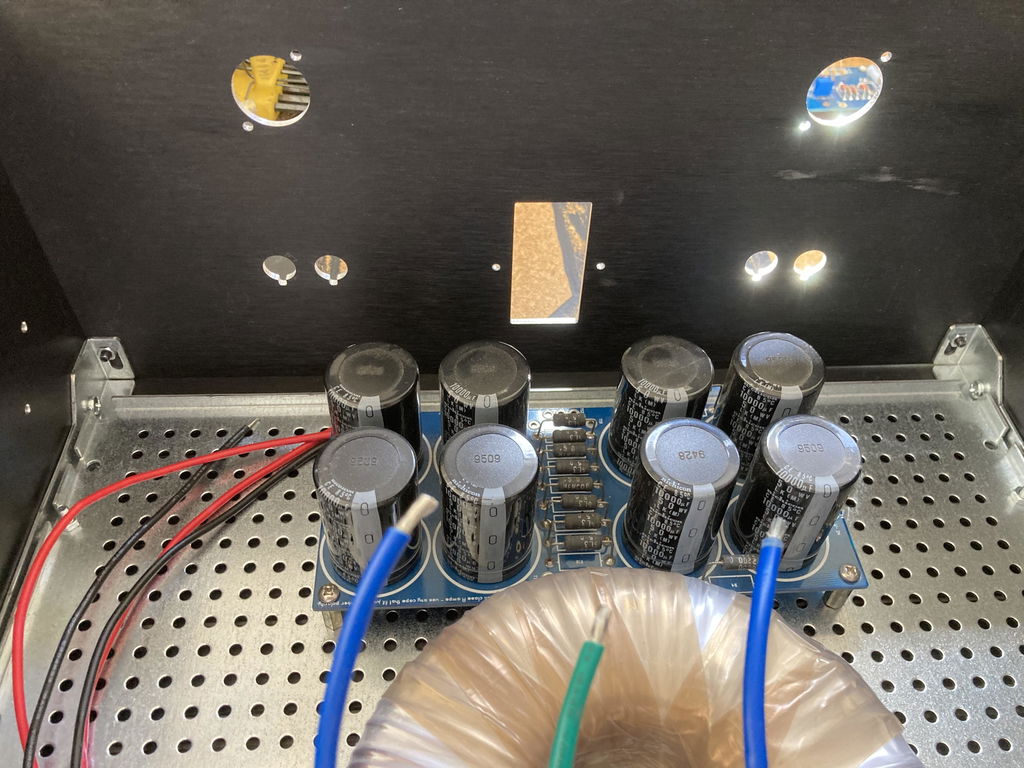
- Brass standoffs, bolts, and flat washers for securing PCBs to the heatsinks
- Bolts, split washers and fender washers for securing output devices or other transistors to the heatsinks
Fuse Requirements:
Fuses are not included. The PEM is compatible with 5mm X 20mm cartridge fuses. Your application will determine your specific fuse requirements.
Binding posts:
Many users connect their amplifier internal speaker wiring using standard F2 (6.35mm / 0.250 Inch) female blade connections. If you choose to solder your speaker connections to the binding posts, you will need to use a proper soldering iron and the right technique to be successful.
- Clean the surface prior to soldering. Isopropyl alcohol works well.
- Use a soldering iron that can maintain temperature as it heats the binding posts.
- Use a 1/8" chisel tip or other high thermal mass tip.
- Set your soldering iron to approximately 800F (426C).
- Use a good solder with excellent flow and melting characteristics. A eutectic solder is highly recommended. A popular choice is Cardas Quad Eutectic Solder.
Revision History
- 13-March 2025: Updated parts kit for diyAudio 2025 Deluxe Chassis
Note - Photos include parts available at the time of publishing. Individual components are subject to change based on availability.
Went ahead and ordered this to complete my M2X build and install in a Deluxe 4U chassis. ALL items were perfect and made the challenges of "case work" a no brainer. Very happy with the end product! Thank you diyaudio and The Store folks !!!!
Worked great. Everything i needed and more for my f5 build.
Ill be getting another for my f6
I have only inspecteds the parts at this point. However, these are high quality pieces! They're going to work very, very well!
As review title says, these parts marry perfectly with the chassis, making assembly easier and gratifying as the pieces fit together so smoothly. But the parts you keep using, the switch and ports, are lovely and weighty in the hand: this quality reassures you that they'll be solid for years and remind you of the work and rewards of what you built inside.
Together with Modushops machined back panel it's definitely a time saver and parts are high quality, especially the heavy duty binding posts. Price is very reasonable and the included hardware package with brass standoffs for mounting the boards is a nice addition.
I purchased the newer back panel kit and installed on the newer 4U Deluxe kit for a FirstWatt F5 amp. Now I have standoffs for a number of builds. I cut down a leftover nylon computer desk plug to make spacers for the binding posts. Fairly easy to do and cut a small notch for the part of the key that extends through panel. I do like the new heavier binding posts and the Neutrik RCA jacks.