My first kit from diyaudio and not my last. I’m a Pensioner with a lot of time. I’ve always been in to HiFi but never electronics so a year ago I thought why not and now I’m hooked on this. I ordered a F5m too and testing that one tomorrow.
This was my first build of any electronics. With the help of my two sons on Father's Day (one who turned out to be better than me at soldering), we built this kit in a few hours. We had some confusion about the resistors, some of which are mislabeled (as noted on the webpage and in the forum), but eventually took our best guess as to which went where and it seems to have worked. (Better to be lucky than good!) We attached the feet as noted in the forum by WBS. Adjusted the bias to 0.1-0.14 volts and rock and roll! I have so far driven some Gradient 1.3s (4 ohms nominal impedance, and they won't go loud enough to satisfy some) and Philharmonic Audio HT Towers (somewhat higher impedance, and go loud enough). Streaming with a WiiM Pro Plus and no EQ or room correction. With the gradients, I do need to have my PS Audio DirectStream DAC MK2 set to 100% volume (2 volts output) for some recordings that are recorded at a low level. Adding a subwoofer helps, as I'm a bass freak and find that necessary with essentially any setup. I've been listening for about 3 weeks now and am feeling no desire to swap back in my more powerful amps. this also gives a real sense of accomplishment. CONCLUSION: For $219, wow, are you kidding me??? Great sound. You CAN build it! Highly recommended!!!
I built a set of Zenductor 3 baf editions. Hooked them up to all my reject equiptment from my main 2 systems. Bluemd source, schiir bifrost to the Zens and on to B and w Dm17 bookshelves. It outperformes my main system . Plenty of volume. The impact, the delicate microdetails. Sounds better than my system with a Pass Xa 25's and 801s. At 1:50 th the price
First, let me say that I bought the ACA/MinMax chassis and power supply at the same time. It great to have everything you need to build an amplifier from the start.
So you are building two mirror image boards that are otherwise identical. Someone pointed out that the wiring was the most difficult part of the build. The wiring diagram is excellent. So if you do have difficulty in wiring, it's perhaps due more to your ability to execute. But that's why we are building....to get better at it. Really, this is an easy build.
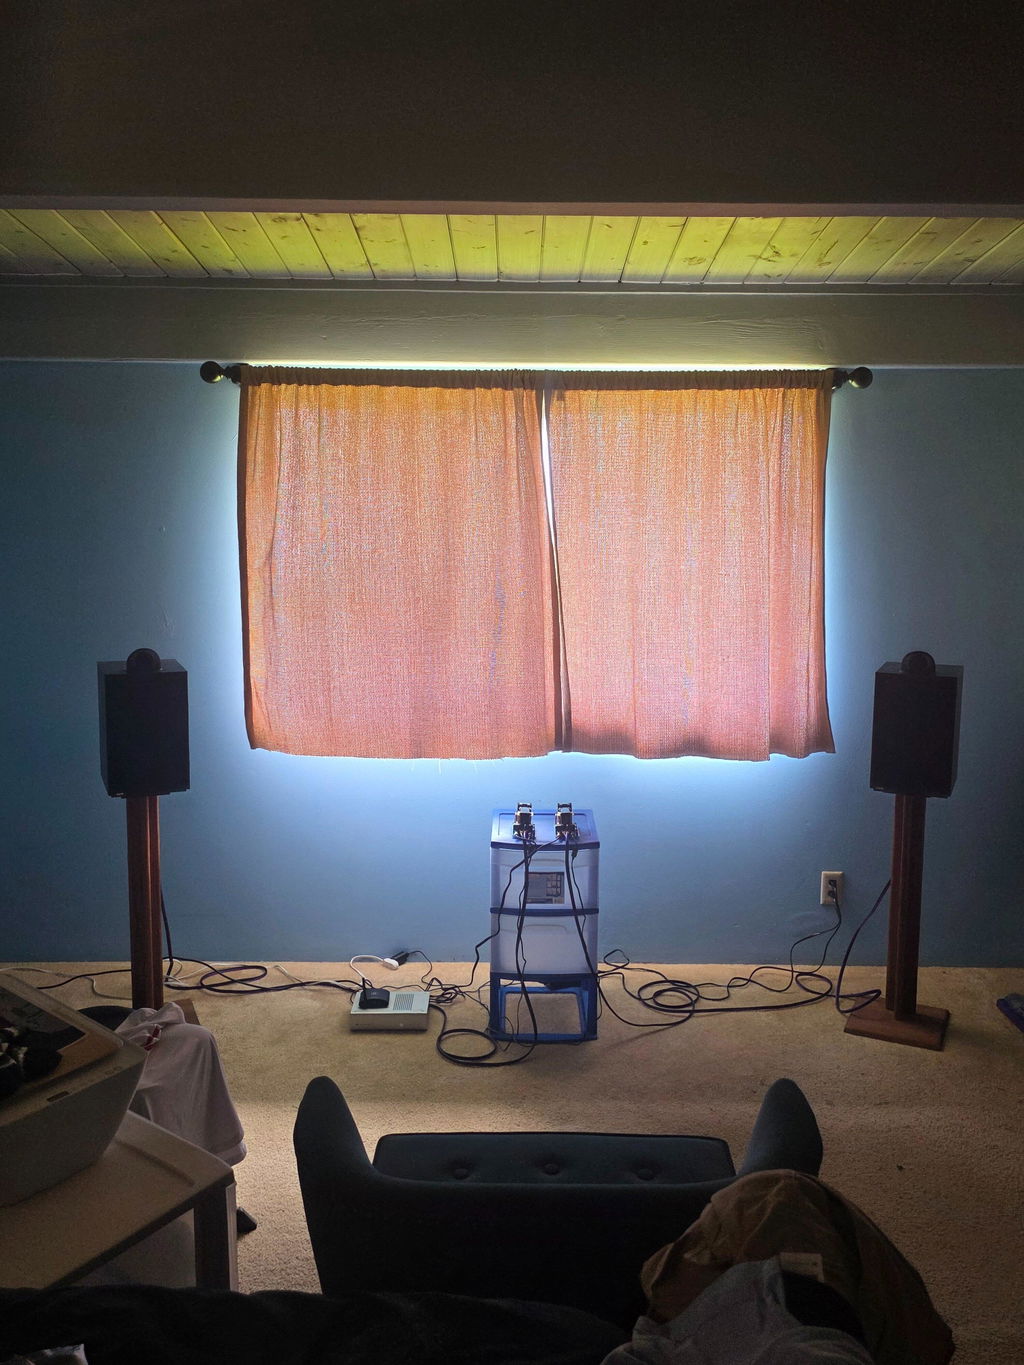
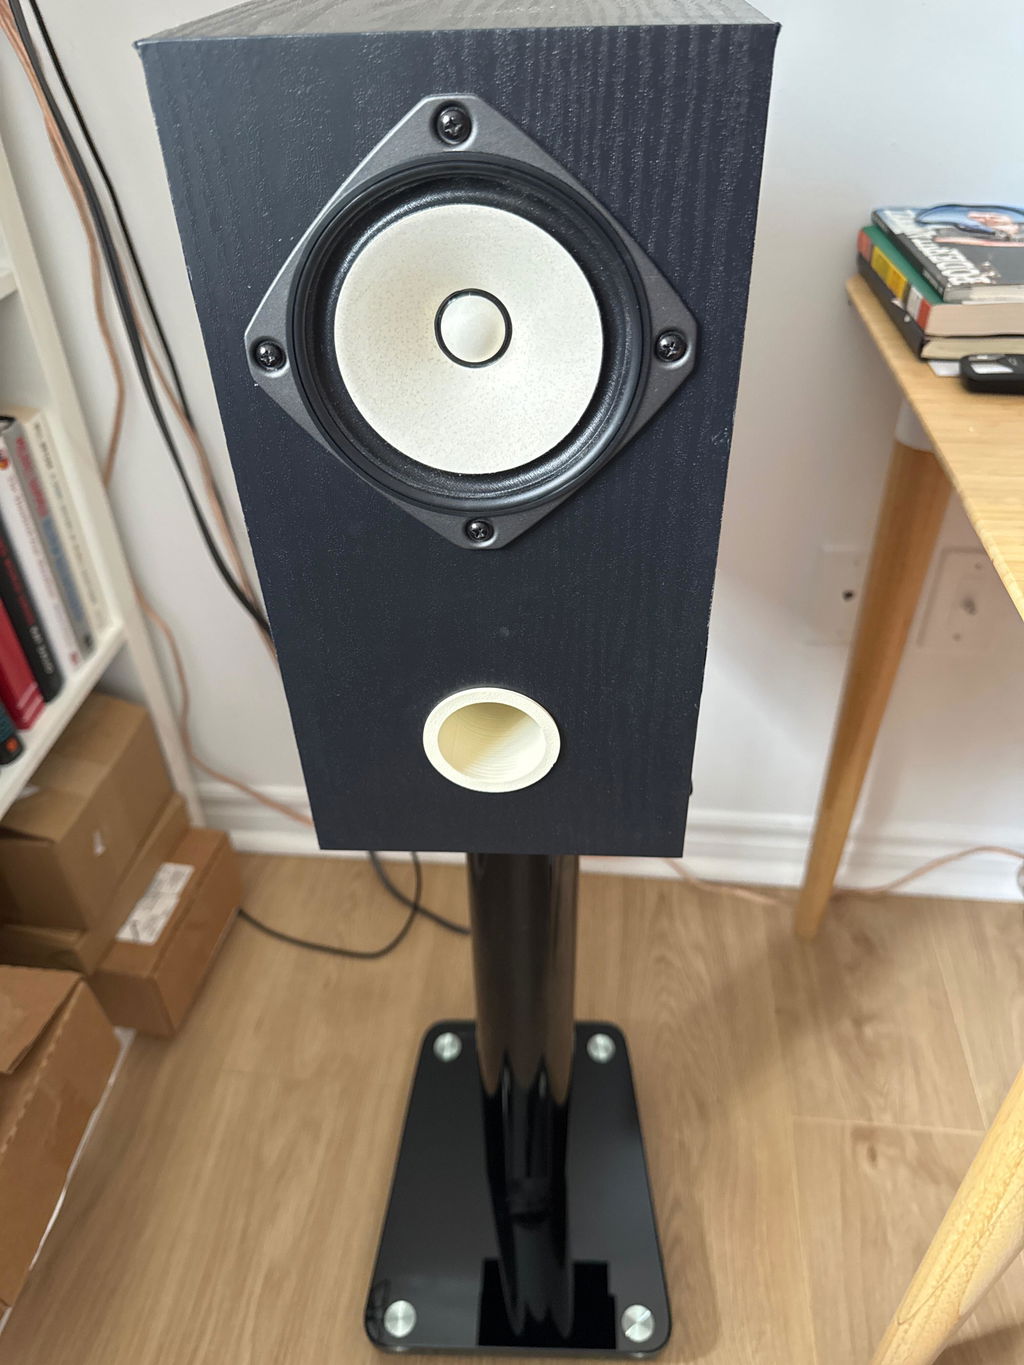
I was amazed at the sound of this thing. Of course Papa designed it. I am currently driving it with a Mellow Tones Amps Rocket 6N1P tube preamp. Speakers are CSS Audio Criton 1-TDx that I built. Source is CD player feeding its digital output to an ANK DAC I built from a kit. Now those speakers are only 86 dB efficient so I wasn't expecting much. But the room that system is in is relatively small. That little amp can lift the ceiling in there. There is something about the sound of the ACA/MinMax that makes me want to keep listening.
Nits: Naturally I prefer a linear power supply. The Meanwell 36 V supply is a large brick. Shutting off the amp at the front panel only kills the bias circuitry......not my favorite thing. So I have the amp plugged into a switched power strip that cuts all power to the amplifier.
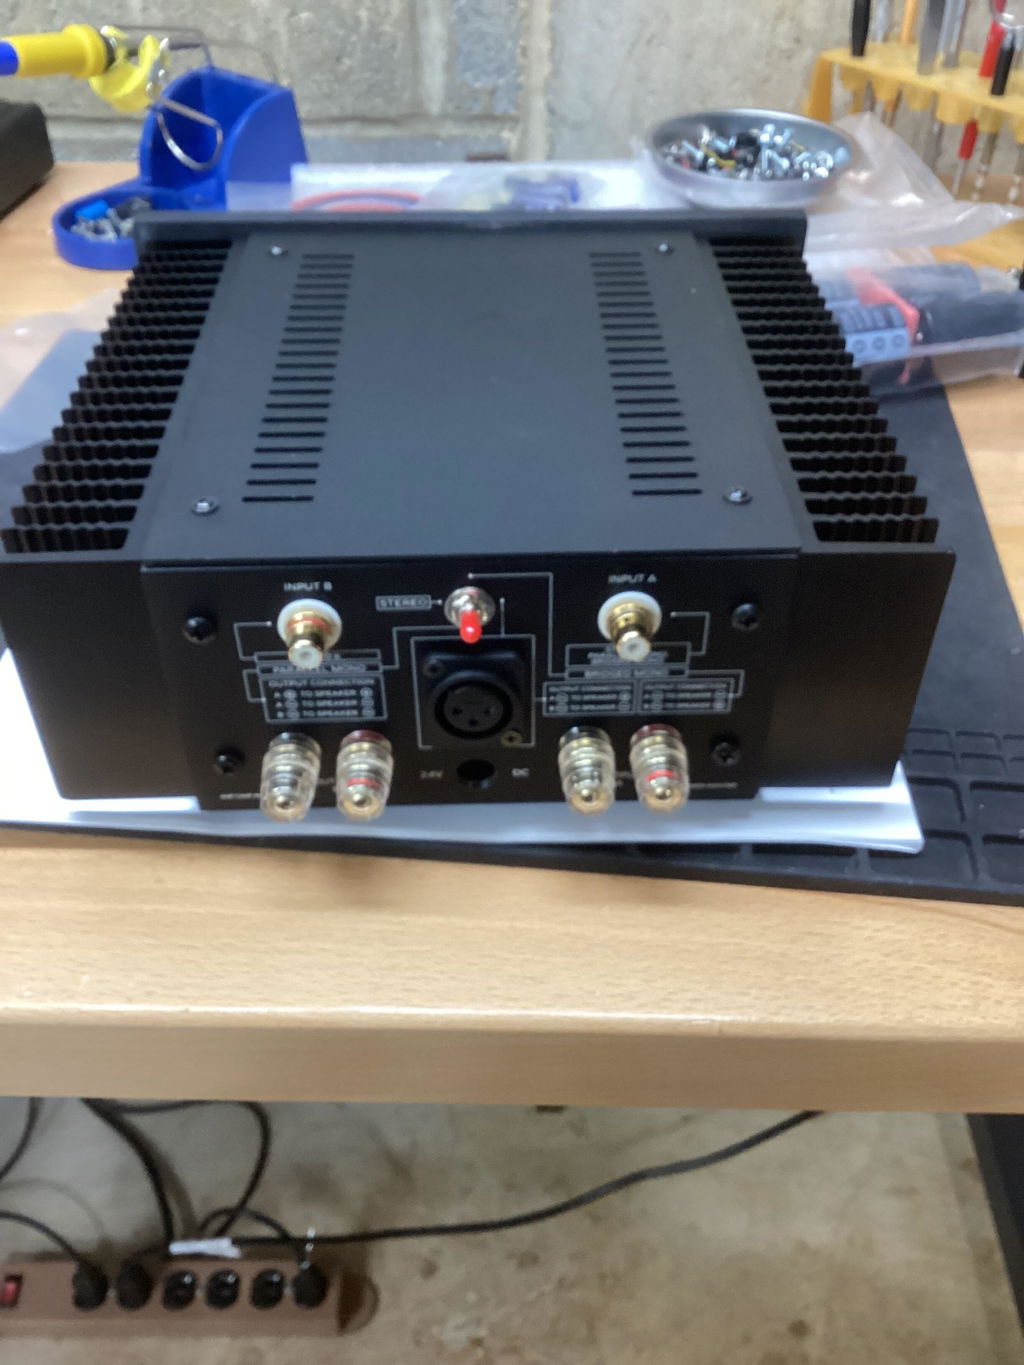
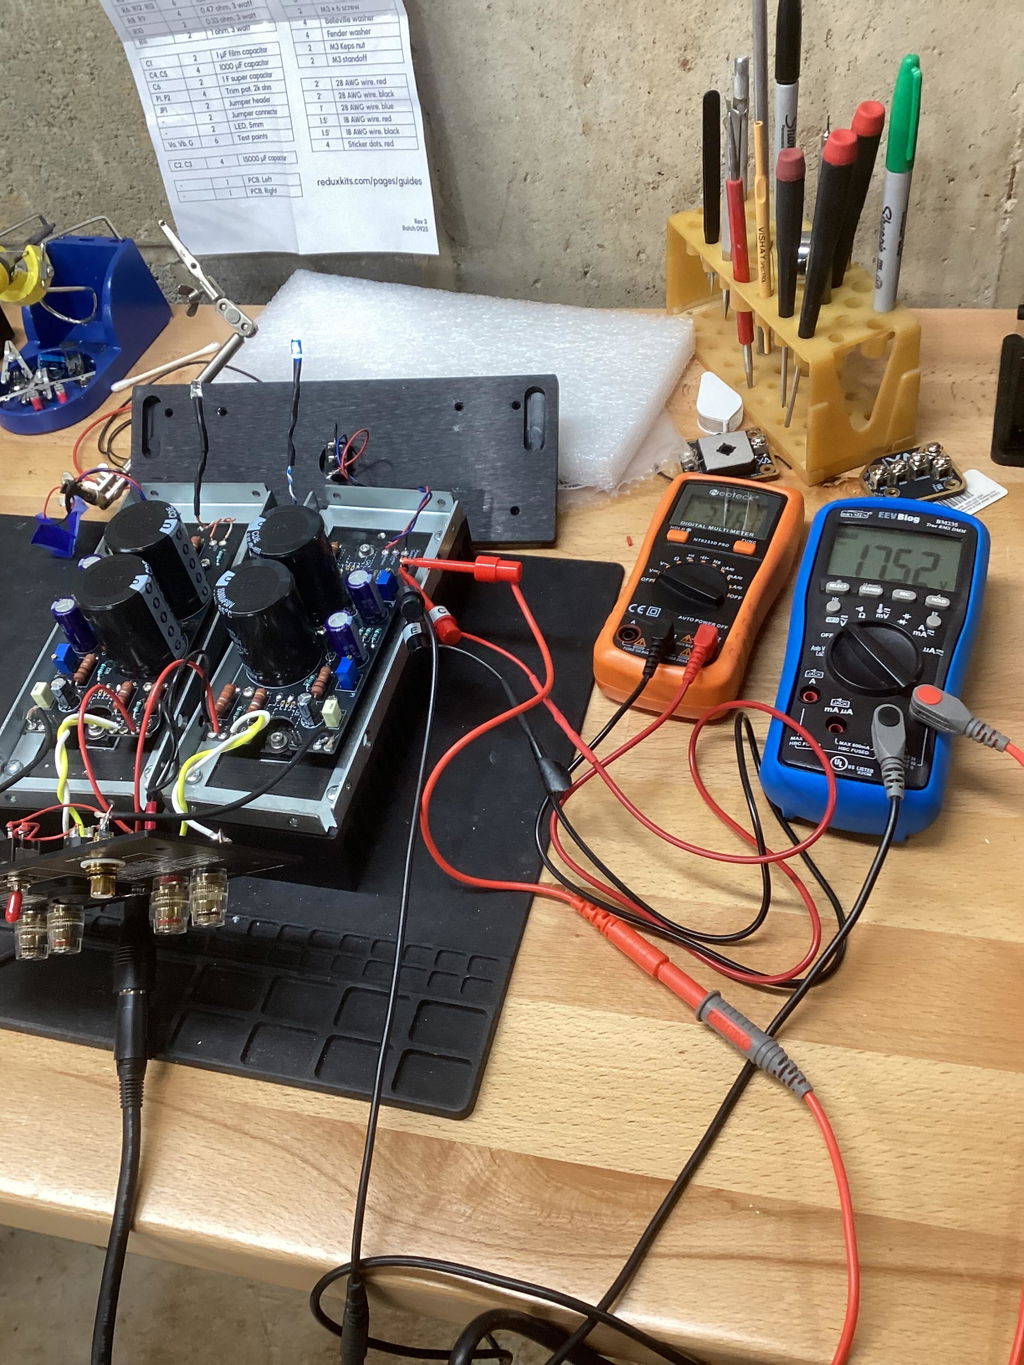
I love this little amp. I bought two of them because I plan to run them as balanced mono blocks at twice the rated power.
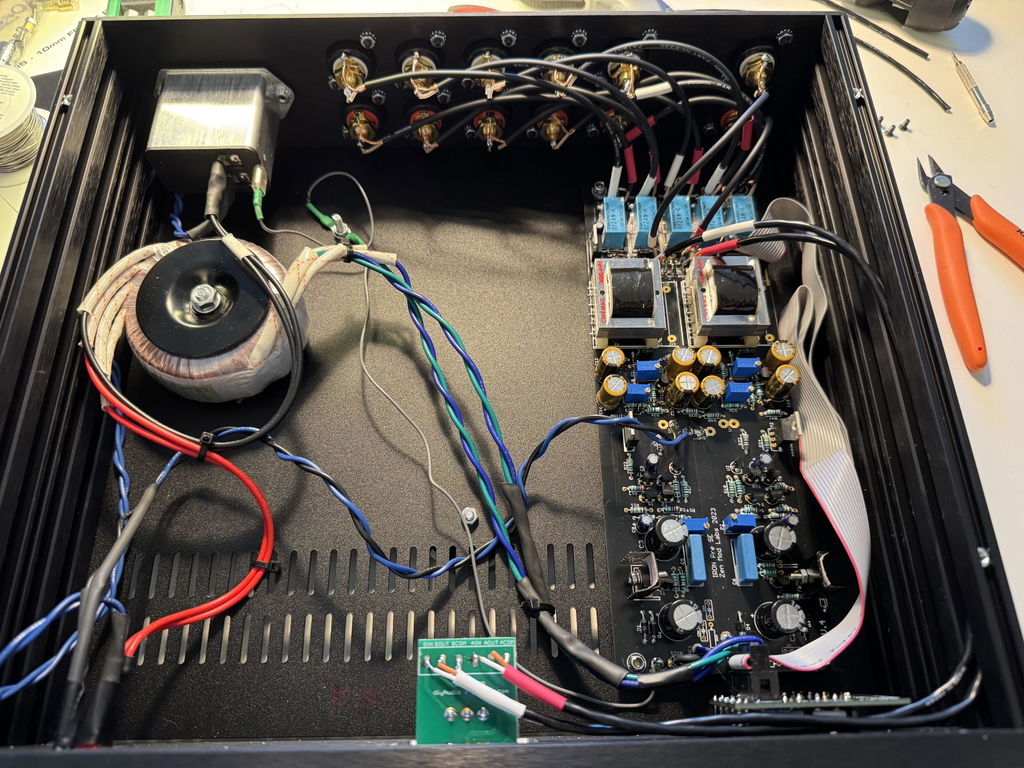
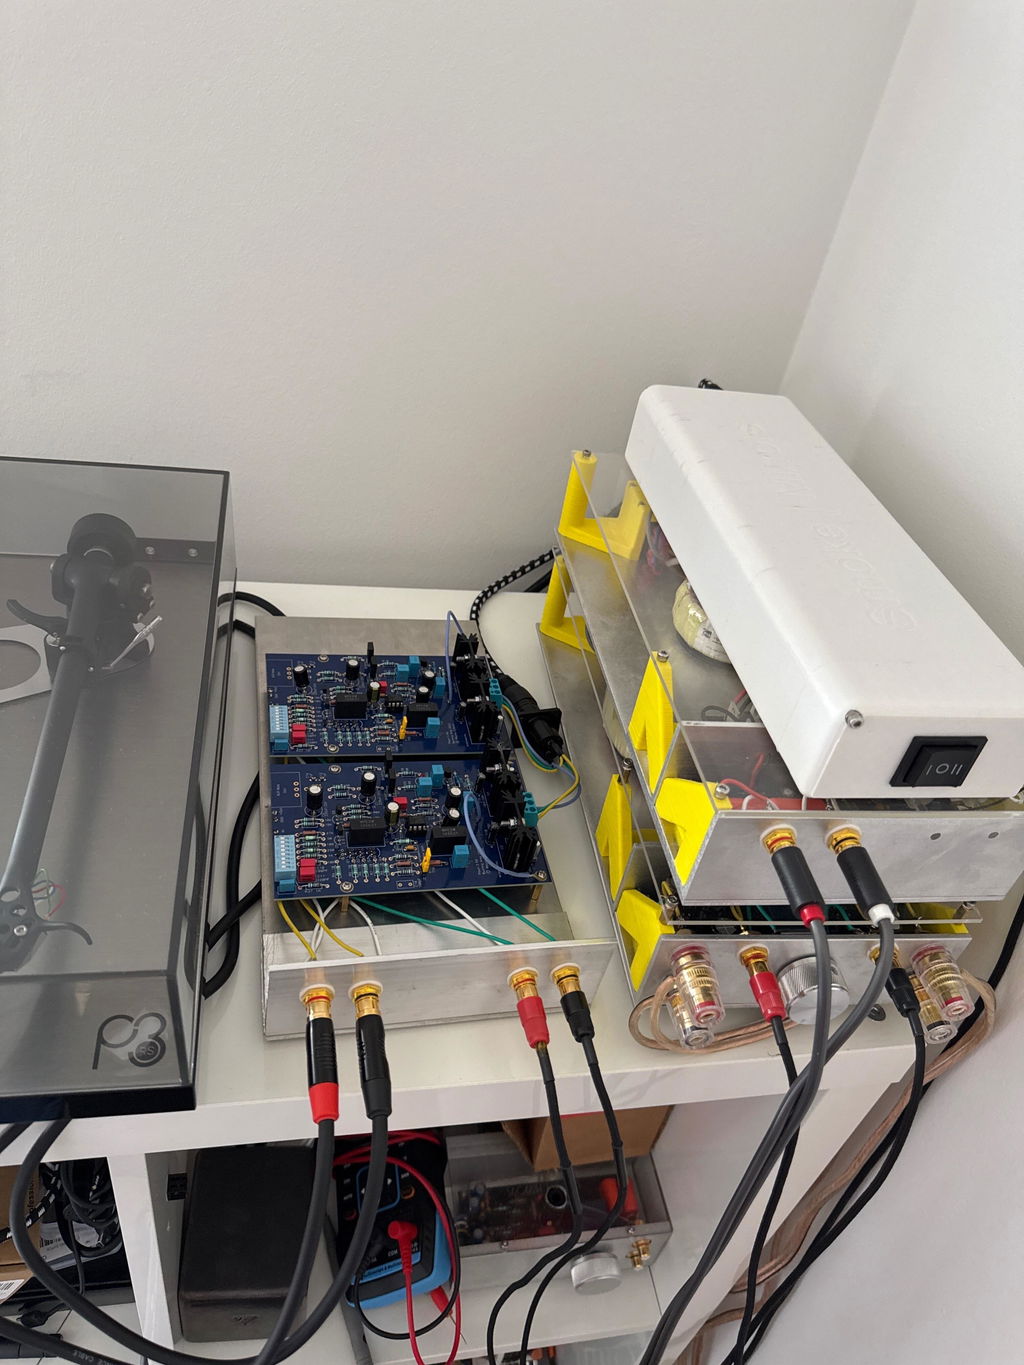
With no load and shorted input this pre-amp is a cricket. I have built it for Rega Planar 3 RS and I was literally blown away by the wide stage both produce with my custom single drive Fostex and LM3886 amp I have designed. This pre-amp is a beast for amplification at least in my MM setup and 100% will handle MC cartridges.
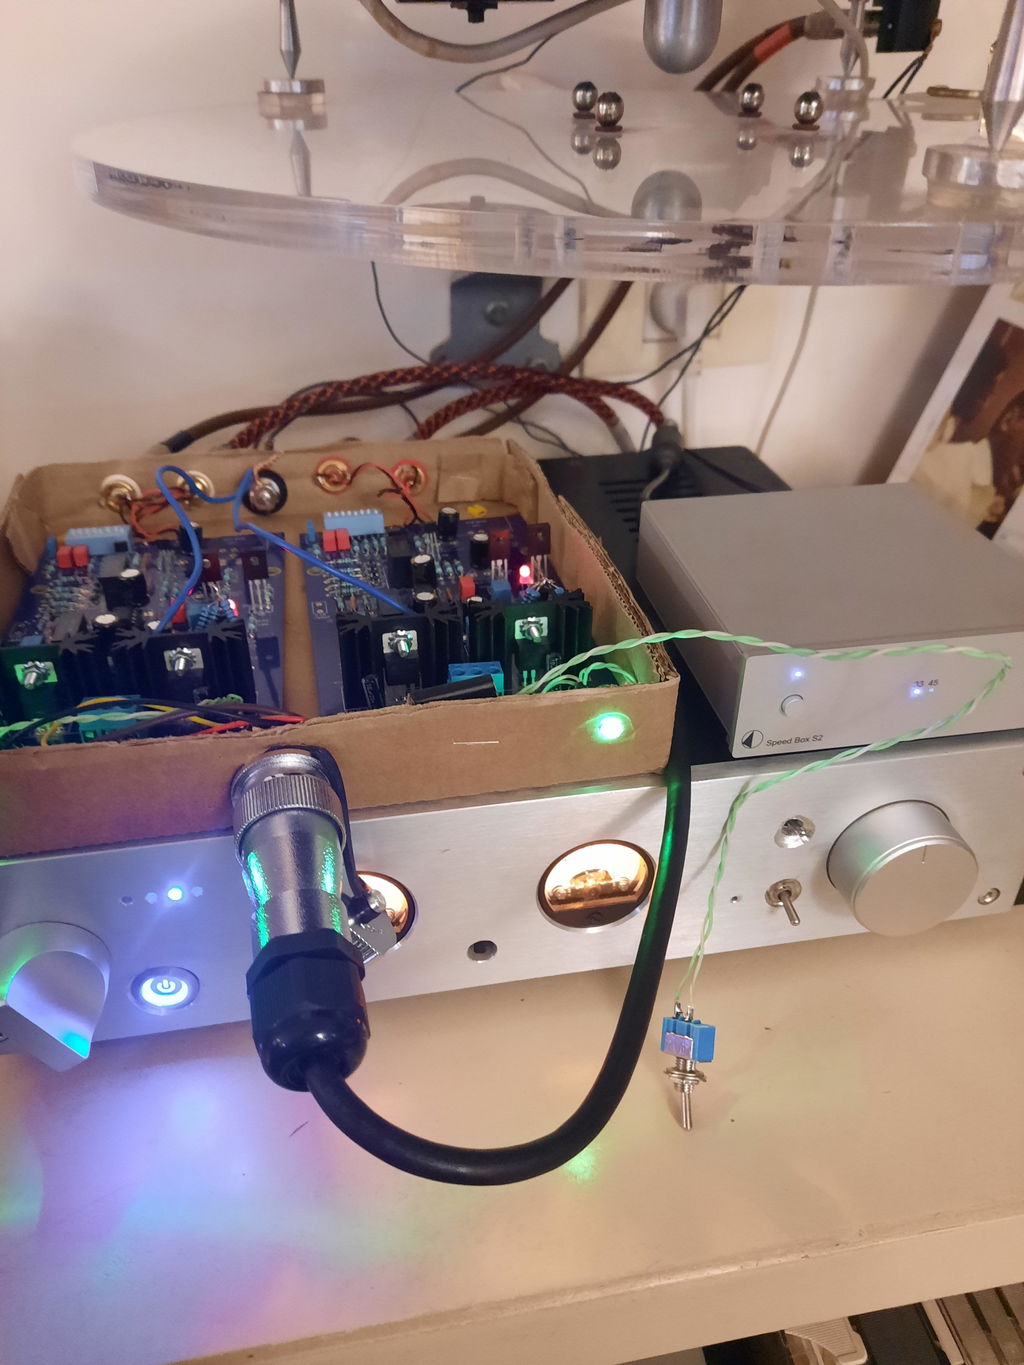
I did fail with assembly for the first try - 7815 and 7915 were flipped. Classic. I don’t use the provided power supply board as I decided to go battery power. I use 12 series 21700. Could be 9, obviously. Highly recommended. Note that some resistors will look different than in the assembly manual - fewer Dale ones in my set. So measuring them all is a good practice.
P.s. yeah, I know I still need to finish up the enclosure :)
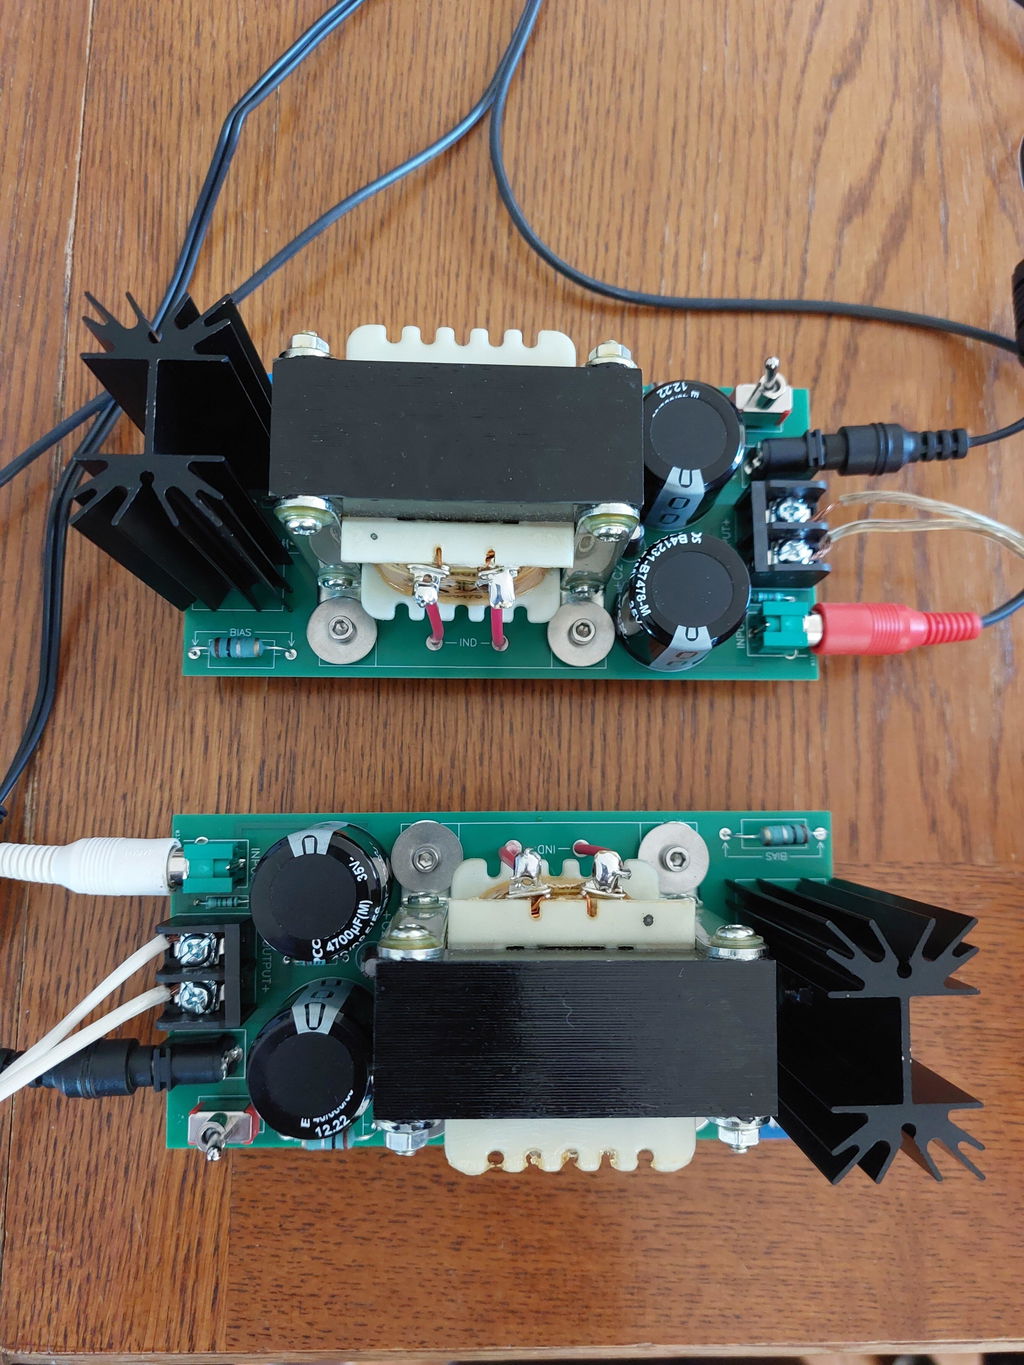
I used this for an external dual mono PSU setup for two Amp Camp monoblocks - great board with plenty of versatility. I snapped off (very carefully) the diode section as I opted for bolt down bridges. The support thread was very helpful too, I had a few questions that I needed to confirm and the community was very helpful and fast.
Super easy to build although unless you’re using spade connectors on top for the primaries and secondaries, it’s a really tight fit and you need to solder from the bottom (plan ahead). Used these for a dual mono Aleph JZM setup with risers and they sound great!
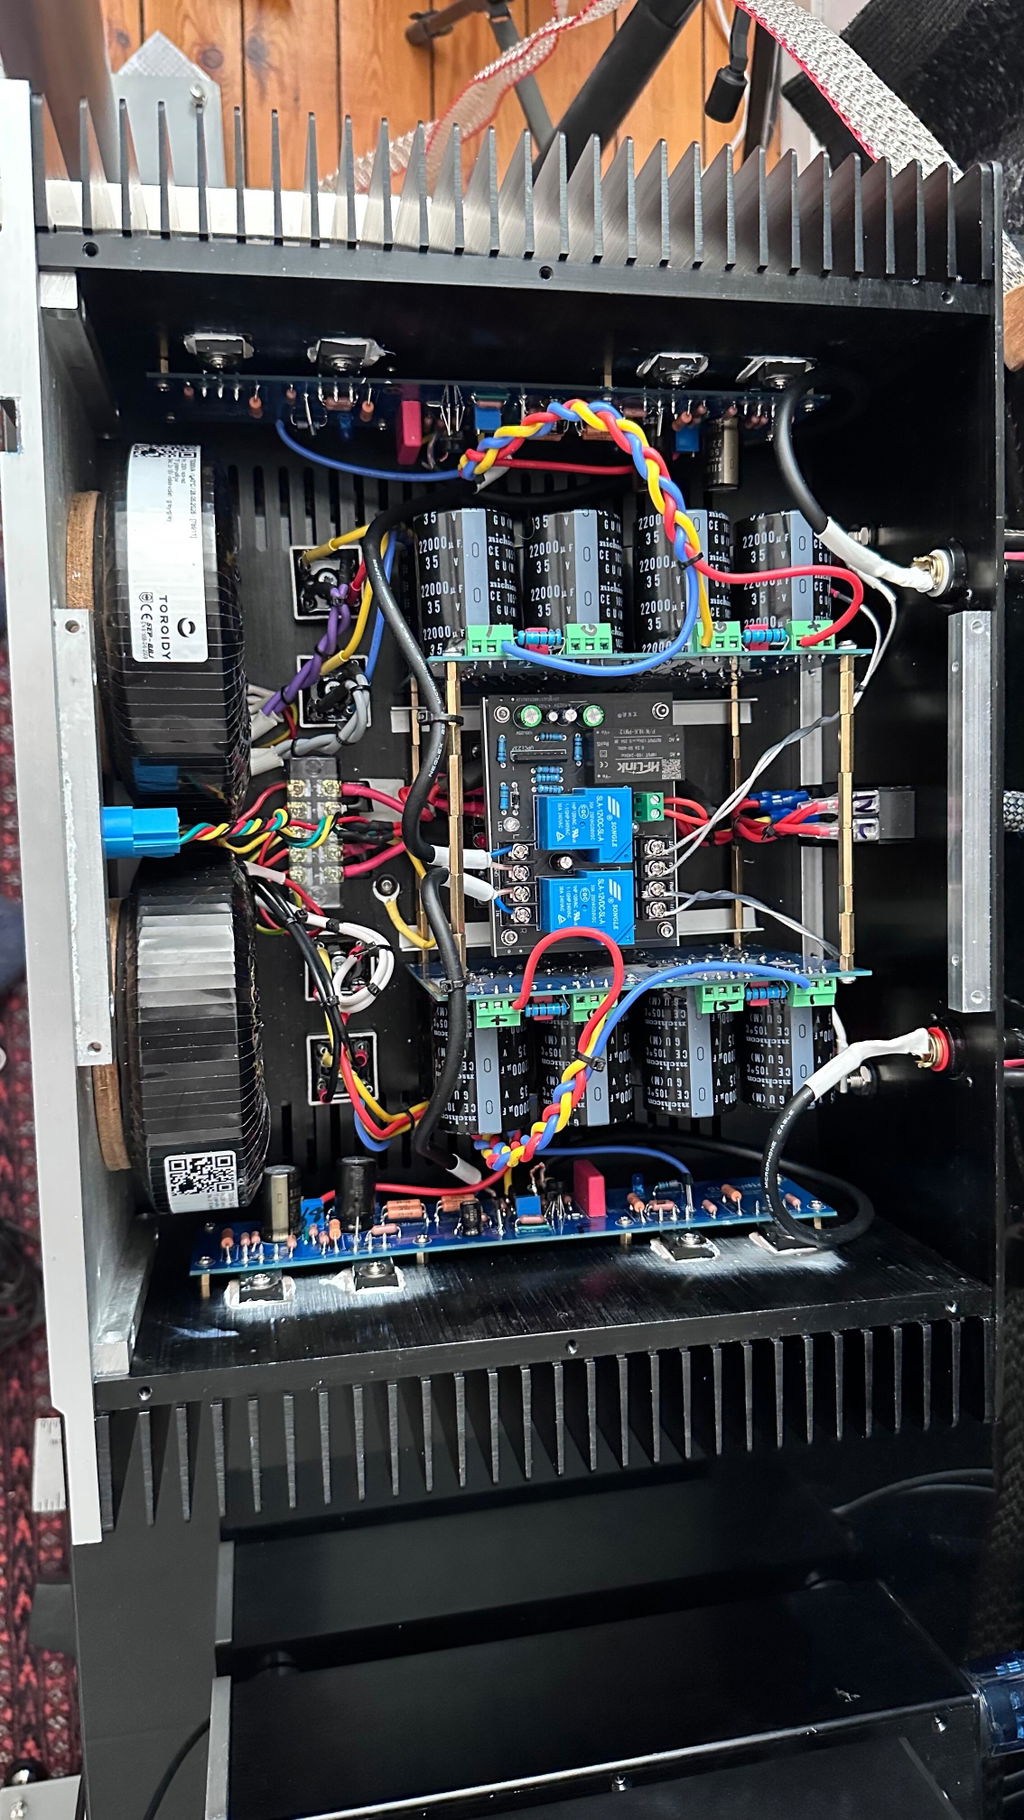
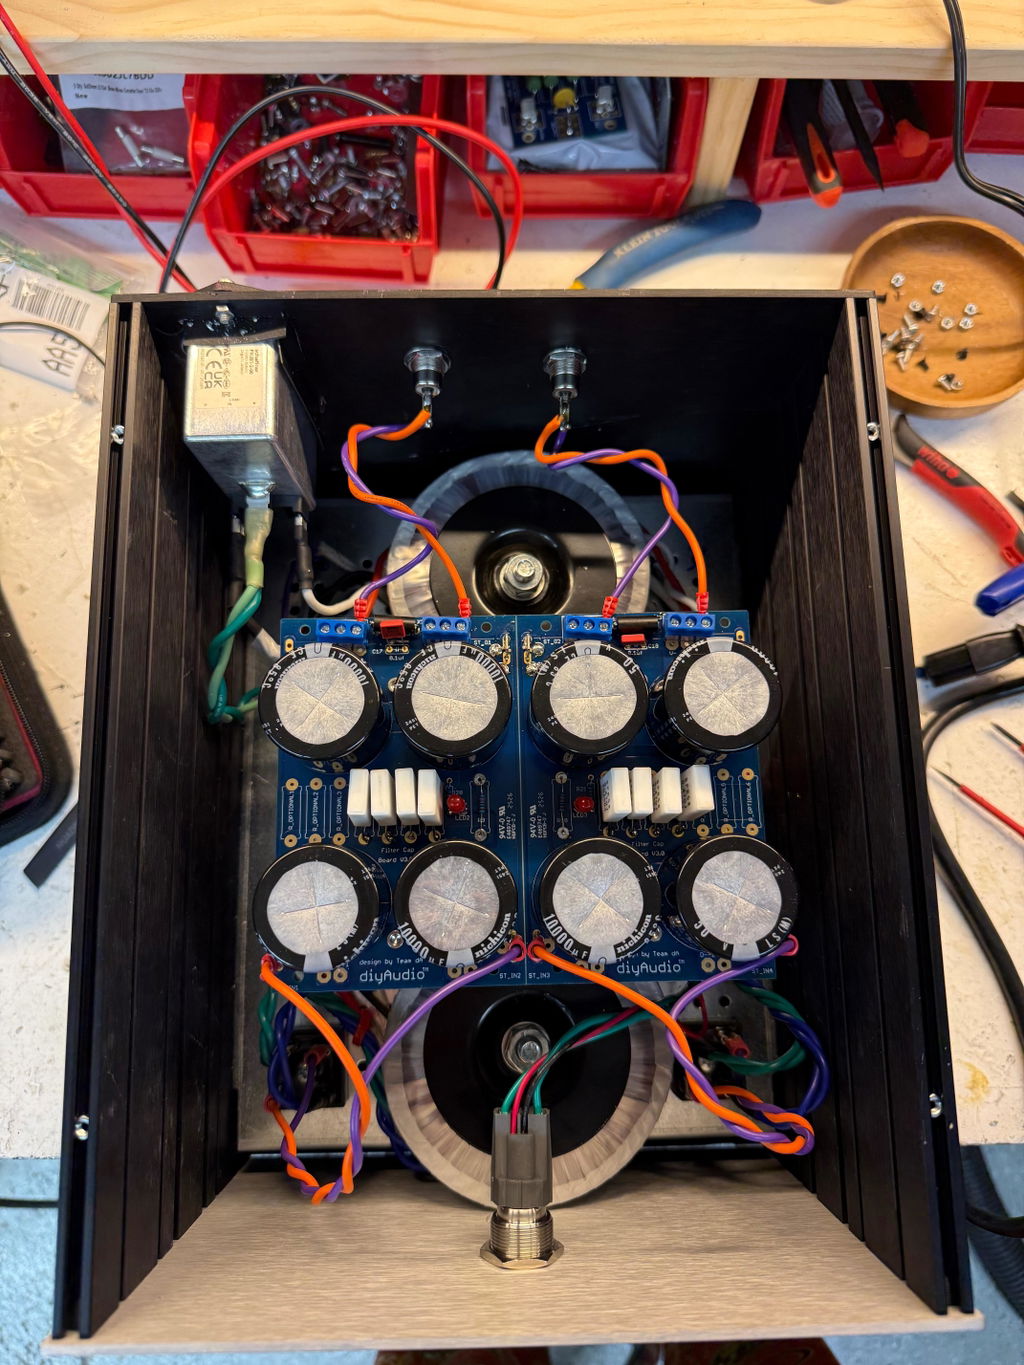
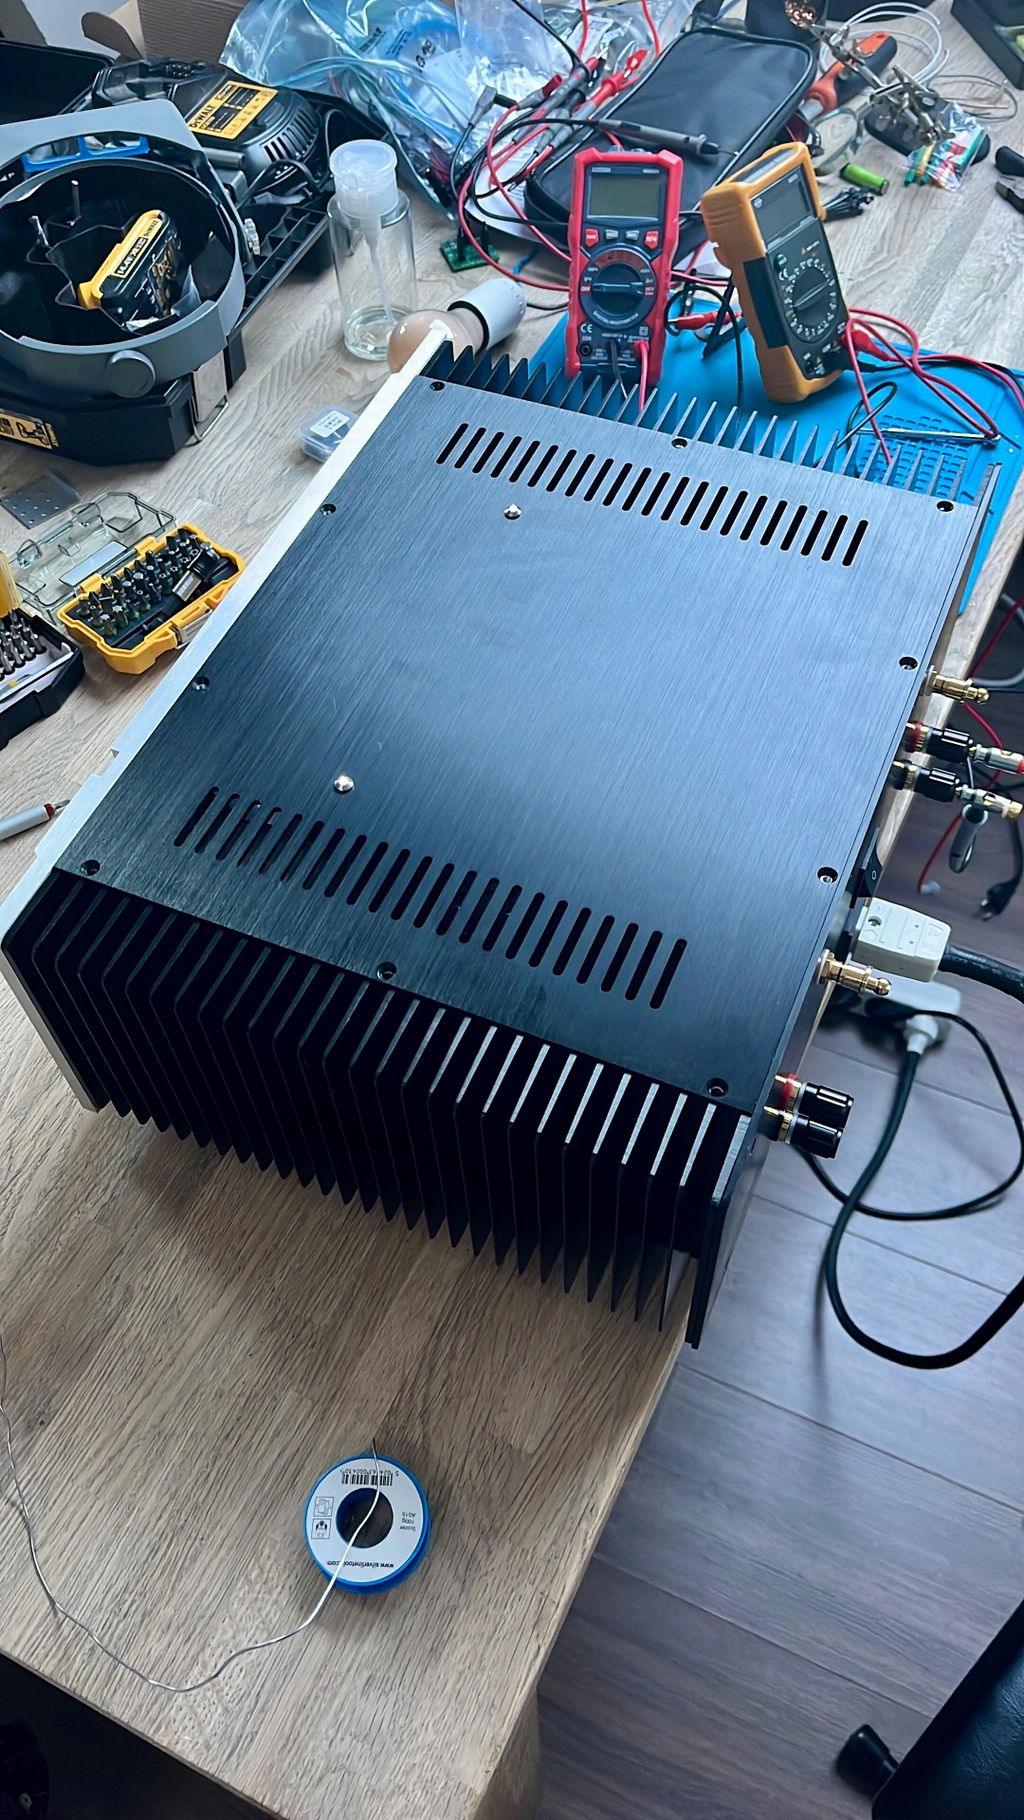
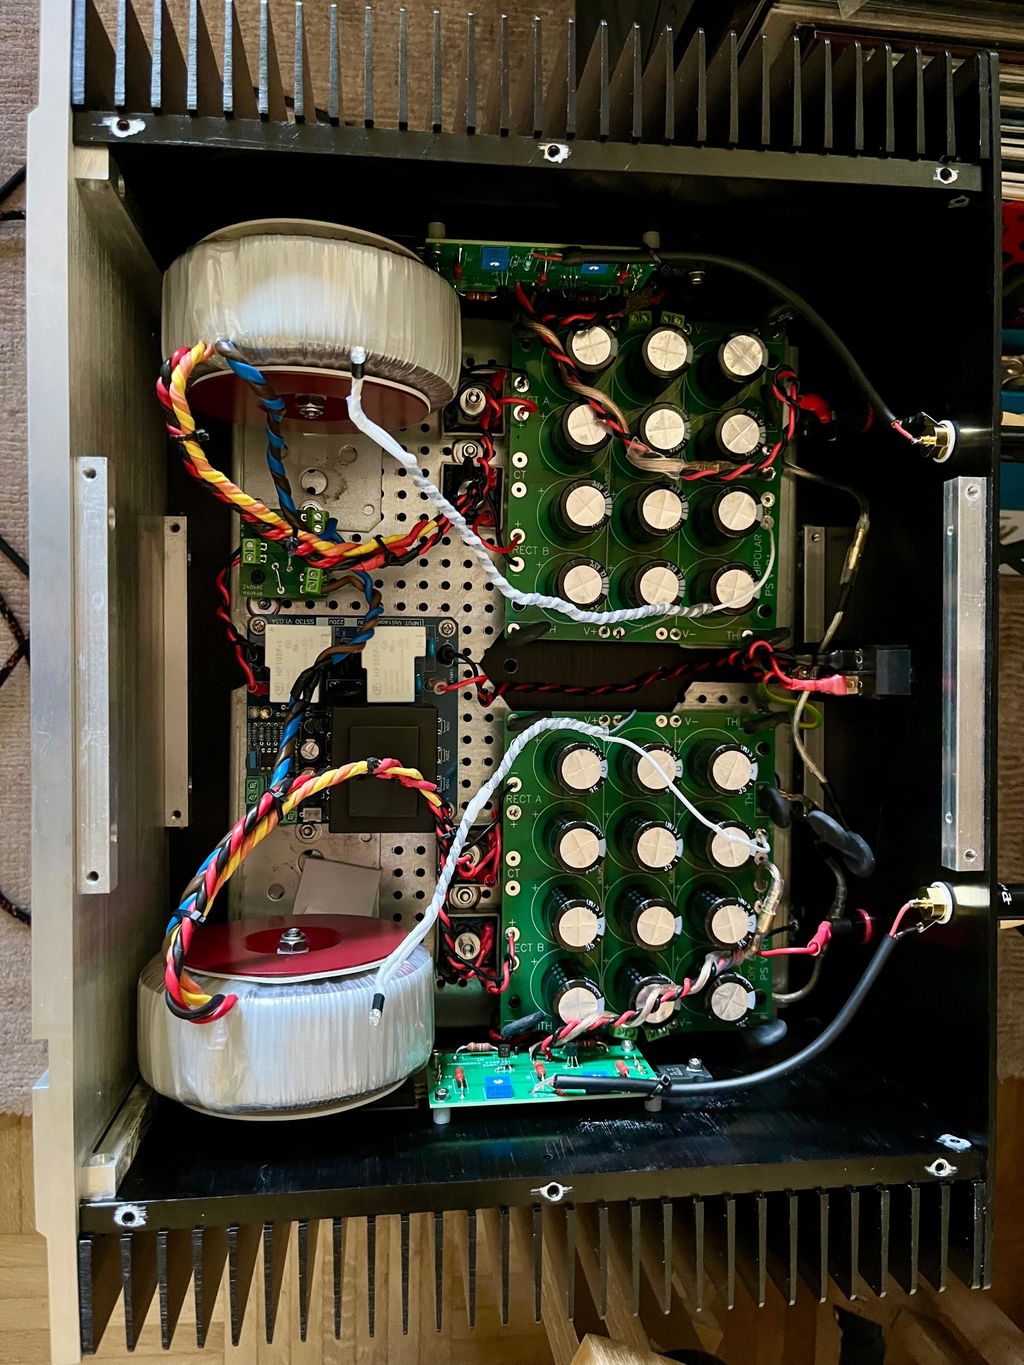
I bought 2 bi-polar power supplies to build a F5m in dual mono configuration. They are very easy to apply and are versatile because of their limited height. They could have been stagged but decided to put them next to one another after putting the torodials straight up. The connection PCB was helpful to connect the transformers to the mains, coming from a soft-start module.
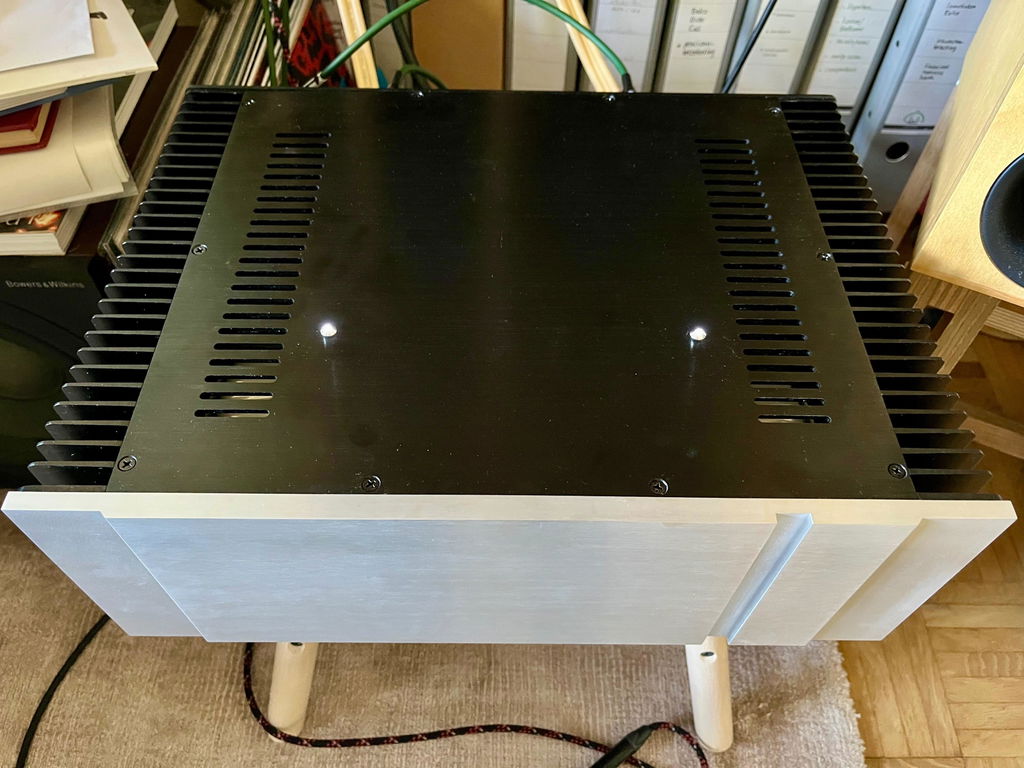
I connected LEDs to the boards and mounted those on top to leave the front in one piece.
The sound: after 2 ACA amps in bridge mode and an ACA Mini, I wanted something more beavy. That sure as hell worked. Compared to my Naim NAC 250 DR, it sounds more immersive and musical. It doesn’t handle complex music as well as the Naim but it’s perfect for Jazz and Classical music. The amp turned out super quite as well on 91 db sensitive speakers.
Very happy with the total package.
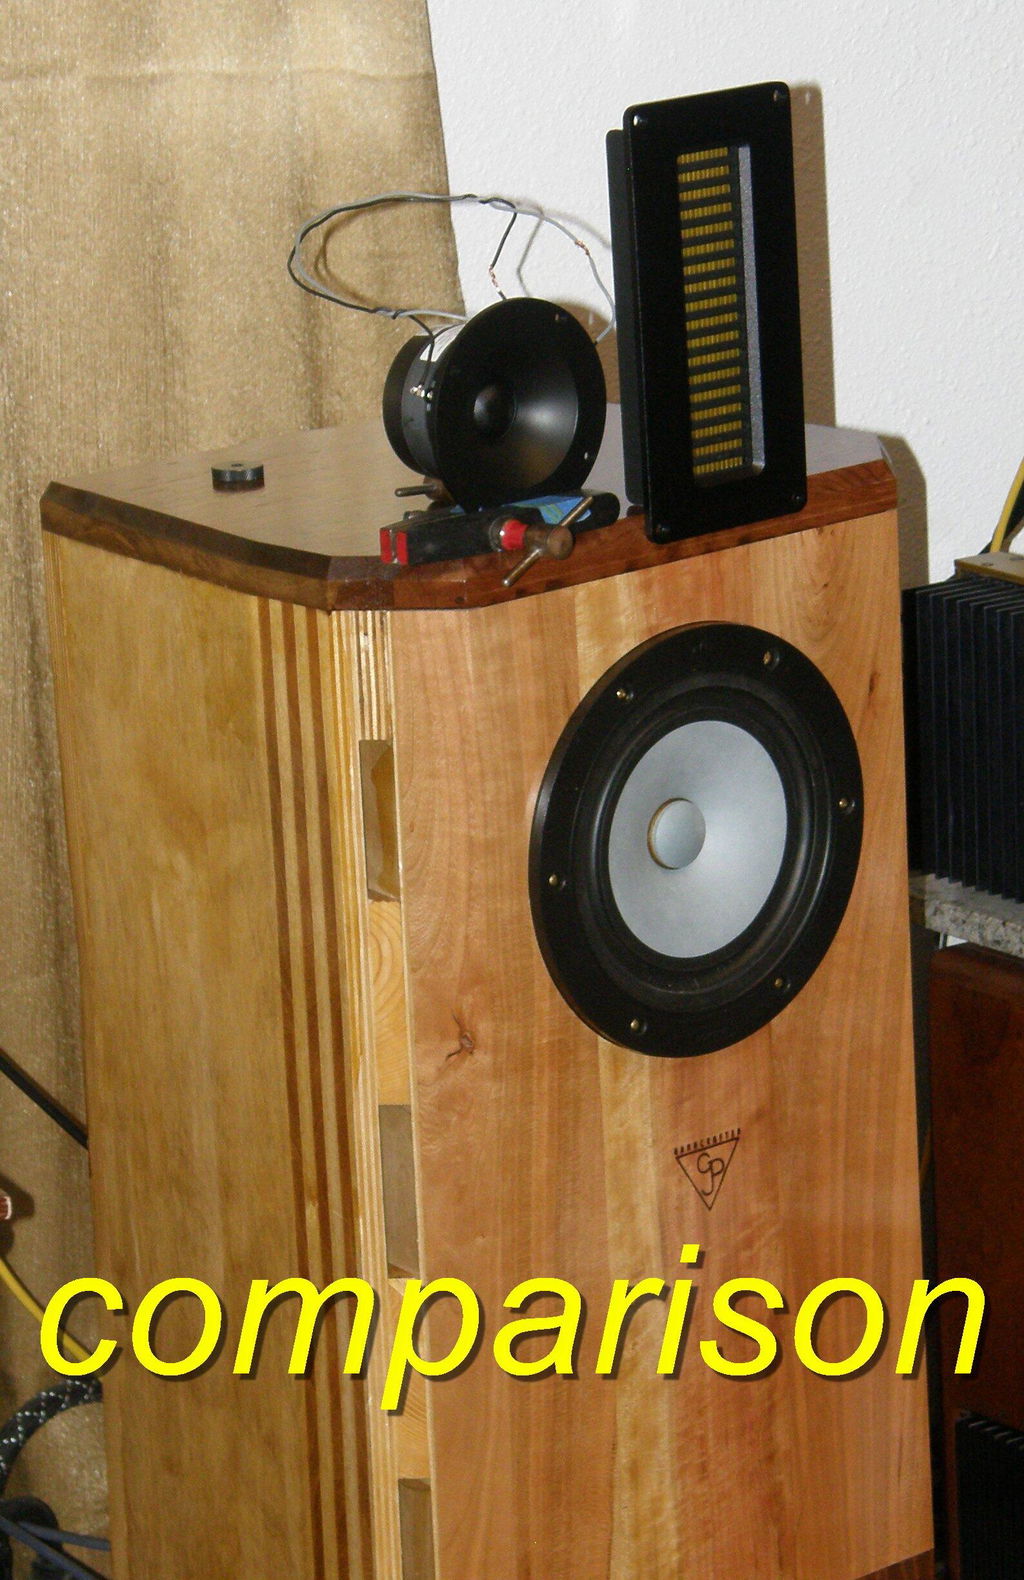
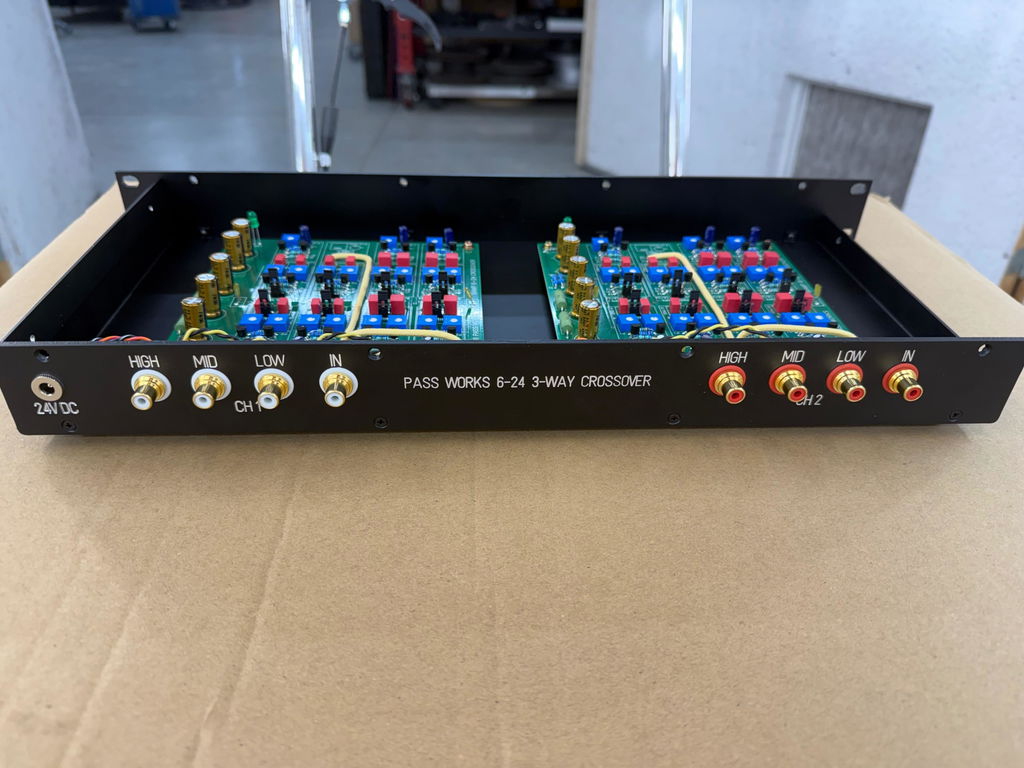
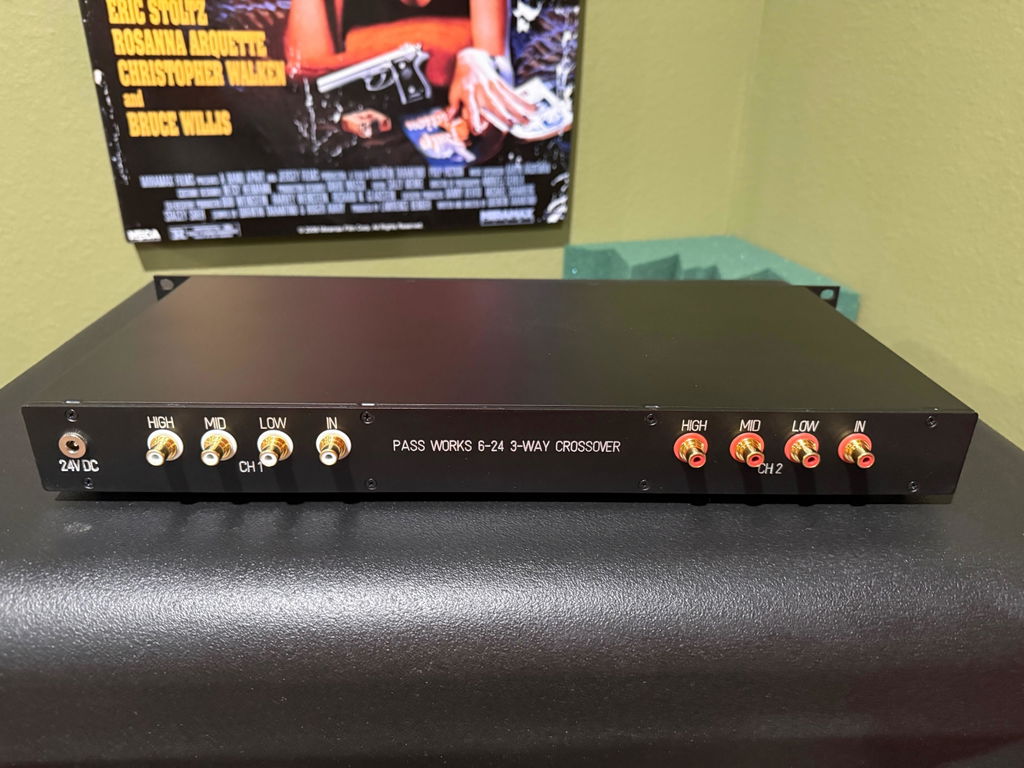
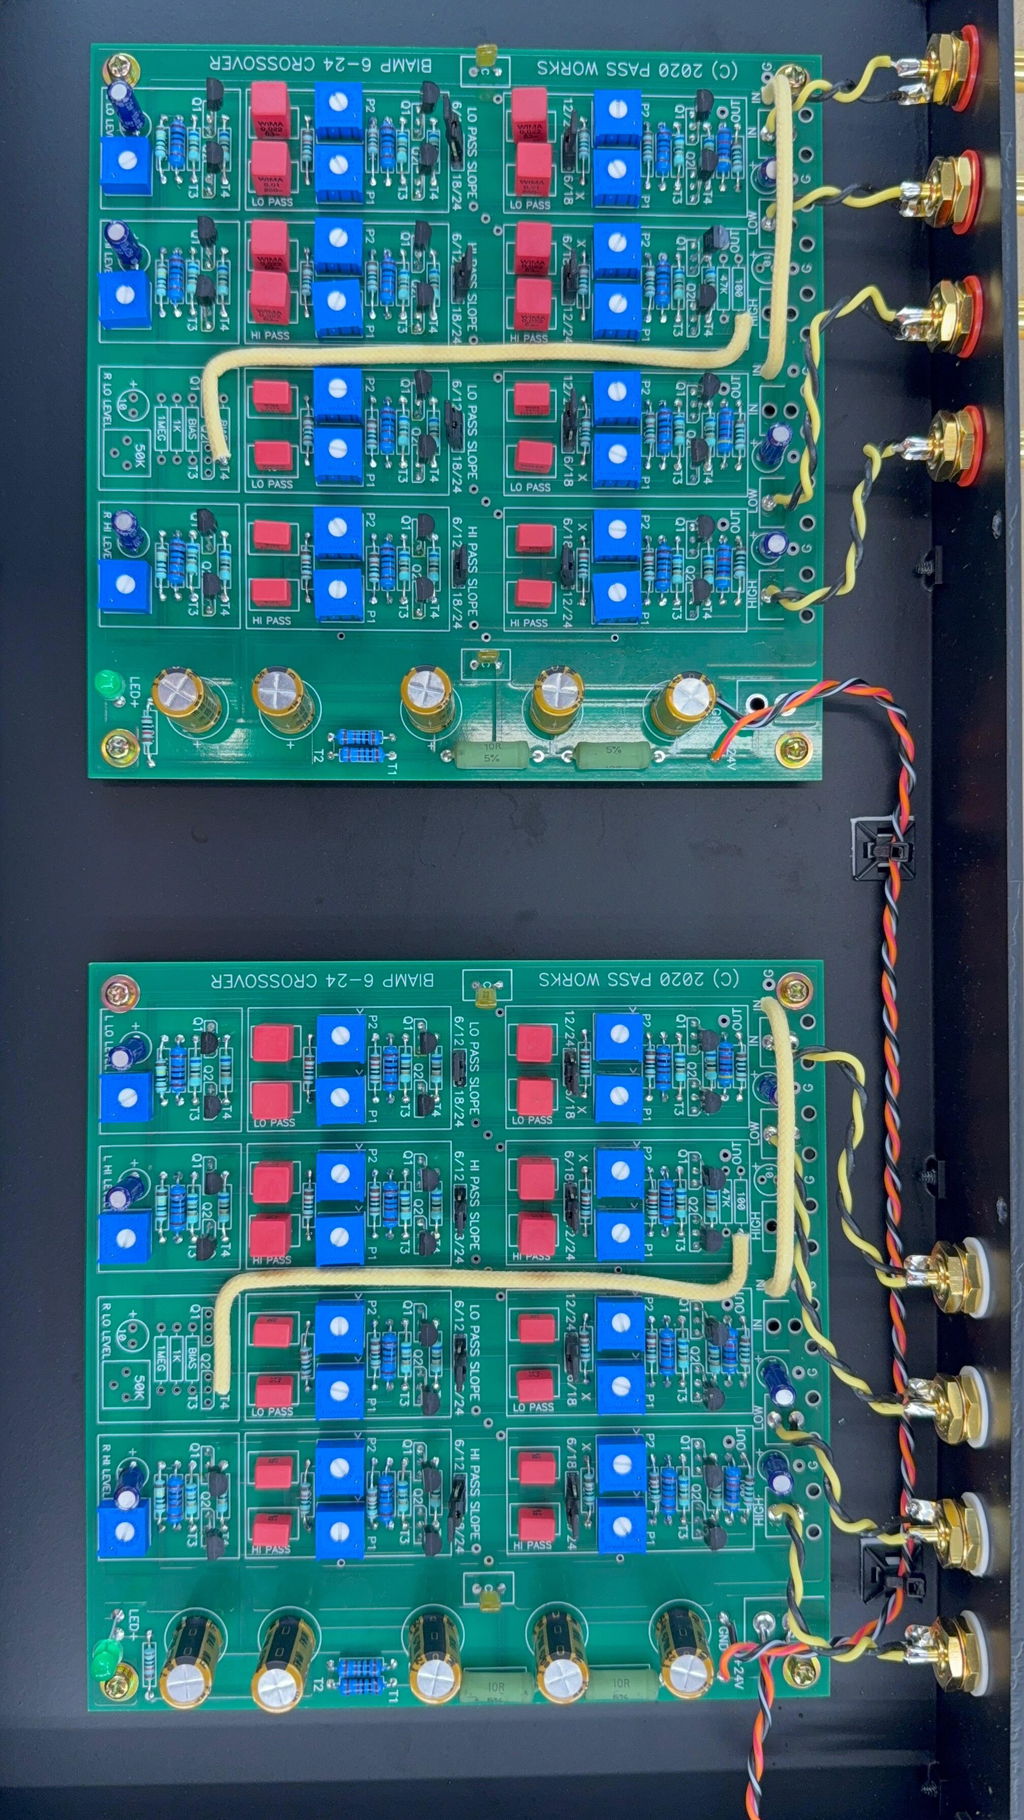
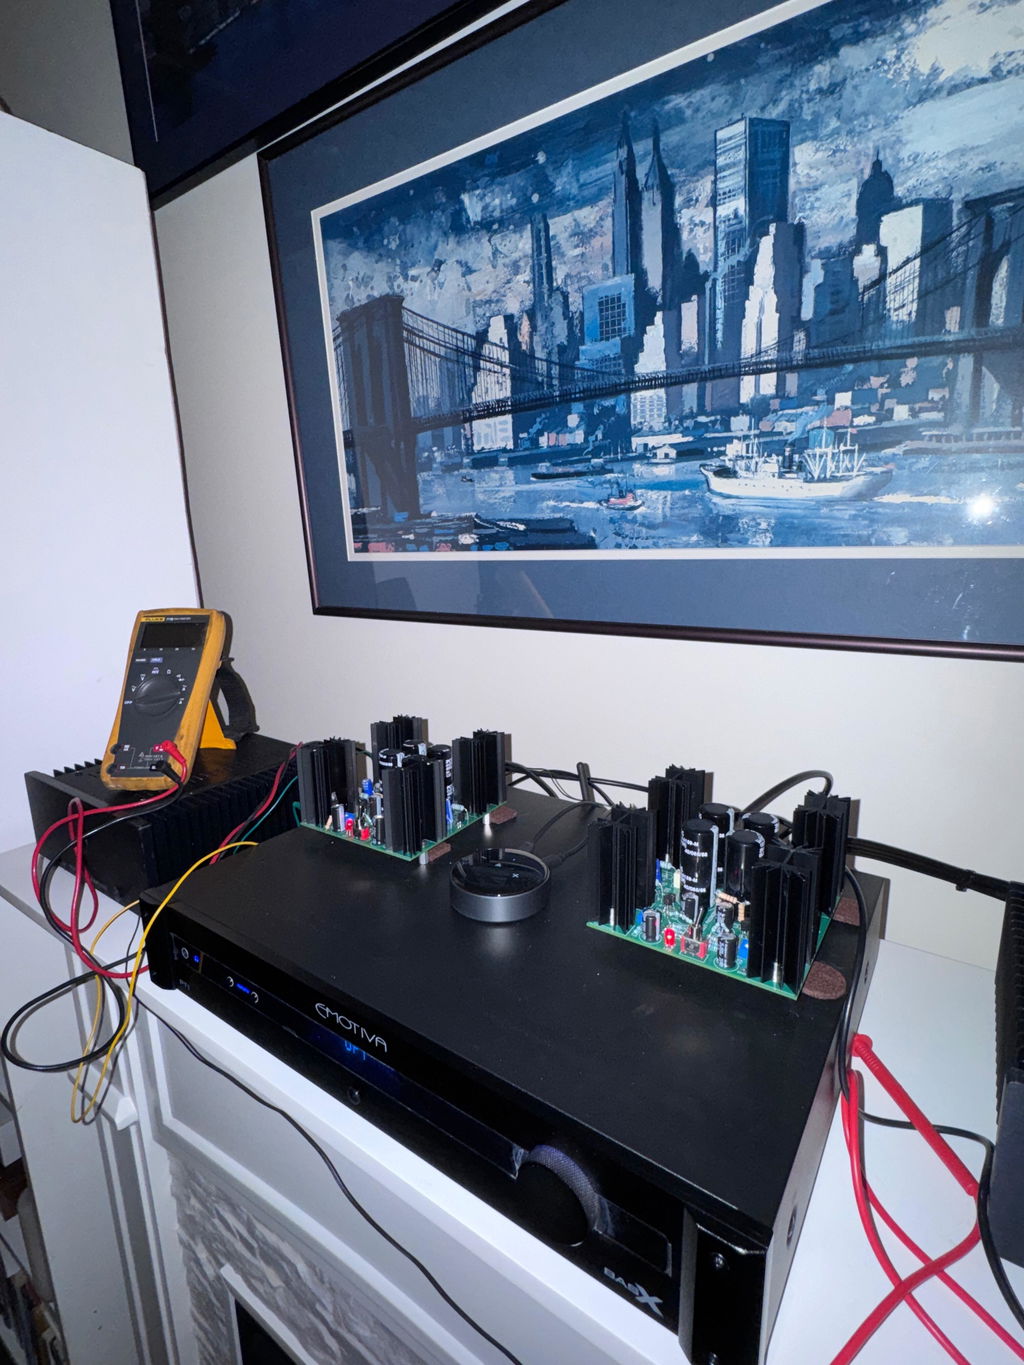
I needed help with a set of speakers, rightly blending them as best as possible. I saw this opportunity and knew that it gave me the best chance of doing so. The build was simpler than I imagined, so that is good, but there is a lot to know beyond the build and I am finding that even though I can do some of this by ear, I will need equipment to make it sure. At the moment the unit is in mule stage, but will be easy to mount it all in a chassis and make pretty. This choice of bi-amping is the best results that I have had so far with speaker building. FWIW, I did a sort of comparison as to the drivers that I might use, and ended up with a set of AMT4 ribbons that I can't tear away from.

Pretty easy build. Sounds great. Flexible.
It would be very difficult to dial this in by ear in my opinion. I used REW, and it took several hours of measuring and listening to get the crossover points, and levels dialed in. Also, as others have mentioned, the pots are very sensitive to adjustment, especially for level matching.
It is very quiet. I'm using it with a compression driver with a sensitivity of 113db, and I can't hear any audible hiss from the system unless I stick my ear in the horn.
I built two: paralleled the inputs and driving each section of a set of Klipsch RP-8000’s crossover inputs (2 way) with each output section. Biased at .400 with no problem!
I’ll steal a line that you have to make it to the build guide to read:
“This amplifier sounds fantastic, if you have any interest at all, you really should build one. :)”
Highly recommended!
This was my fist experience building anything electronic. The build was pretty easy and the sound is really impressive. I made a little base out of a wood box from the craft store. I am using it with some old KLH Model 33 speakers and it has plenty of power to drive them in a small room. I also got great customer service from the store. Thanks!
This kit contains everything you didn't get in the Balanced Essentials kit to complete stuffing the PCBs (you still need a power transformer and volume pot). It's worth it. I had a few of the parts laying around but trying to source the rest from Mouser and Digikey was tedious. I gave up and ordered this kit because I wasn't going to save any money anyway. All the parts are high quality.
This is not a beginner project. You need to be able to read a schematic. Follow the excellent 6L6 build guide for the SE version and you are 99% there. Pay particular attention to the test point values on initial setup.
Don't skimp on the volume pot. It is critical. I used a Goldpoint V24-4 ($300). I understand that you are already into this for $400 plus power transformers, connectors and a case, but the reward is a stunning soundstage - wide, detailed and lively. Skimp on these and you will negate your investment.
Yet another outstanding, high-value piece of kit from the Store. Extremely rewarding, wonderful-sounding, and I simply can't fault it. Following the B1K thread, I swapped out the coupling caps for Jantzen Standard PP, and tried some potentiometer upgrades, settling on a Tocos Cosmos (what an amazing bargain itself). Good luck finding the log taper version - I got a 50k linear and added 5k log-faking resistors.
The end result is part of my best-sounding system ever.
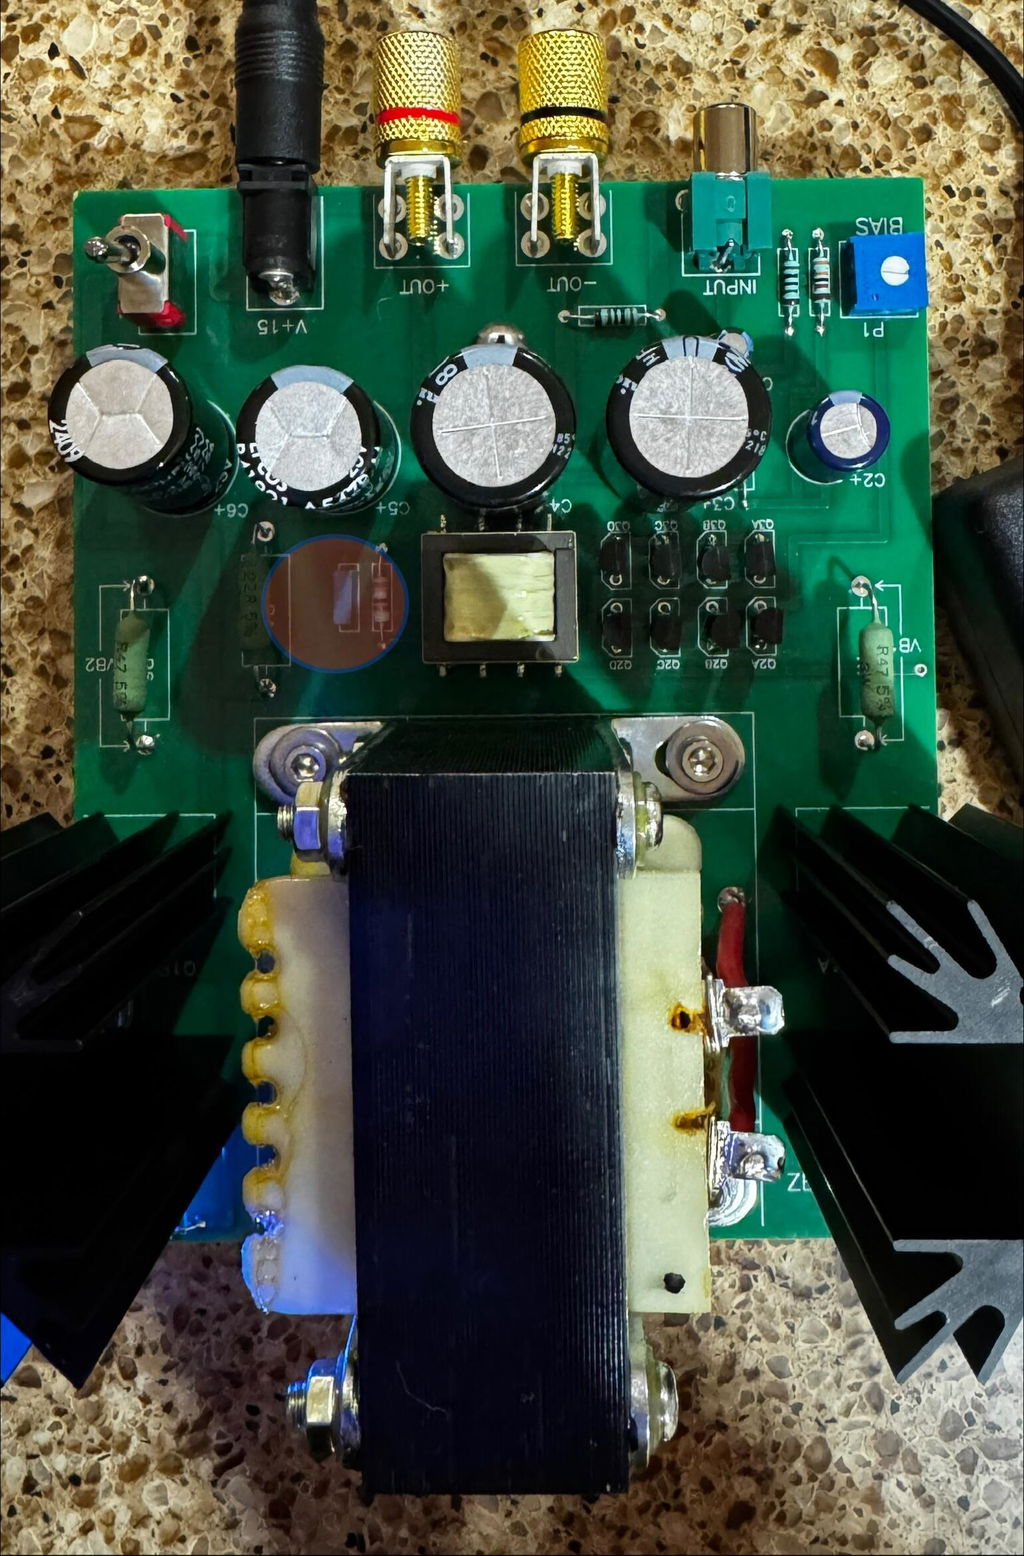
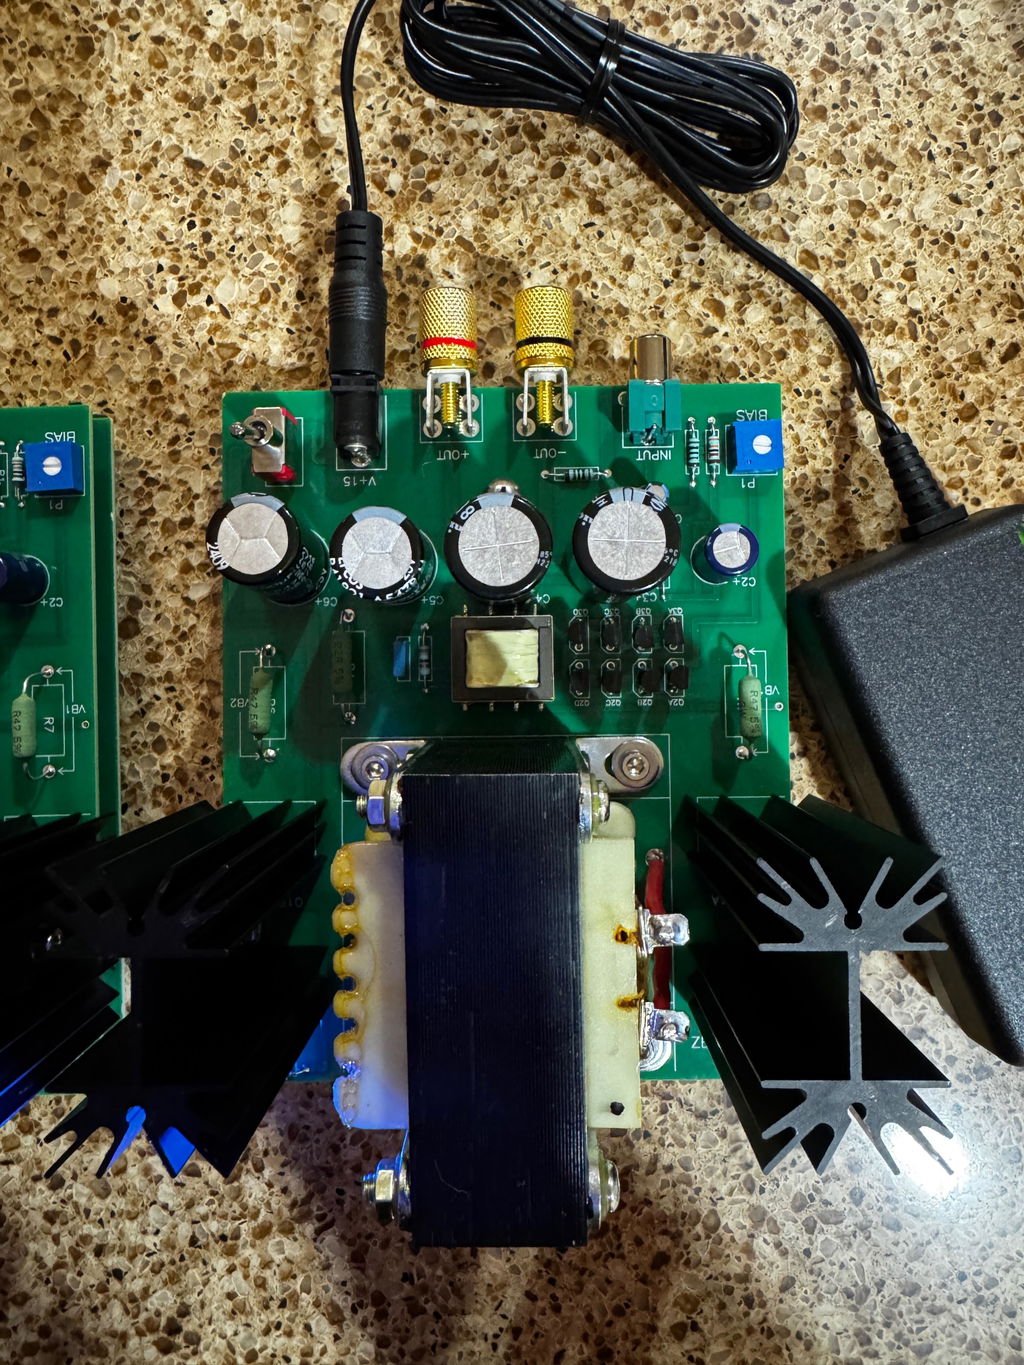
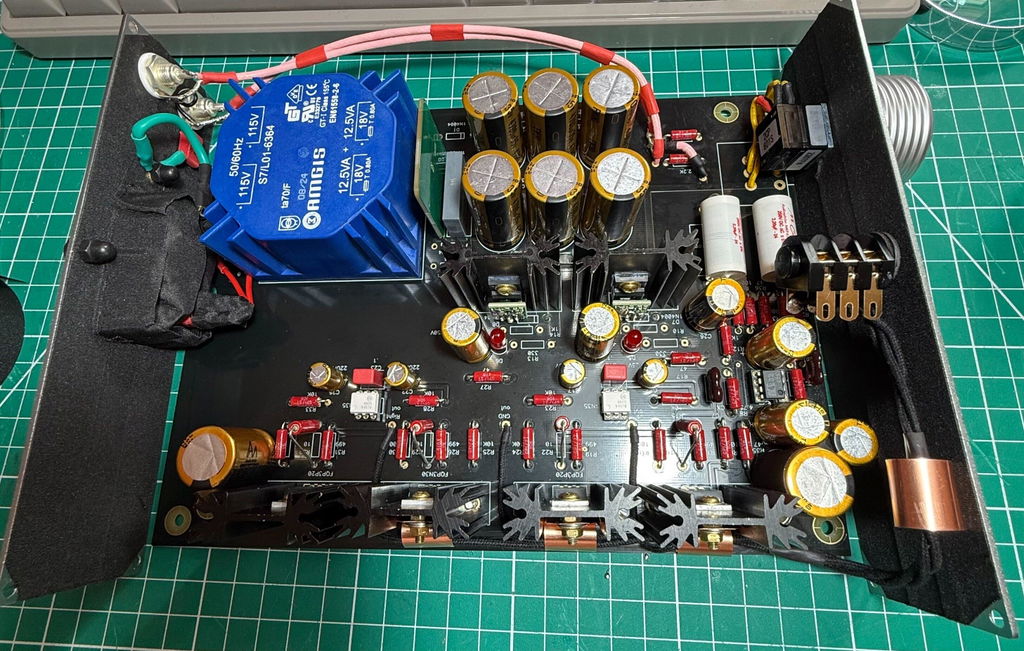
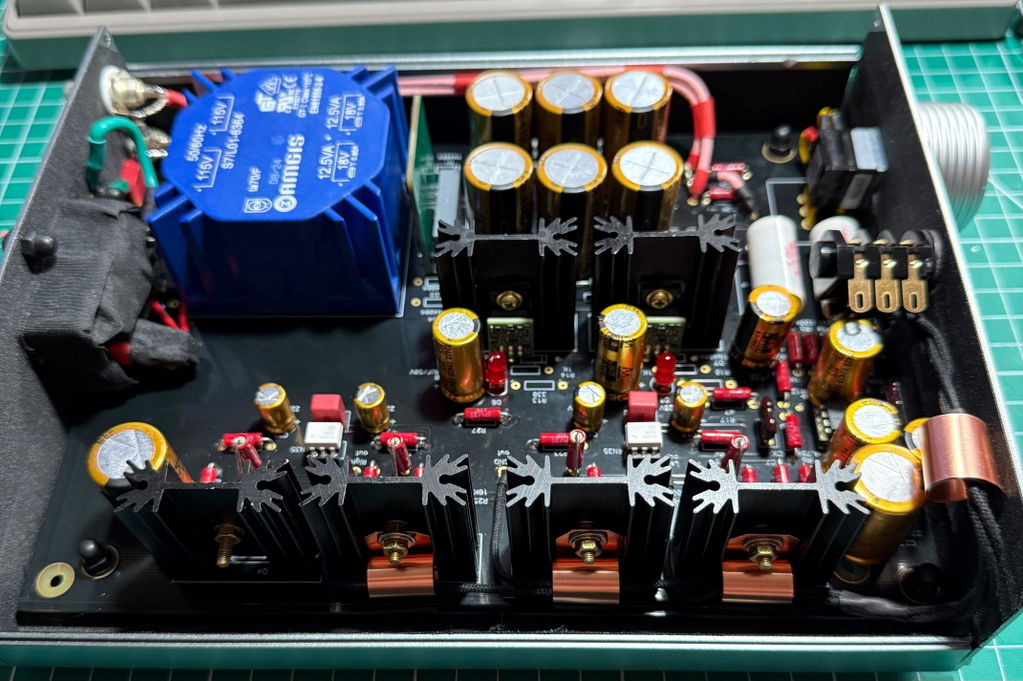
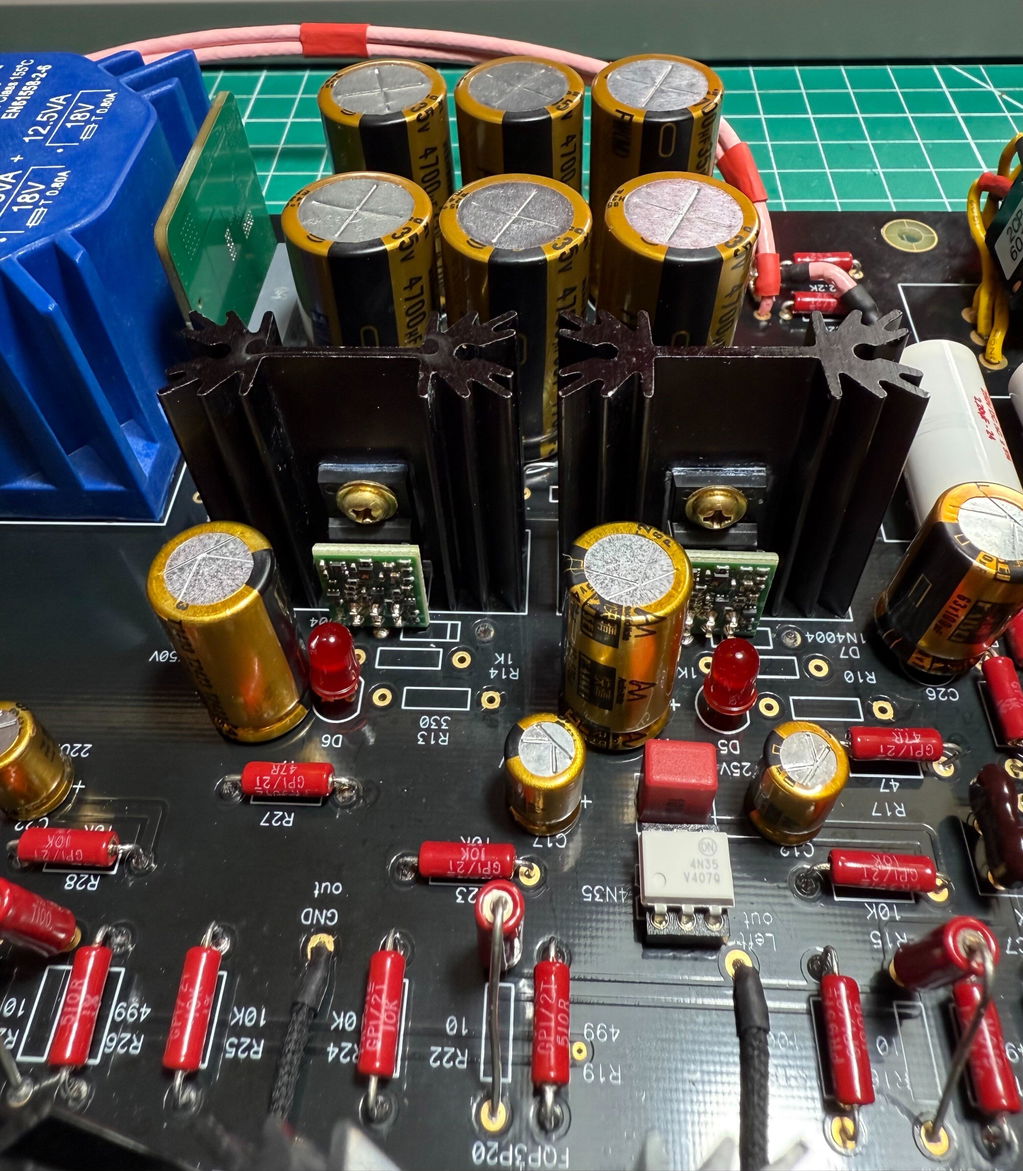
The Zenductor II BAF Edition kit is a straightforward build, with nothing trickier than lining up the 8 small JFETs so they look neat. It is an easier build than the ACA Mini due to more room on the PCB. I deviated from a standard build only in foregoing the on-board banana connectors, instead directly soldering banana pigtails to the speaker-out pads.
Biasing the Zenductor is particularly easy with only one pot per channel to adjust, a much much simpler procedure than biasing the ACA Mini or F5m. The heatsinks do run quite hot (mine are running 53-54°C above ambient, with a bias of 1.34A), but my limited experience so far indicates that bias is not as sensitive to ambient T changes as other Pass small DIY amps. The sound of the Zenductor is to die for (read the comments over on DIYAudio). I have no problem driving ca. 89dB speakers in smaller rooms (12’x14’). Just keep in mind that due to its limited gain, it will likely require more crank on the volume control of your source than most other amps. For that reason, pairing it with a passive preamp would benefit from higher sensitivity speakers.
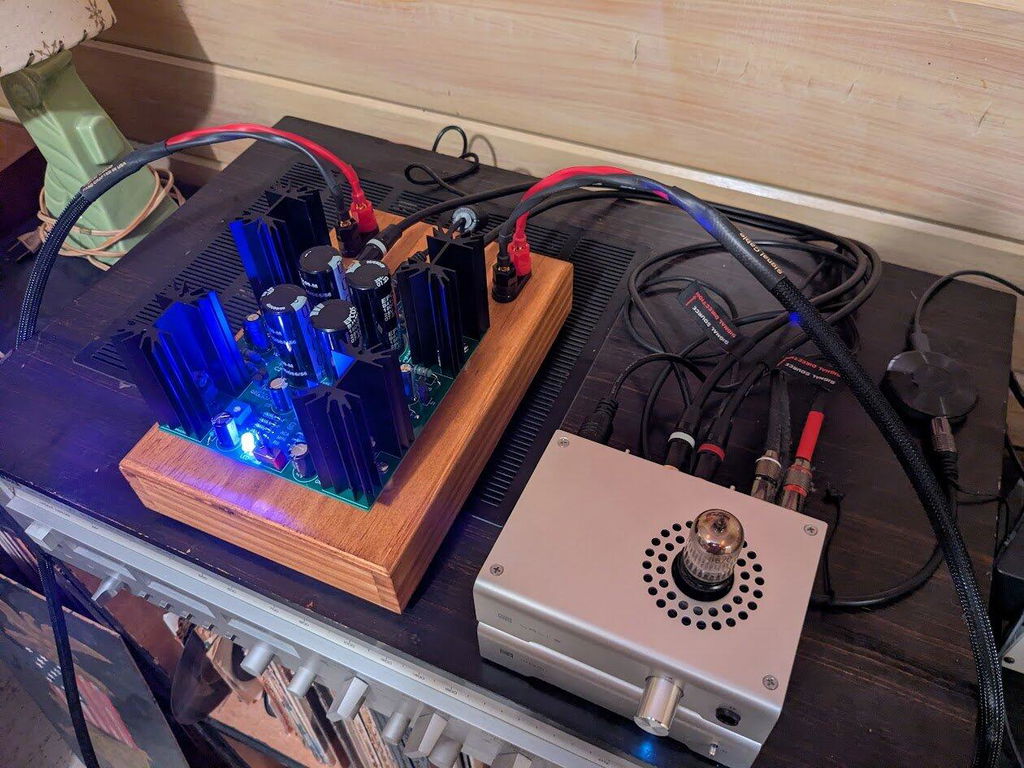
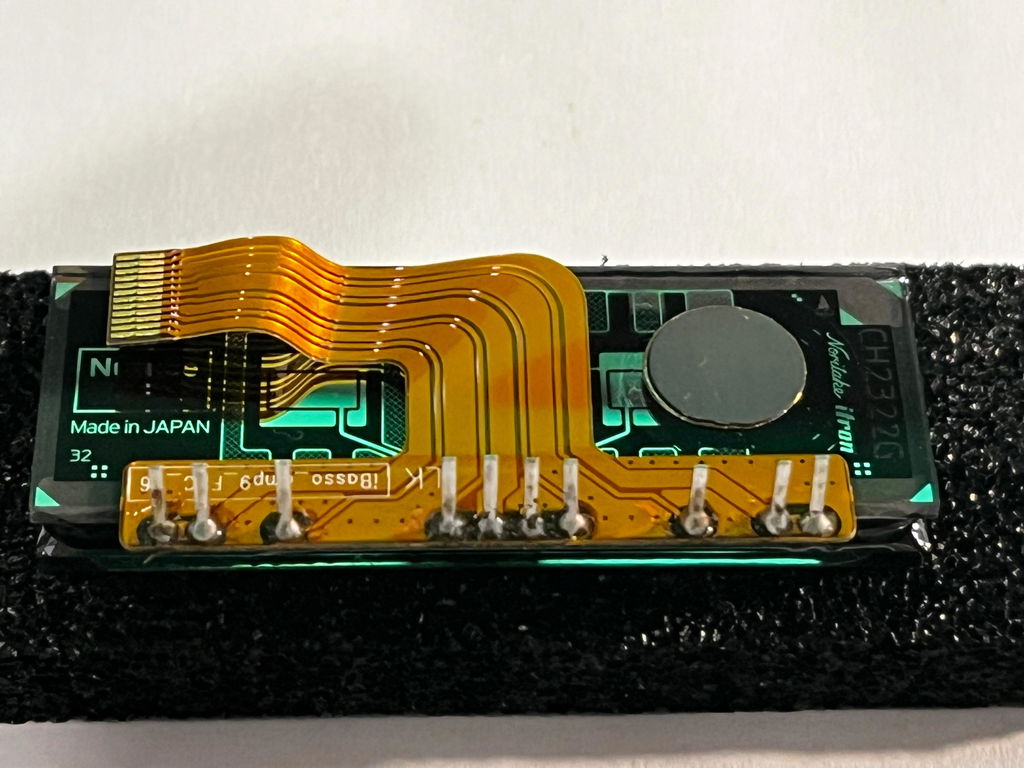
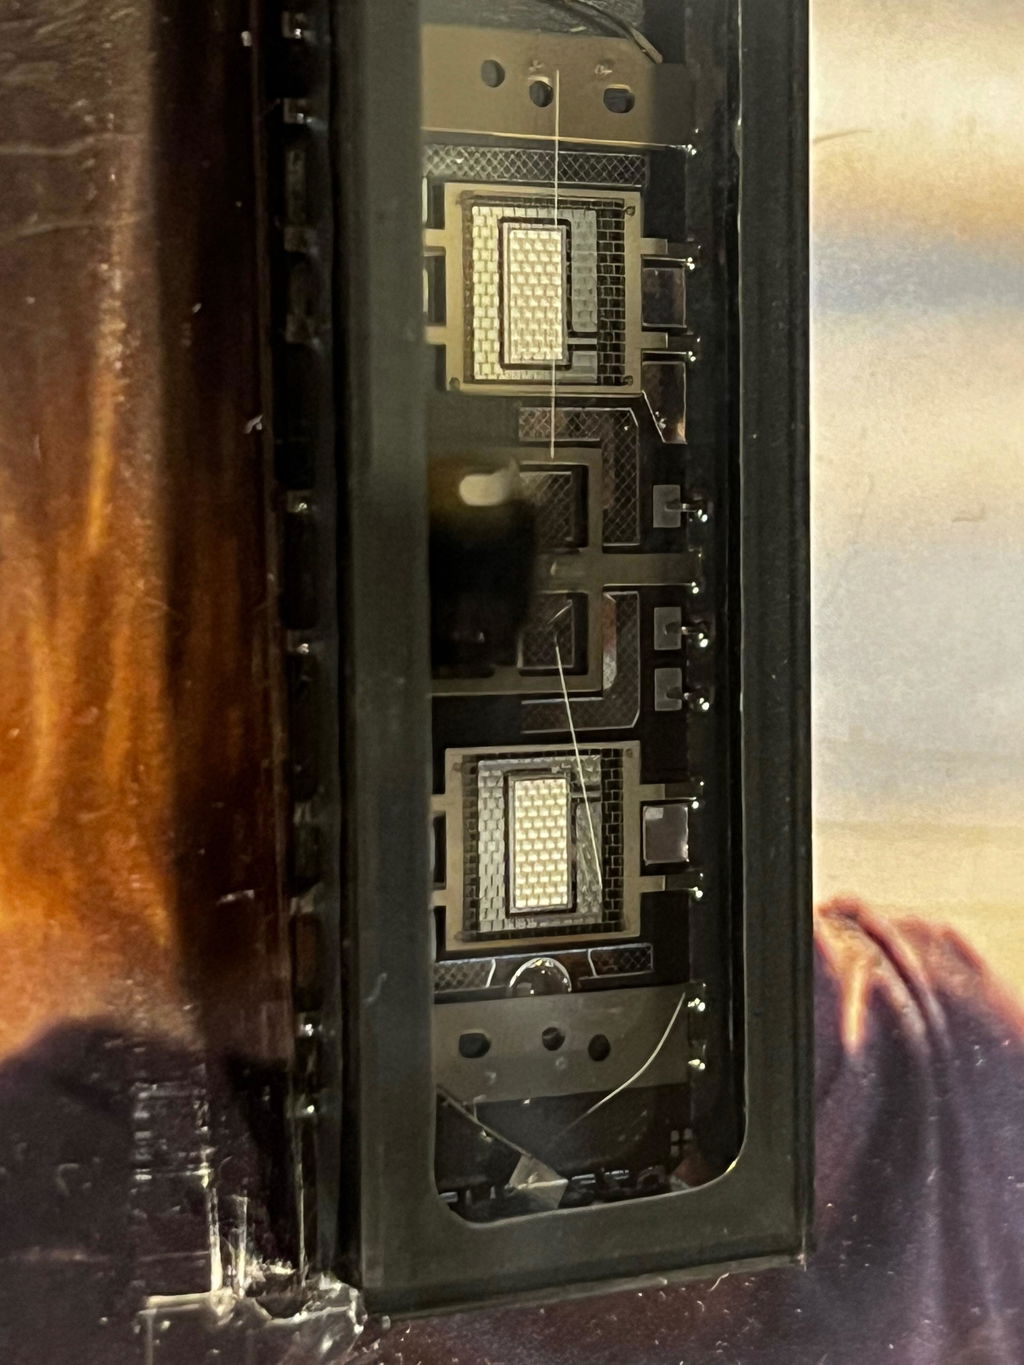
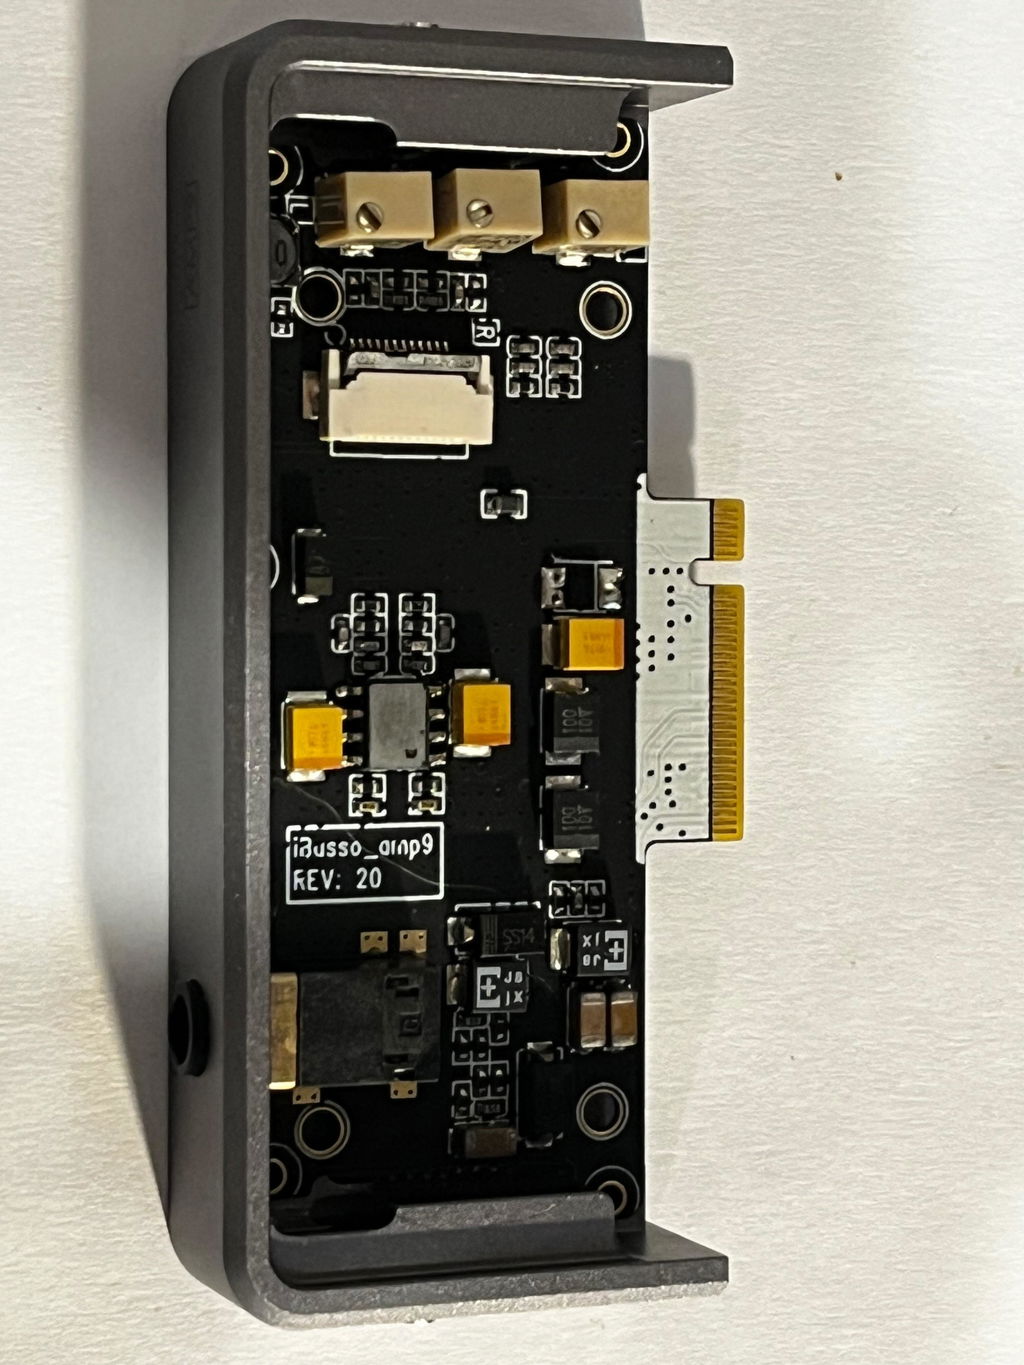
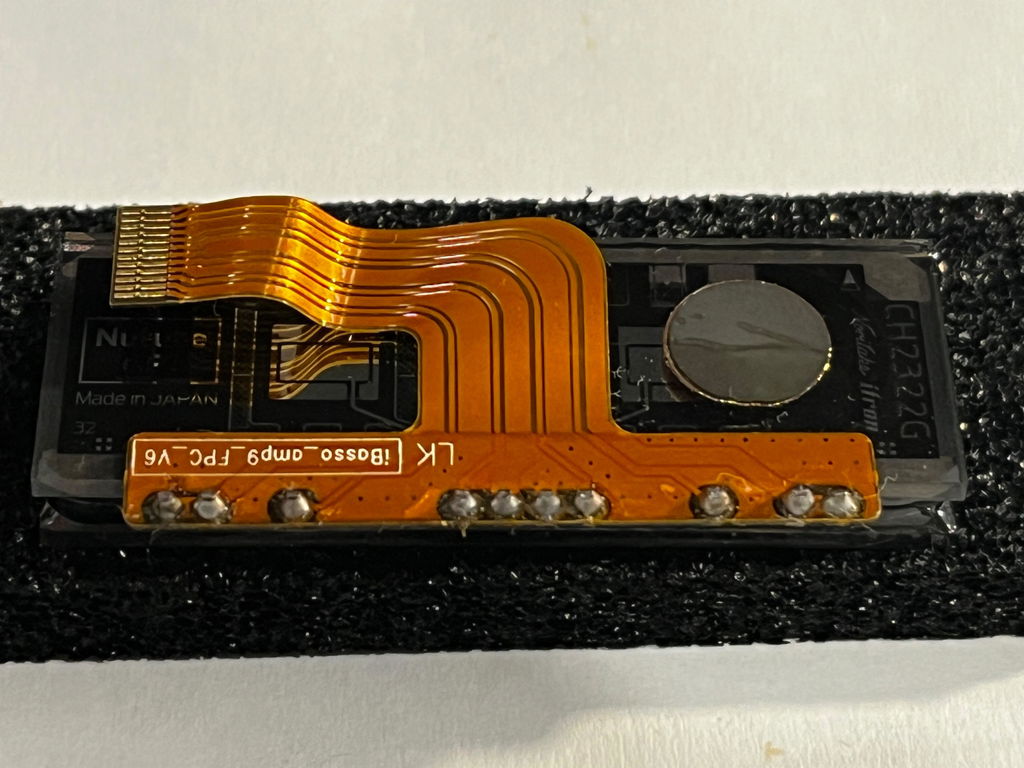
After the left channel of my iBasso Amp9 card died (due to a fused filament wire on the original Korg Nutube) I set out to find a new / second-hand Amp9 for my iBasso DX220, however none could be found online, eBay or even AliExpress. So I opted for the DIY route and couldn’t be happier. For around 50% of the original Amp9 price (due to shipping and NZ$ conversion rates), I’m enjoying my music better than ever. This little tube is amazing, saving for a Cuyin RU9 as it uses the same tube and means I’ll be able to self repair in the future if required.

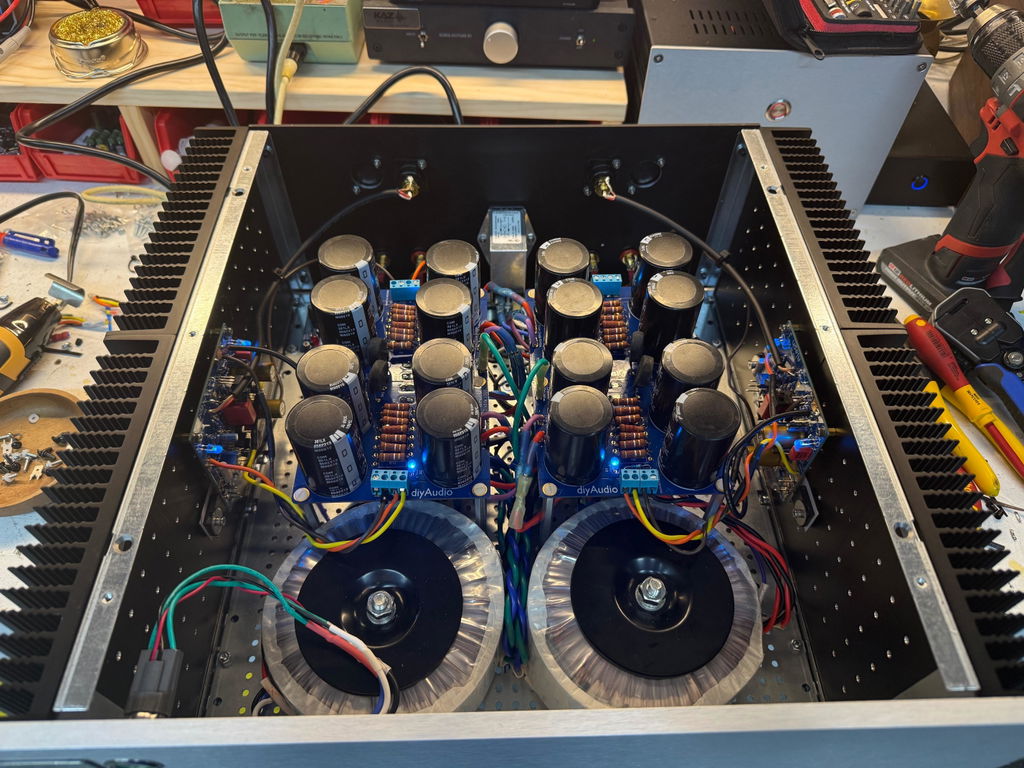
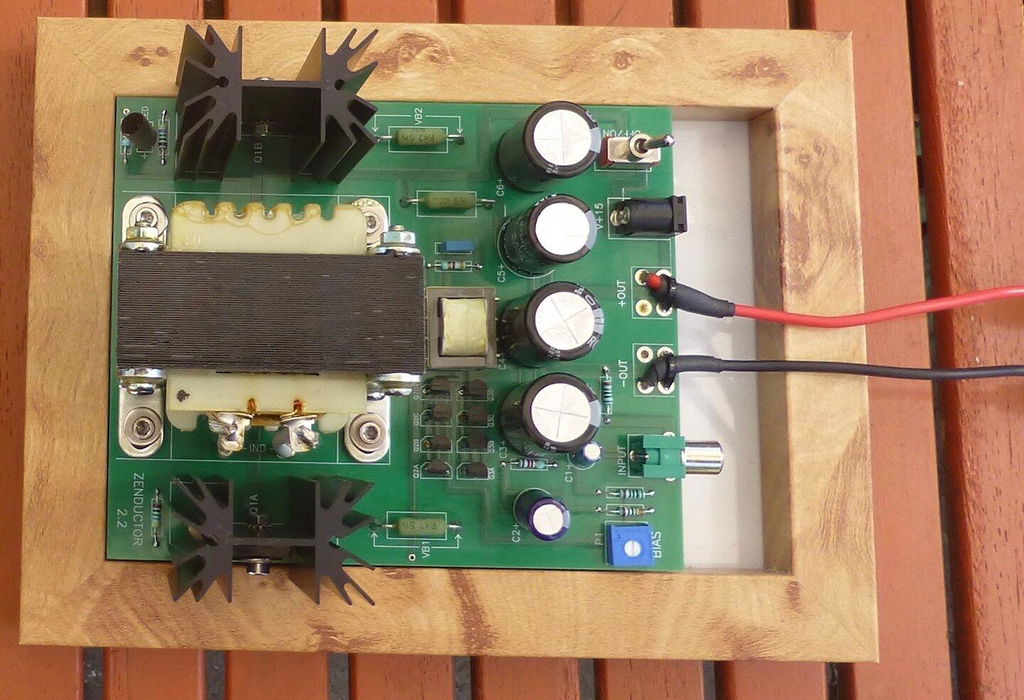
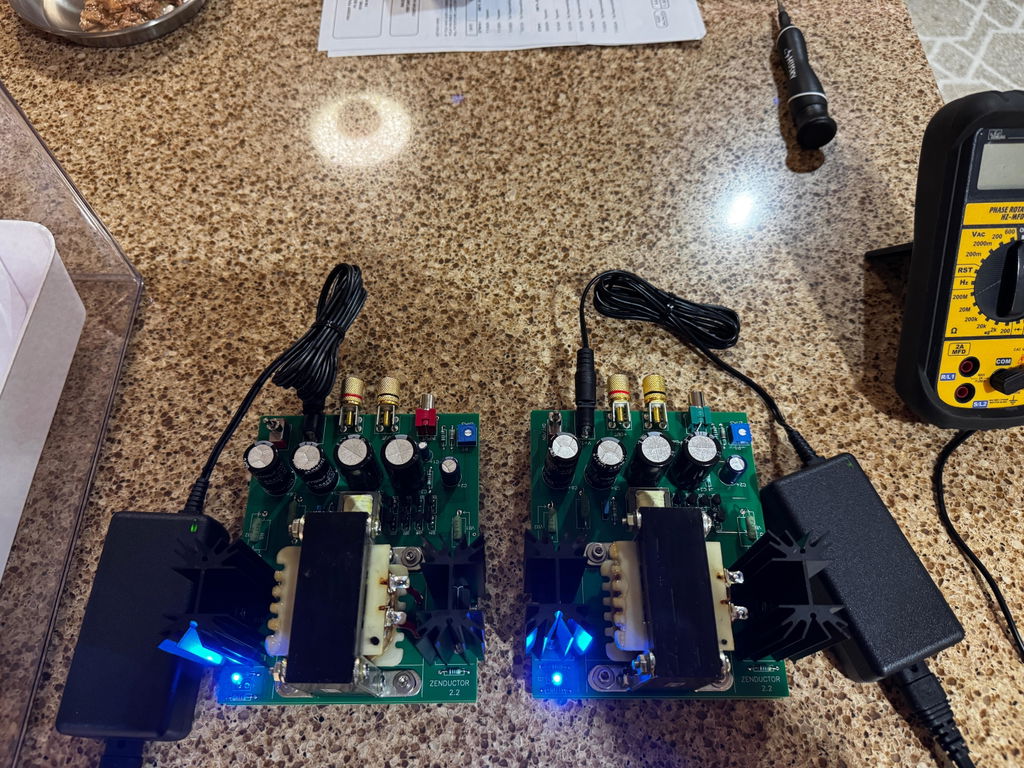
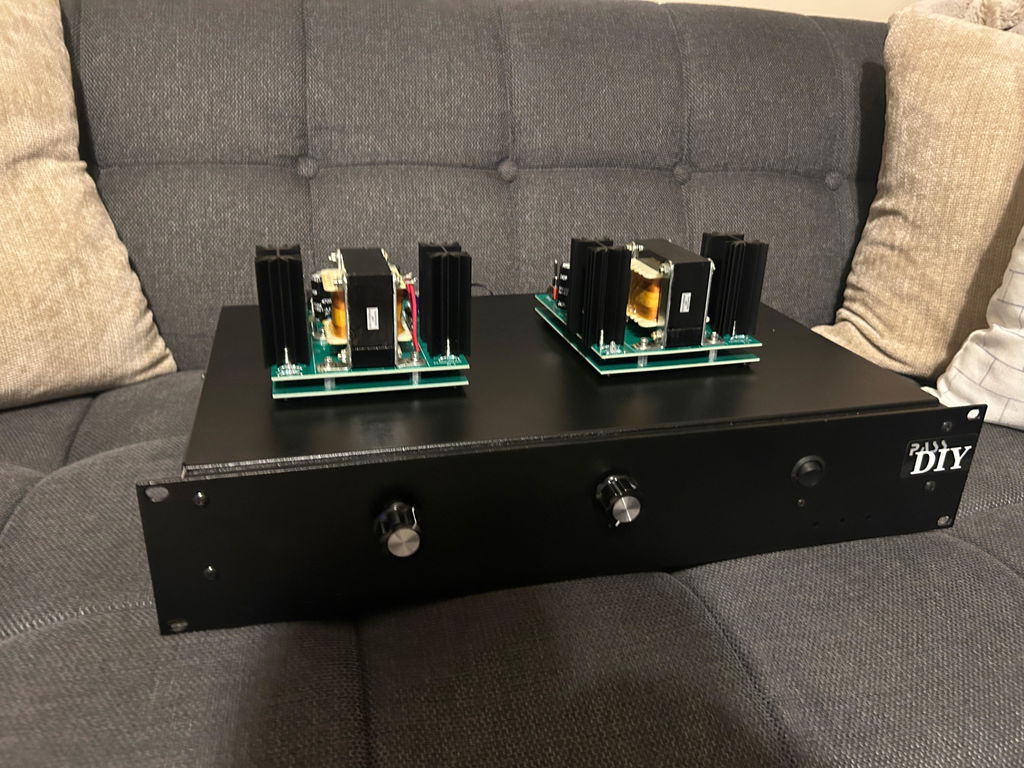
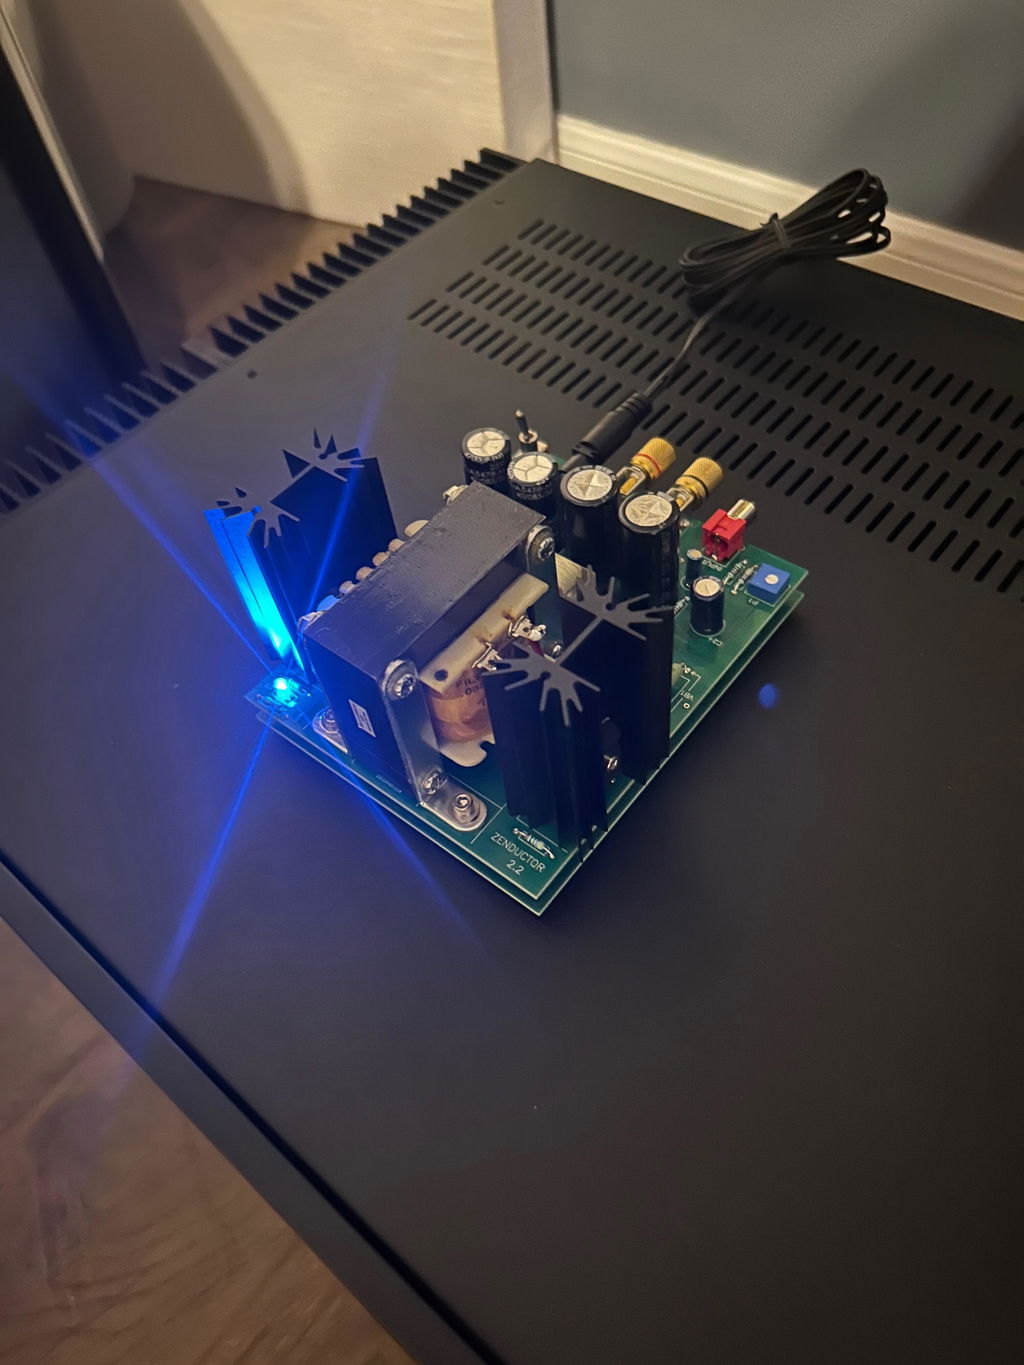
Nelson Pass and the folks at DiyAudioStore have hit their biggest home run yet in the pair of mono-block amplifiers. The Zenductor 2.2 is bar far the best DIY project I have embarked on. The build instructions, while slightly carried from the kit I purchased, were by far the most comprehensive yet. Between the guide and the forum I was able to find and parse all of the information needed. I was able to come home from work, find these in a box in my porch and go from there to warming the heat syncs in one evening with a perfect build the first try. Oh, and did I mention, they sound amazing! Truly the best sounding amps I have owned and very nearly the least expensive. Now if I could just get someone to develop a chassis these could drop into that looks like the Aleph 0, I would be all in. These amps would certainly benefit from the additional aluminum. I would also jump at the opportunity to buy one more mono-block kit, to have one powering my center fill. Absolutely astounding work from these designated hitters. A+


Really love these amps with the naked look, the ease of build, and the balanced sound.
These are very musical amps that run my 6 ohm 97 db Volti speakers with ease. I also built a pair for a friend and he loves them on his Zu Omen speakers.
The build is the easiest I’ve encountered only taking an hour and a half.
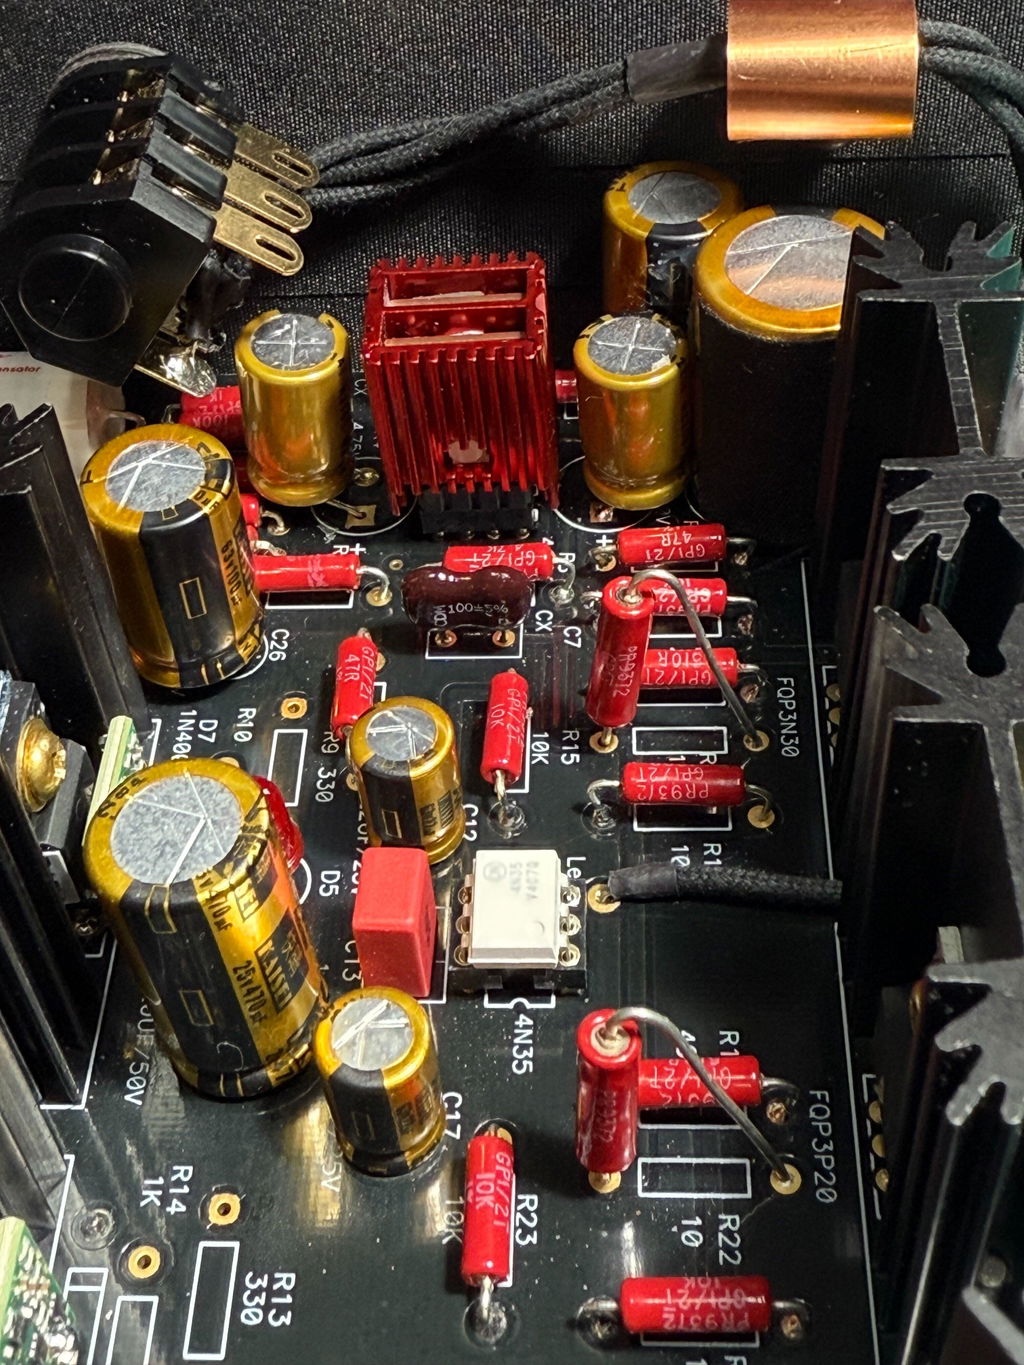
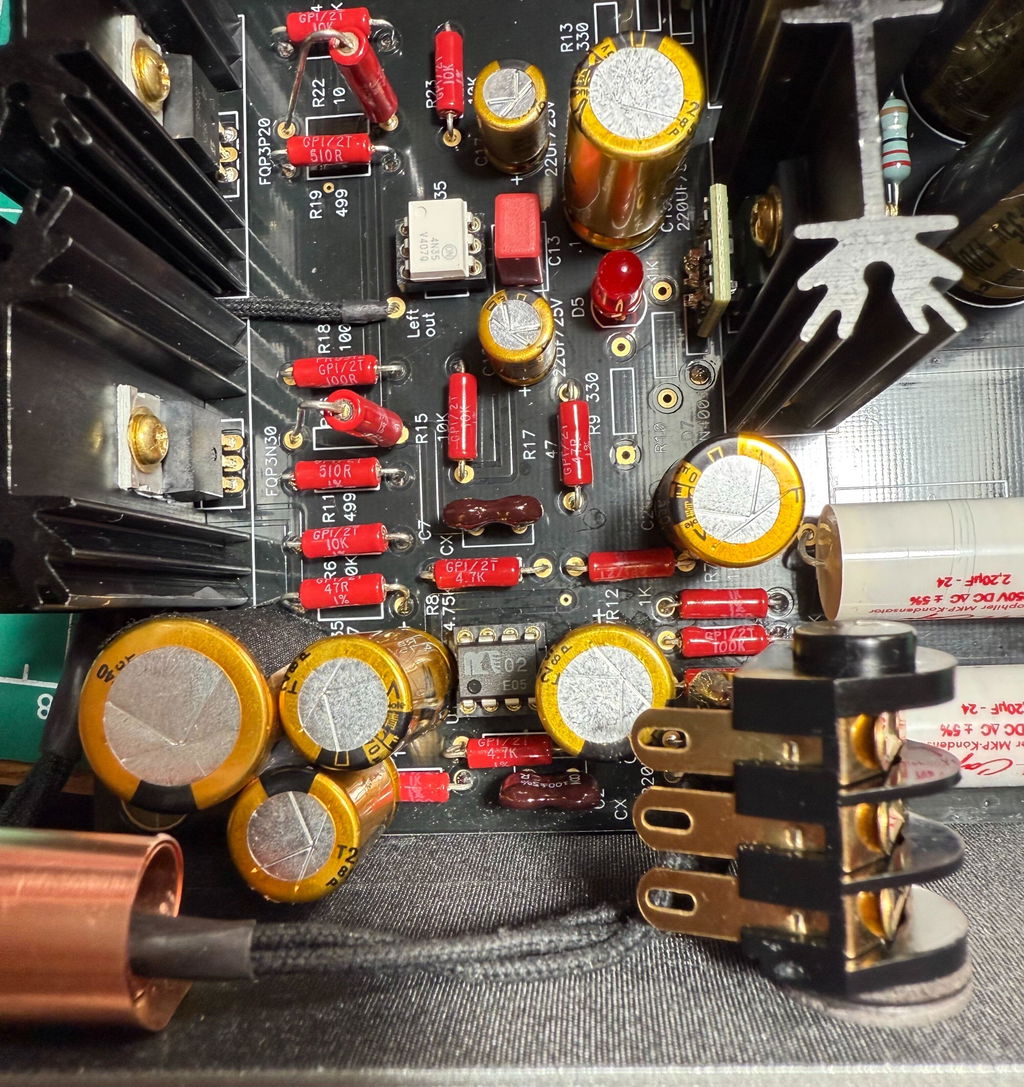
I initially bought a used Whammy from eBay that a seller had built using odd spare parts. It didn't sound terrible but not what I was expecting. So I set about modifying it. It soon became clear that I wanted to change everything so I bought a new PCB and started from scratch, re-using just the case and the heatsinks.
The parts I used that are non-standard are Sparkos discrete voltage regulators, PRP PR9372 non-magnetic 1% resisters, Nichicon FW power supply capacitors and Audio Note Kaisei capacitors and Audio Note silver plated RCA connectors. A Saligny Universal discrete synchronous rectifier instead of diodes from https://evotronix.eu/product/saligny-universal/ Transformer from Digikey and other components from Farnell. I tried various op amps from Digikey and Farnell.
Screened input cable is BICC silver, single core screened, in pink because I bought it on World Trans visibility day and my cousin is a Trans woman, the output cable is DueLund copper in cotton and oil insulation - because why not ? DIY Audio is about making interesting decisions and trying something new like oderous cable and the Salingy rectifier :)
I tried various op amps from the venerable 5532, OPA2134, OPA2132... 134, 1611 LF353... lots of OPA op amps and also a Muses02. The best reasonably priced chip was the OPA2134 which did everything really well, but it was beaten quite clearly by the Burson V7 vivid which is what's in it now. It does run warm so I added some ventilation to the case but even without that I think it would be fine.
The built process was very easy once all the parts had arrived. Planning the build is important as putting large items in first makes adding resistors and smaller parts more difficult later on. There's plenty of space for most things if you use the recommended values, but if you want to increase or change to different types or values, double check the space available. Make sure you can clean the board using a proper solvent mix, especially around the op amp.
The community on DIYAudio is fantastic with a number of people offering great help and support. I'm a latecomer to the project so there are already lots of questions answered which make for interesting reading.
How does it sound ? It's brilliant ! It copes with my 300 ohm Sennheisers very easily, the bass is deep and strong without being overpowering. (Fit the MUSES02 op amp if you want emphasised bass response) It's easily the equal of most commercial headphone amplifiers.
The PCB quality is very good, double sided and if you find you need to de-solder a part, the pad doesn't automatically lift, as happens with even good commercial products. Being black it looks great with contrasting components, hence the red resistors.
I'd really recommend this project to anybody, forget the fact it's relatively easy to build, what you end up with is a great headphone amplifier which you can modify and test ideas on for years to come.
Many thanks to Wayne Colburn of Pass Labs for the design, you know a Pass Labs design is going to sound great !
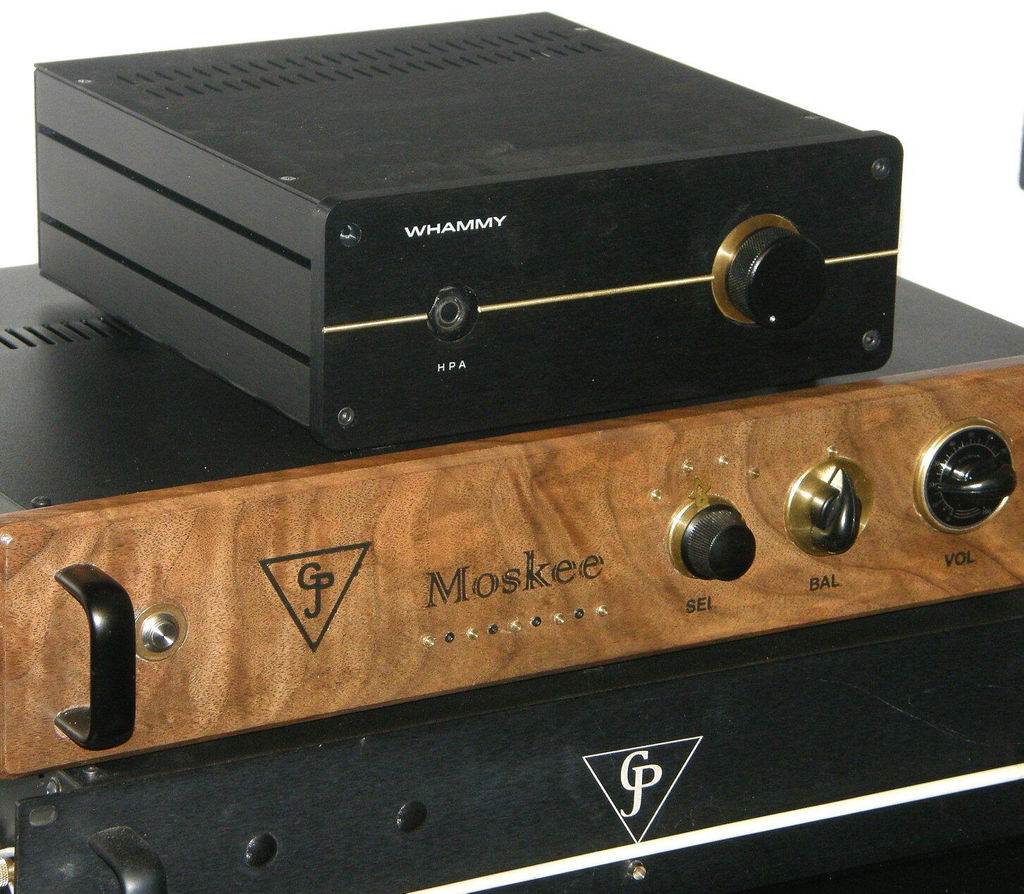
The chassis has a lot going for it. Most of all, I like the thick front plate. It is what separates the chassis other offers out there. Then of course is the fact that chassis is completely silk screened, holes drilled and even the inset for the volume control is a nice touch. I like the way that the chassis goes together, but also wish that the nuts didn't have to be kept in alignment while you are assembling the unit. What I did to compensate was to use a bit of putty on each side of the nut to keep it exactly where it needs to be when you are inserting the screw. It would be a good idea to have 6 of these screws instead of only 4 to hold the top and bottom plates down all the way across the side/top/bottom of the chassis. I used G6000 to keep these plates from rattling. Having that, I would readily buy another one of these for my next Whammy build, as you won't find a chassis better suited for this project.
This was a fun one to build. I used a fan to cool off some smaller heatsinks. Loving the sound so far!
I built a pair of the 1.8 version amps over the past year, along with an ACP+ preamp. I have previously built a few 500 series modules for music recording so I suppose I qualify as an intermediate builder. The only issue I encountered with the ACAs was a broken brass stand-off for one of the heat sinks from over tightening. I drilled it out and was able to friction fit a replacement without too much trouble. Everything worked perfectly after powering up. Drilling and wiring the ACP+ chassis was by far the most difficult part of the whole project, I’m using this set-up (bridged mono) with a Rasberry Pi music streamer and am so happy with the results that I will be replacing my tube integrated amplifier with the Amp Camp gear. With sensitive speakers (Zu Omen DW), this set-up is awesome for a home system and provides the extra satisfaction of DIY.

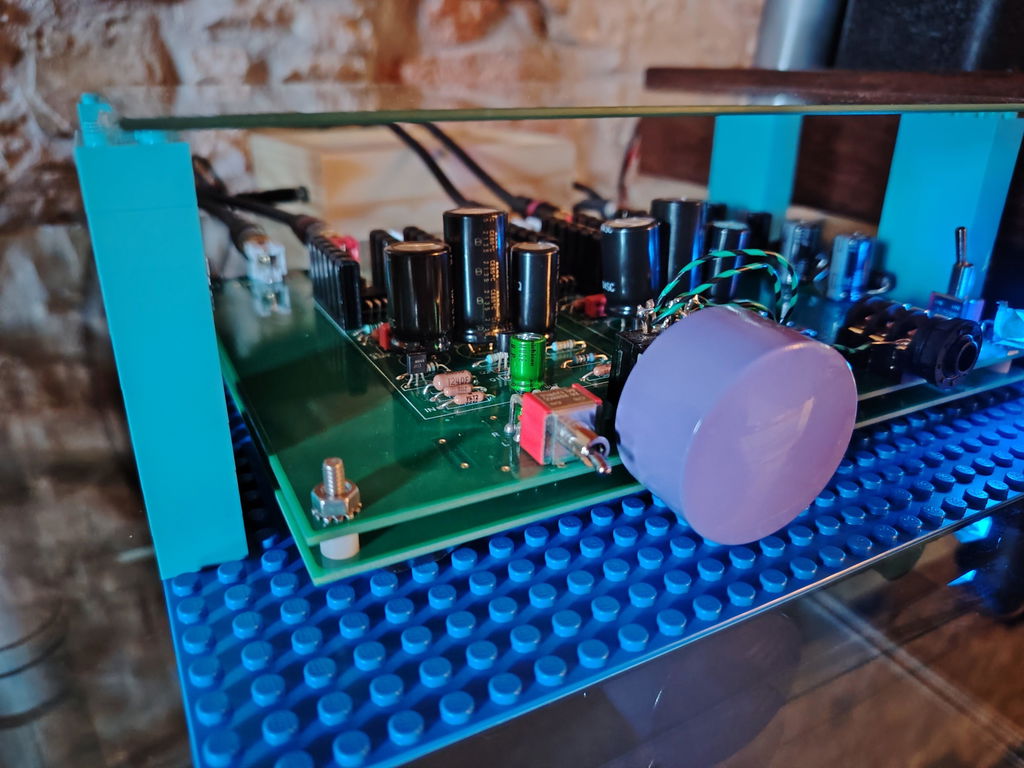
Sweet sound to embrace yourself within. Easy to build with excellent sound. Dressed with bricks for a neon personalized style. Love it!
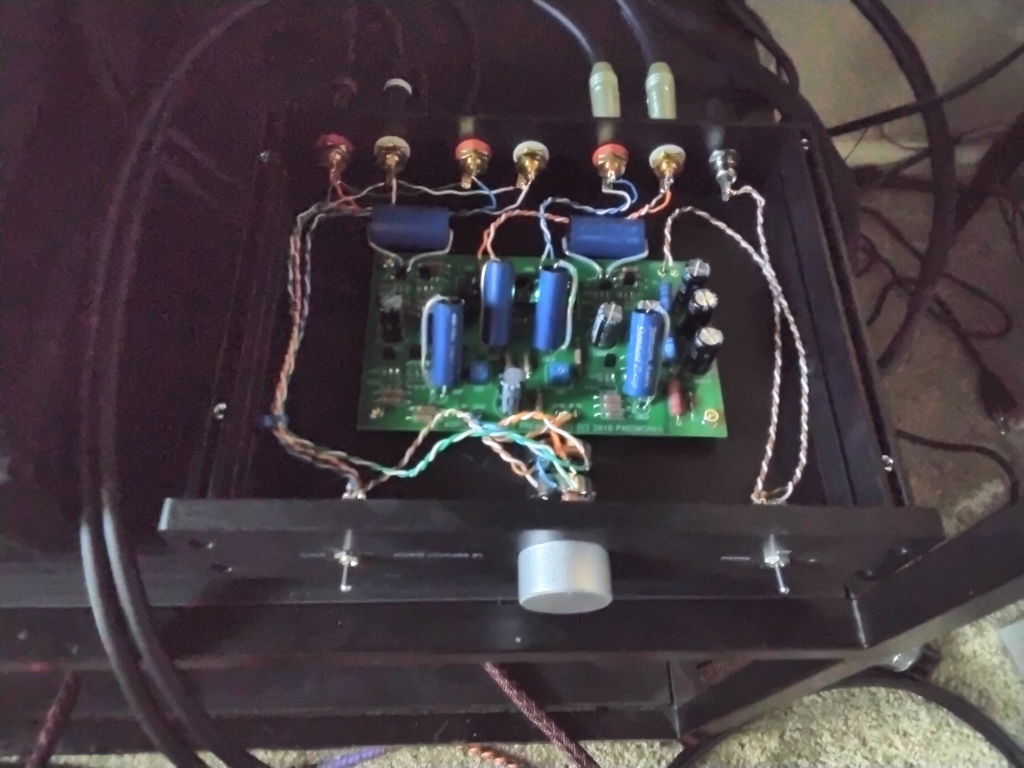
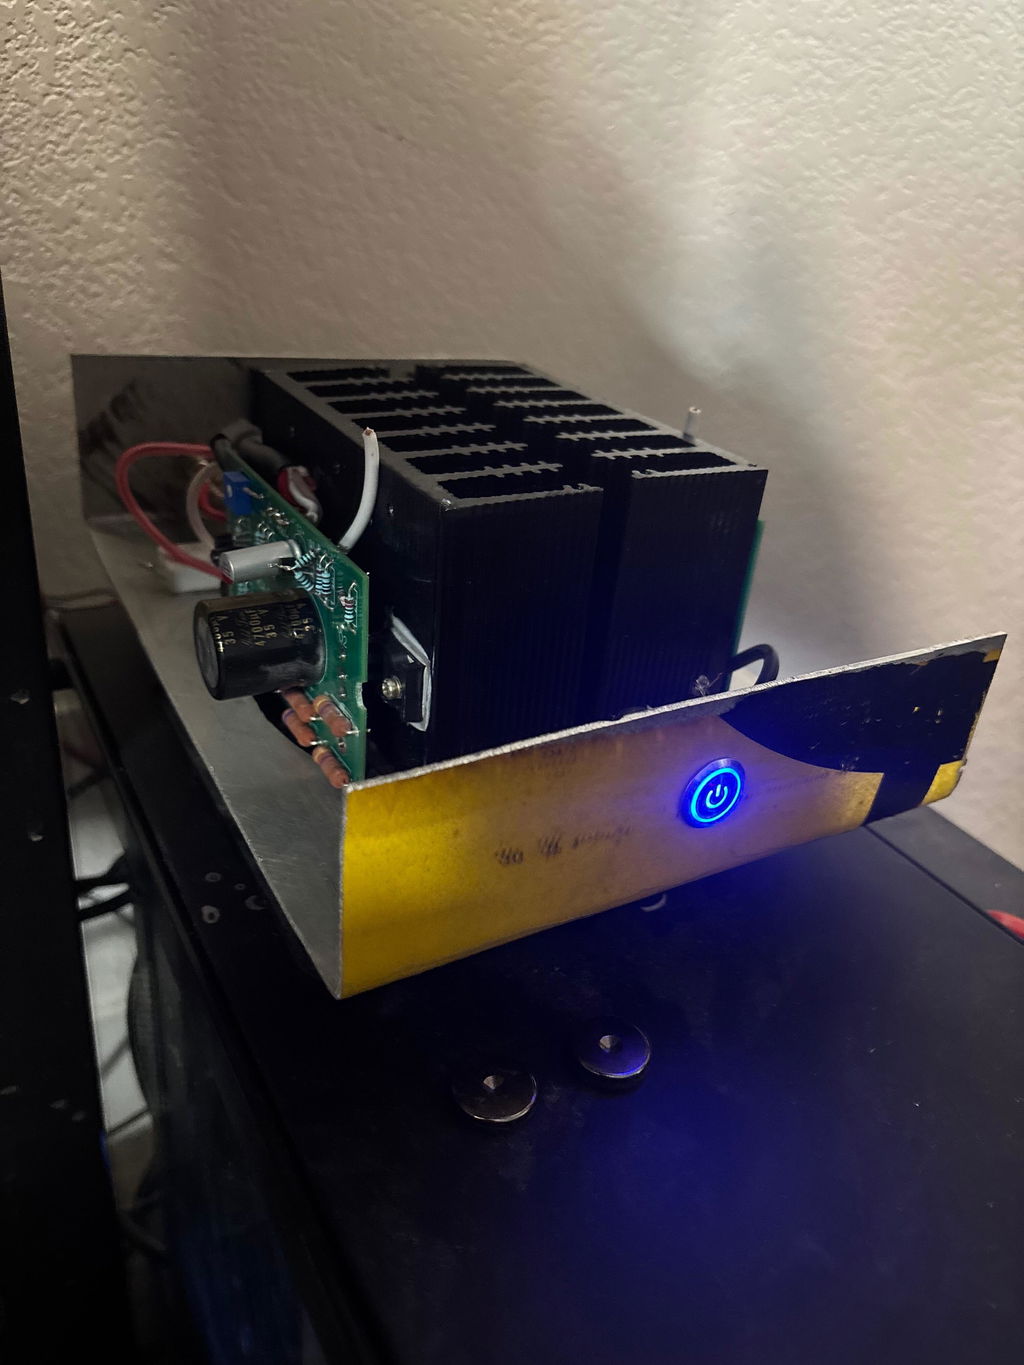
Was not that difficult to weld despite the smd transistors, had it running for a few hours to burn in. Comparing it to my pro ject DS+ I could notice a better sound with lower noise floor. I'll be using the lower gain with my Lundhal sut's, noise floor is much lower this way.
My aluminum case from China is delayed for some reason, that's why it is presented this way.
The power supply is separate in another box
Thanks for this very nice ce project, in line with the F6 and korg B1
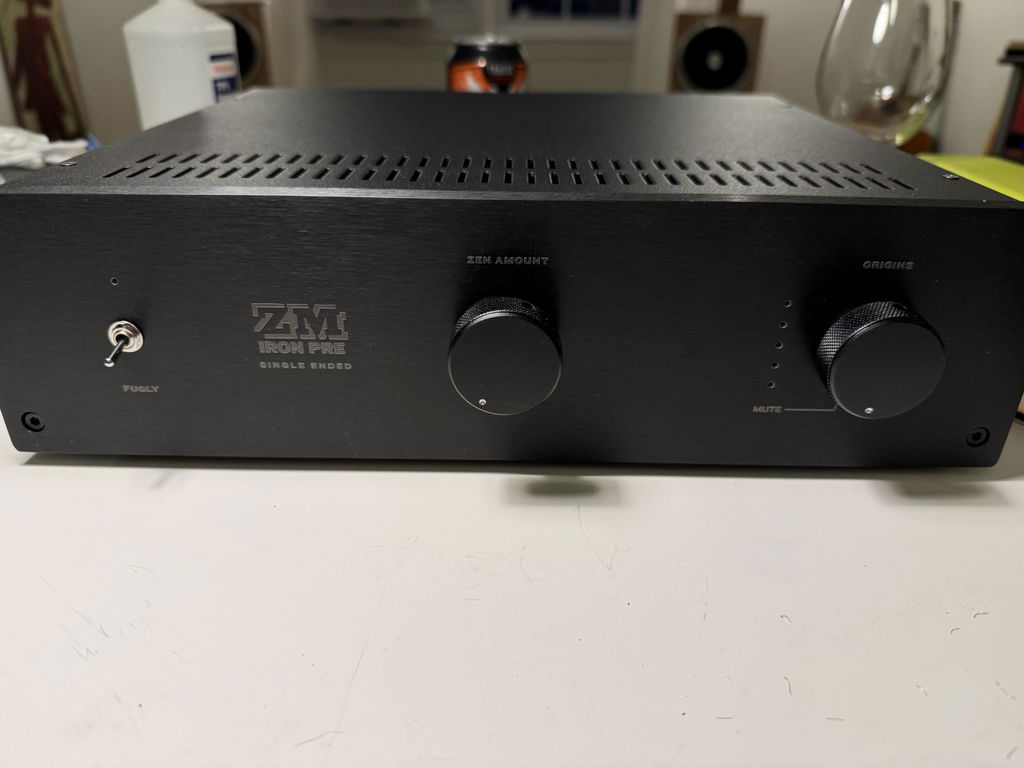
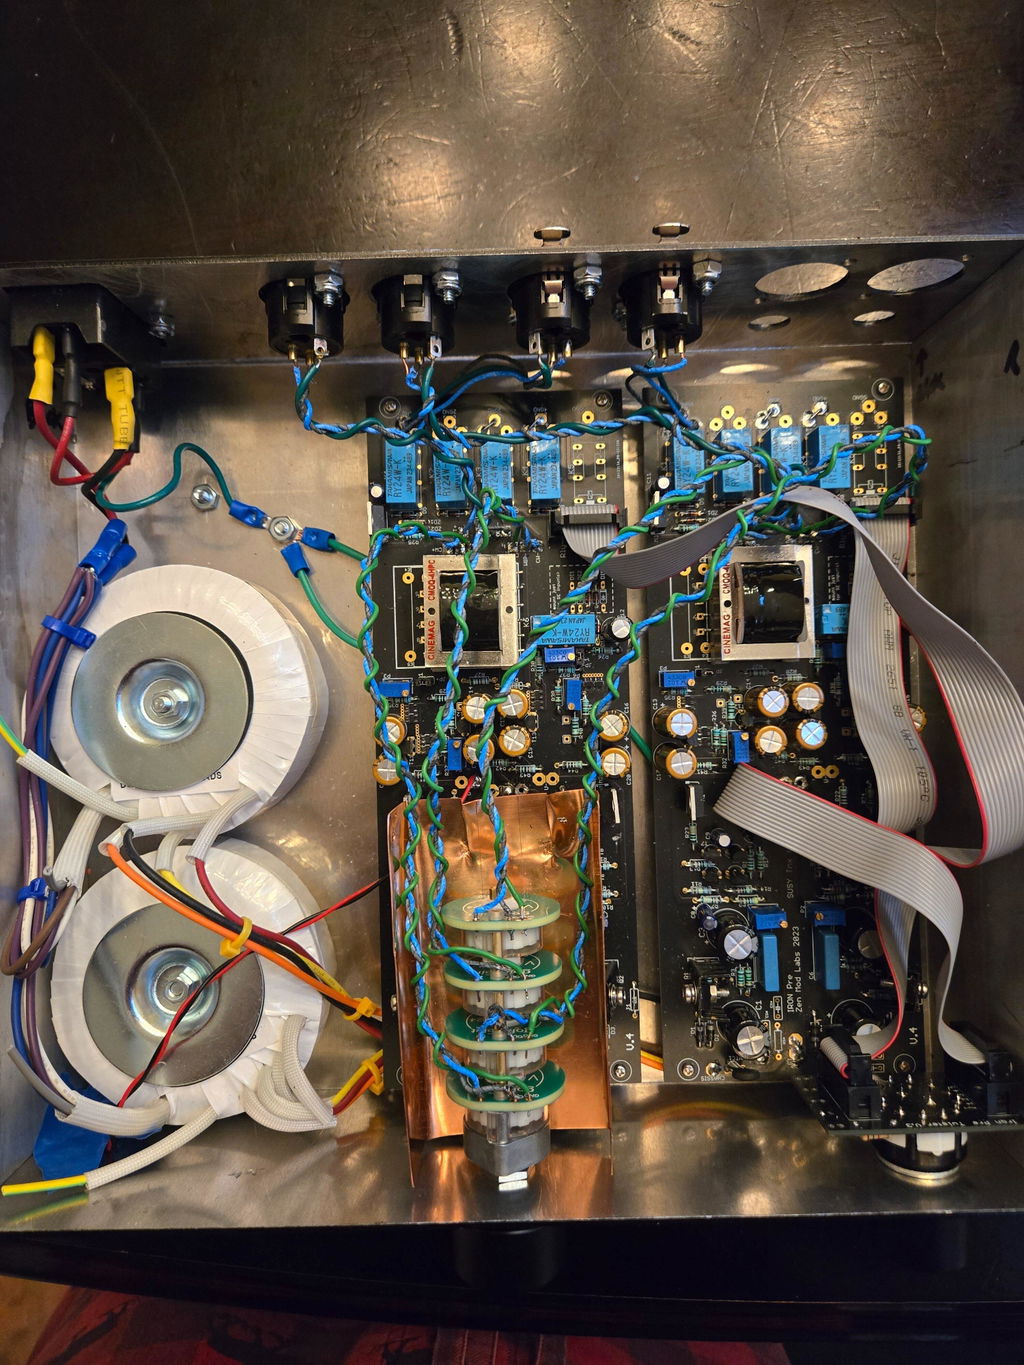
This was a fun build with some minor challenges for this newer DIYer with very limited EE knowledge. But with help from the community it all worked out.
The SE IronPre sounds lovely, even after just a few days of use. It replaced an Elekit TU-8500 (tubes) in my rig (with Elekit TU-8900 [2A3 tubes] and Zu DW6 spkrs). The IronPre presented clean open and perhaps more delicate (in a good way) sound, with stronger imaging. Still breaking in, but very satisfying so far.