

The "Honey Badger"
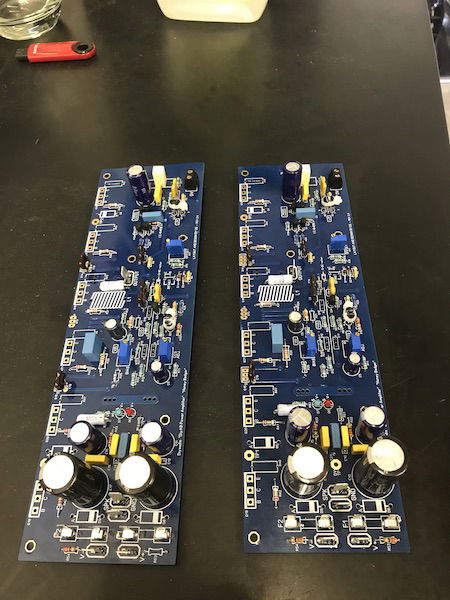
- 2 x Honey Badger Amplifier PCBs
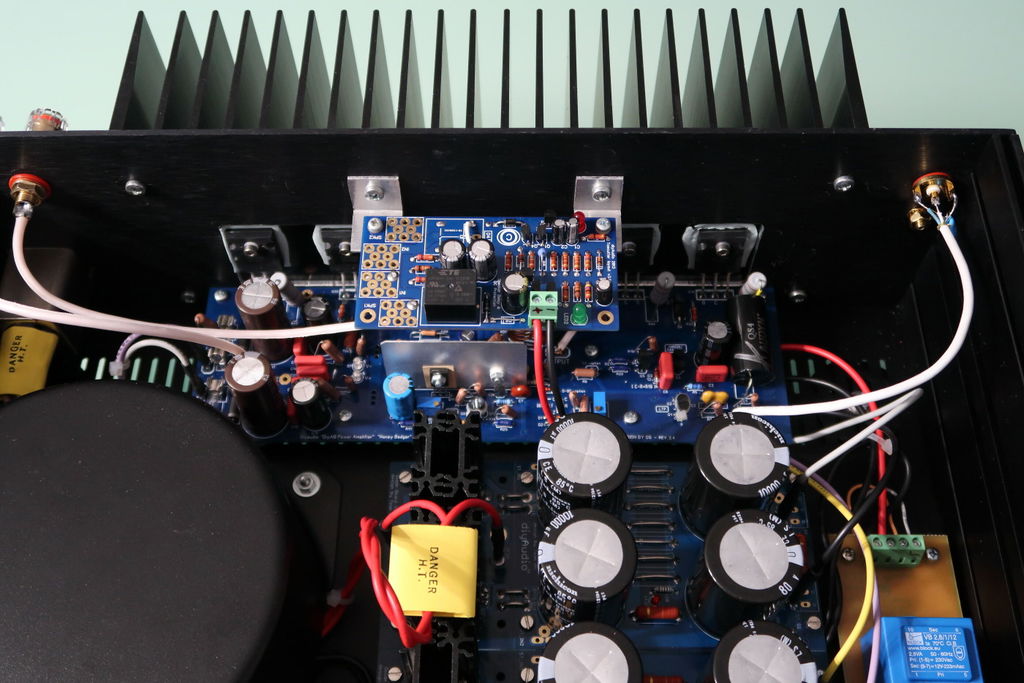
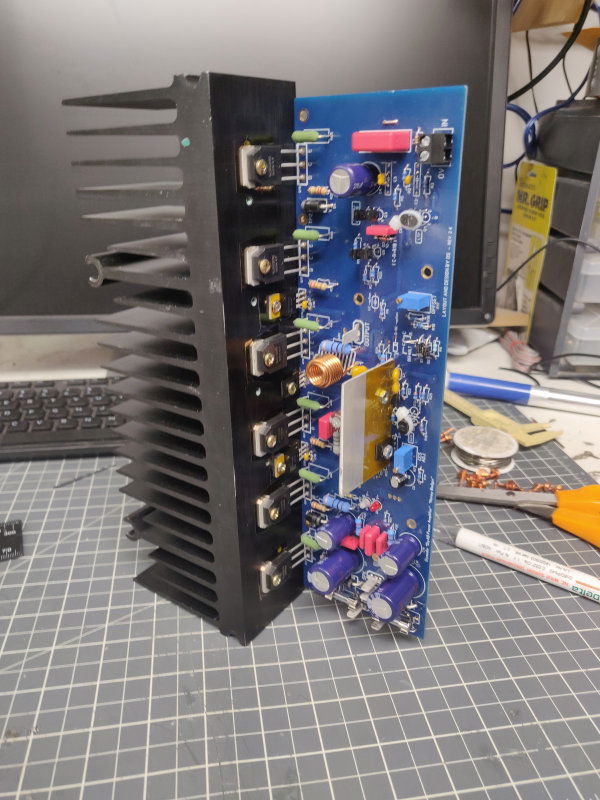
The first Class AB power amplifier to be featured at the diyAudio Store. It has been designed from the ground up with the sonic character, power output and most of all the DIYer in mind. With a basic power output of 150W at 8 ohms, this power amp is sure to have a place in every builder’s projects list. Not to mention its flexibility and adaptability to work with most output devices available locally in wherever country you may be.
Please visit the Honey Badger Helpdesk Thread for any questions you might have and for a definitive list of links to all articles and discussions about the amp itself, the build guide, schematics, and Bill of Materials. The designer OSTripper is active over in the Honey Badger General Discussion Thread which is where all the action is.
Important note on resistor lead size: The resistor lead holes were intentionally made small by the designer. Please check the lead sizes of the parts in the BOM and use them as your maximum lead thickness before purchasing alternate resistors.
Additional Information
- Bill of Materials
- Unofficial 2.4 Bill of Materials by mbrennwa
- Schematic
- Unofficial 2.4 annotated schematic
- Dimensions
- Build Guide
- General Discussion Thread
| Dimensions | 253mm x 76mm |
|---|---|
| Mounting holes | UMS Heatsink Compatible |
| Layers | 2 |
| Board Revision | 2.4 |
I've built two mono amplifiers with this kit and after a few months of operation I can write my opinion. The sound is really fantastic. I like it from every point of view. With the right power supply it can deliver a lot of power and pleasure! The building guide i sclear and well done. In addition there are a lot of informations in the general discussion thread. I only have one point of criticism, regarding the footprint used for many passive components. They are often a little small, so if you use different components (for istance dale resistors, ) you have to mount them vertically. Even the drill size should be increased for many components.
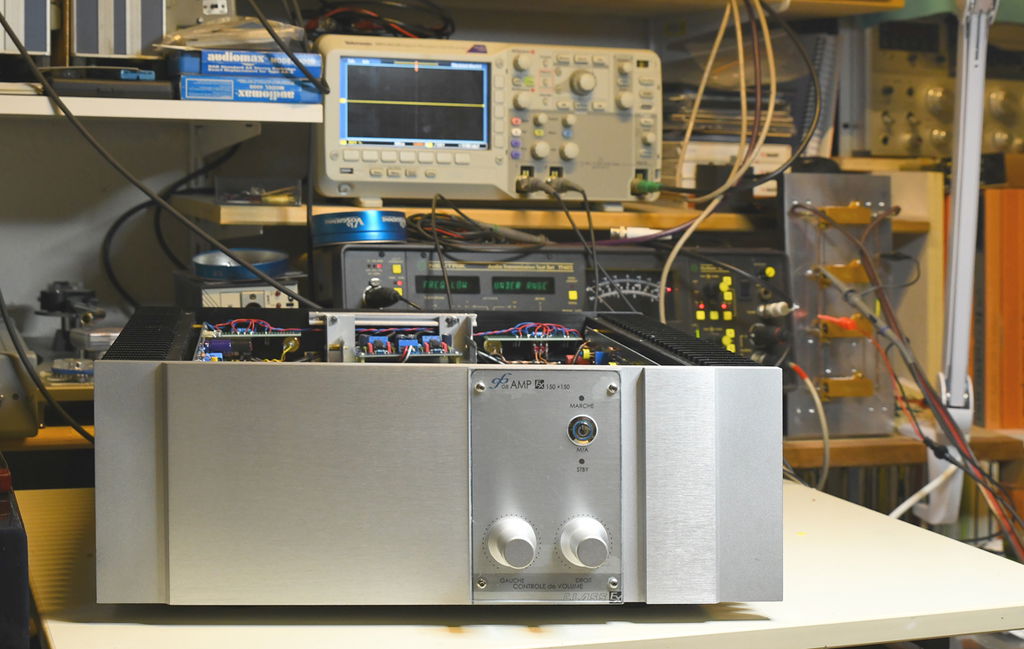
Hello every body,
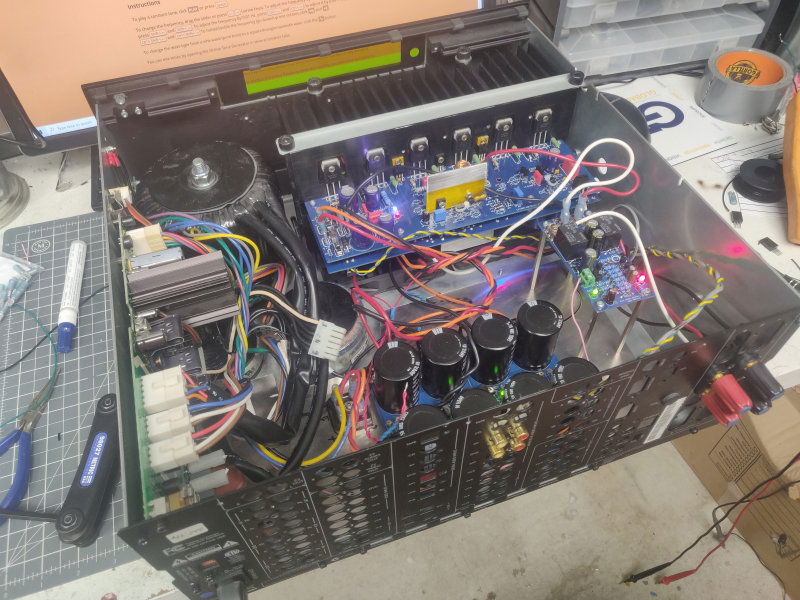
I built my first Badger Amp last year and was very pleased with the result.
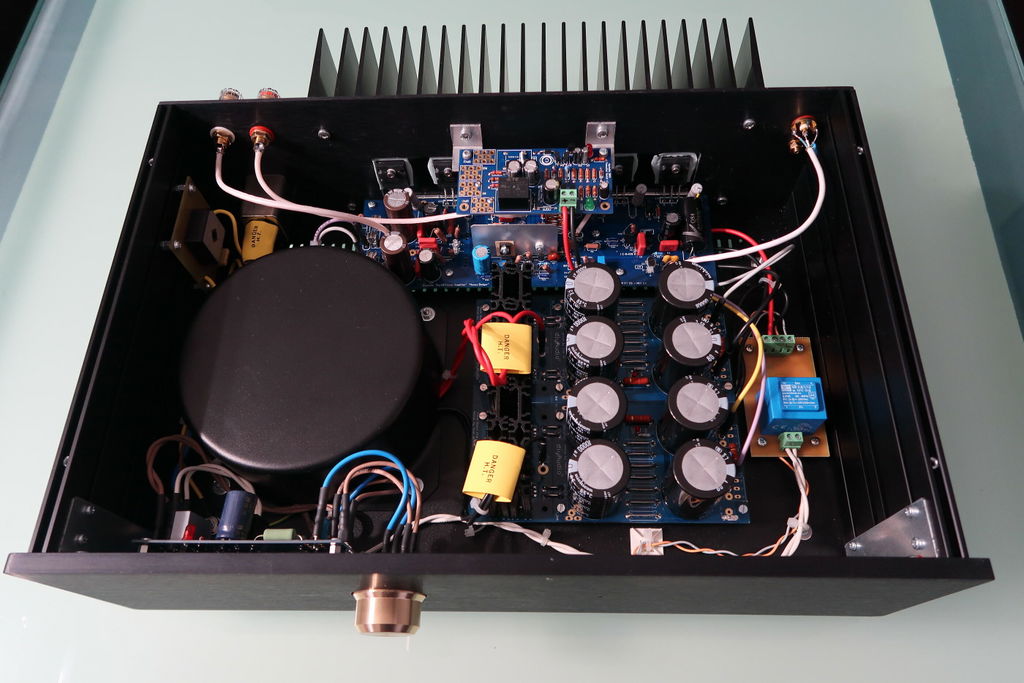
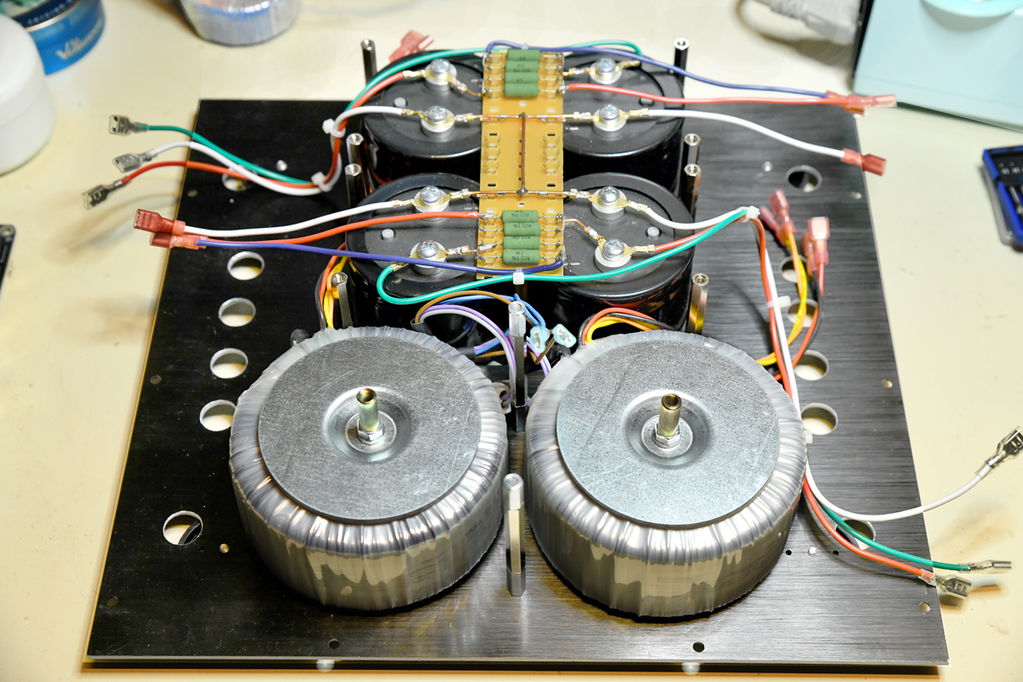
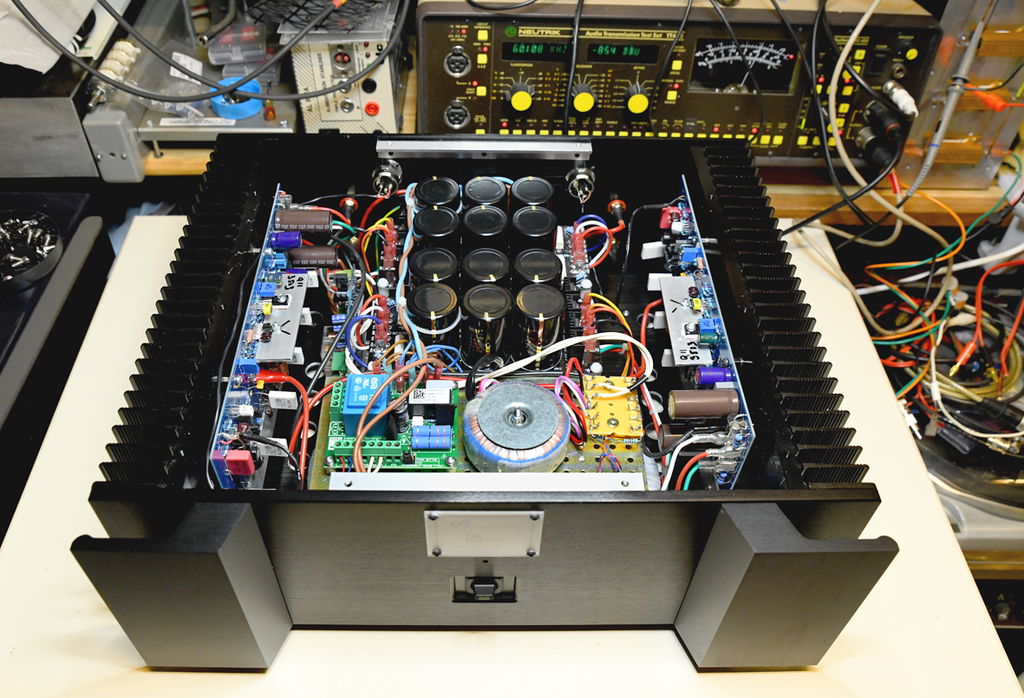
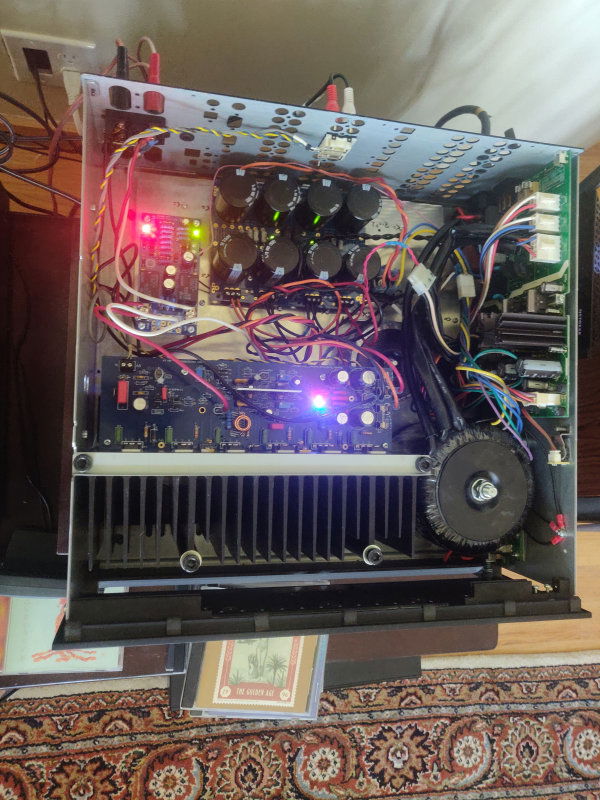
So I decide to built a second one as dual mono and balanced design.
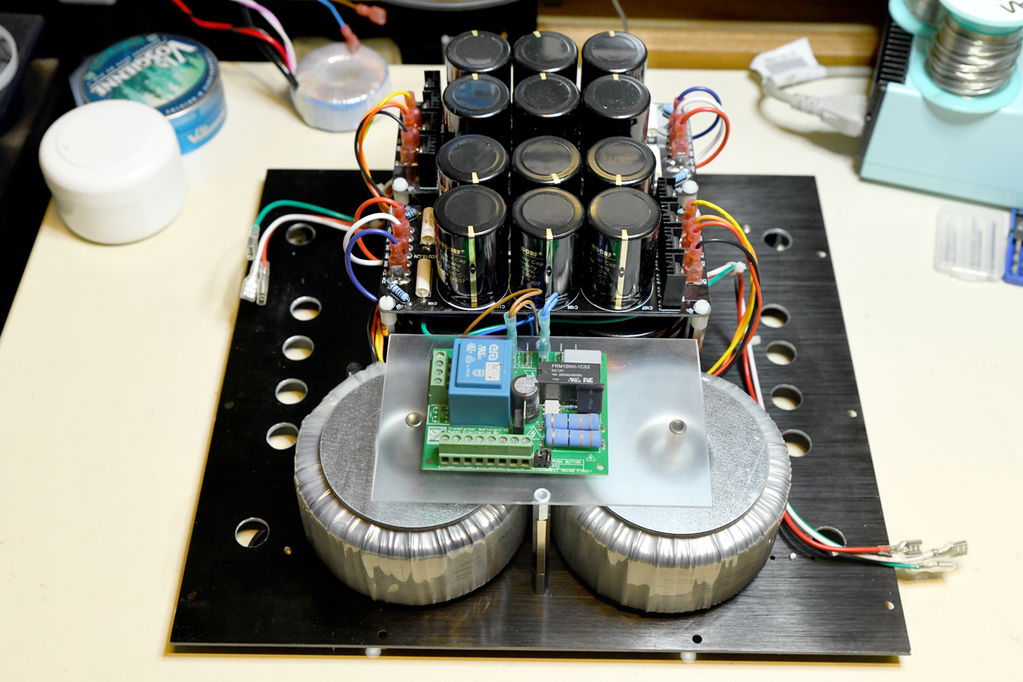
Dual Mono : 2 x 400 VA transformers and 2 x sets of capacitors totalizing 120 000 µF for each channel.
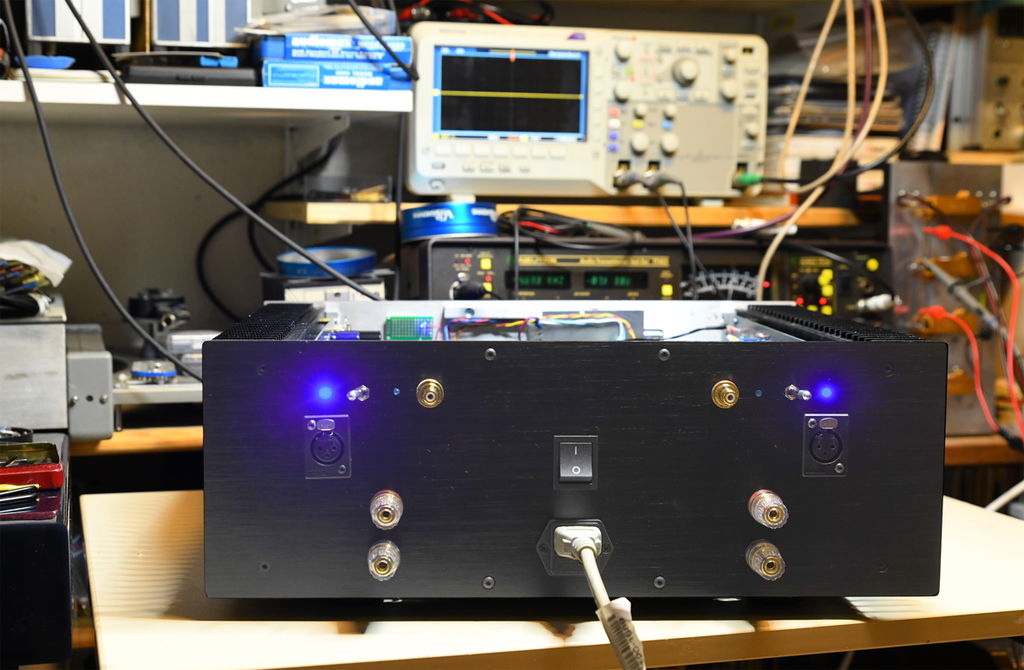
Balanced design : to avoid ground loop and hum in complicated situation.
I am using balanced equipment, not only for fun or for the pleasure to have XLR connectors but because my listening system is tri amplified and the use of unbalanced amps in multi-amplification system frequently produce hum caused by ground loop.
To avoid these problems the simplest way is to use balanced equipment.
For this reason, I “modify” the Badger amp in a balanced design.
When I say “modify” it is a little exaggerated because the existing design can easily be used as a true balanced amp, and, of course it works fine.
I have checked distortion, noise level and all other parameters which are identical to the original unbalanced one.
Not sure this message will help any other audio enthusiast, but I assure you, it can be helpful in peculiar case where ground loops are critical and of course to avoid trouble in multi-amplification design.
Ig you are not pleased with your actual amp, no time to waste, go to your solder iron and built your own Badger Amp !
You will not be disappointed. Badger amp is really a bargain and a musical instrument.
I already build some Pass class A amp. but class A is not a good idea with powerful item.
I decide to try the Honey Badger. The design of Ostripper was very clever. There is all necessary element to obtain a fine result.
To my opinion there is in the schematics exactly what is needed to obtain a "good" amp but without complication. Except the fact that some holes are a little too small, the PCB is of good quality. I propose to clean the soldering side before beginning to obtain good solders. It is easy to populate.
The start procedure is well described and works perfectly... even if you made a mistake. When completed, I finally had the opportunity to hear nice music flowing from my speaker due to the exceptional quality of the Badger amp.
I am not disappointed and I begin a second one.
I can say it is a very good thing and a very musical amplifier.
Bravo to Pete Ostripper and thank you to Diy Audio Store to allow us to obtain such a result.


Built 2 pairs for a bi-amped ESL setup. They sound amazing and were easy to build. Amps are quiet and the detail is fantastic. I would highly recommend this amp build to others.
I'm not done tuning it yet, but it is built and has been tested on big speakers, and it pushes them very well and sounds better than what I currently use in the living room. This was my first amp that I have built, and the support thread was very supportive. Very pleased with the overall experience and the sound is great! Nice amp, thanks!
Great and robust design. No hickups during build, very well supported by the excellent documentation. Delivers a clear and powerful sound with my Dali Epicon 2 speakers.
Very much recommended to diy an excepional amplifier. Just wonder when the Wolverine PCB`s will be available at the DIY store.