


Universal Power Supply
- 1 x Universal Power Supply PCB
The all new Universal PSU V3.0. Bigger and badder than ever, complete with a well illustrated build guide.
- Fully compatible and optimized for the Deluxe Chassis to allow easy installation on the base, chassis front panel, or on riser panels
- Can accomodate 35mm, 30mm and 25mm caps
- Double sided 70um copper tracks
- Added PI resistors for a total of 7 per side of the PSU
- Each side is completely independent of the other providing separate grounding take off points
- Grounding scheme at user's discretion (i.e. can be utilized for star grounding)
- Ground vias available for joining on-board/local ground
- On-board heatsinking for the diodes
- Larger tracks whenever possible
- Most inputs and outputs have larger vias to accommodate large wires
- Input and output vias arranged to also accommodate Snap-On terminals
- Output has larger vias for direct wire soldering to the board
- Output has vias arranged to either accept Euroblock connectors or Snap-On terminals
- Diode Section and Capacitor Section can be joined either by large diameter jumper wires or Fast-On connectors or direct soldering
- Capacitor section can be stacked one on top of the other. Connections for quick parallel stacking are provided via Snap-On connectors or direct soldering.
- Diode section can be snapped off from the Capacitor section (0.2mm V-Cut both sides)
- Capacitor section can be snapped off lengthwise regardless if the Diode section is still attached or snapped off for more build flexibility (0.2mm V-Cut both sides)
- Snapping is possible thanks to 0.2mm v-cuts on each side of the 1.6mm board. It takes a lot of force to snap the board - enough so you won't ever snap it accidentally but not so much that you will have a hard time snapping it.
- 80x80 mounting scheme on the Capacitor section for front panel chassis mounting
- Extensively supports DA's mounting systems and bases
- Options for Input snubbers (RC or RC + C) and options for output RC snubbers or bypass
Additional Information
| Dimensions | 171mm x 156mm |
|---|---|
| Mounting holes | Holes are on a 10mm x 10mm grid |
| Number of boards included | 1 |
| Layers | 2 |
| Board Revision | 3.0 |
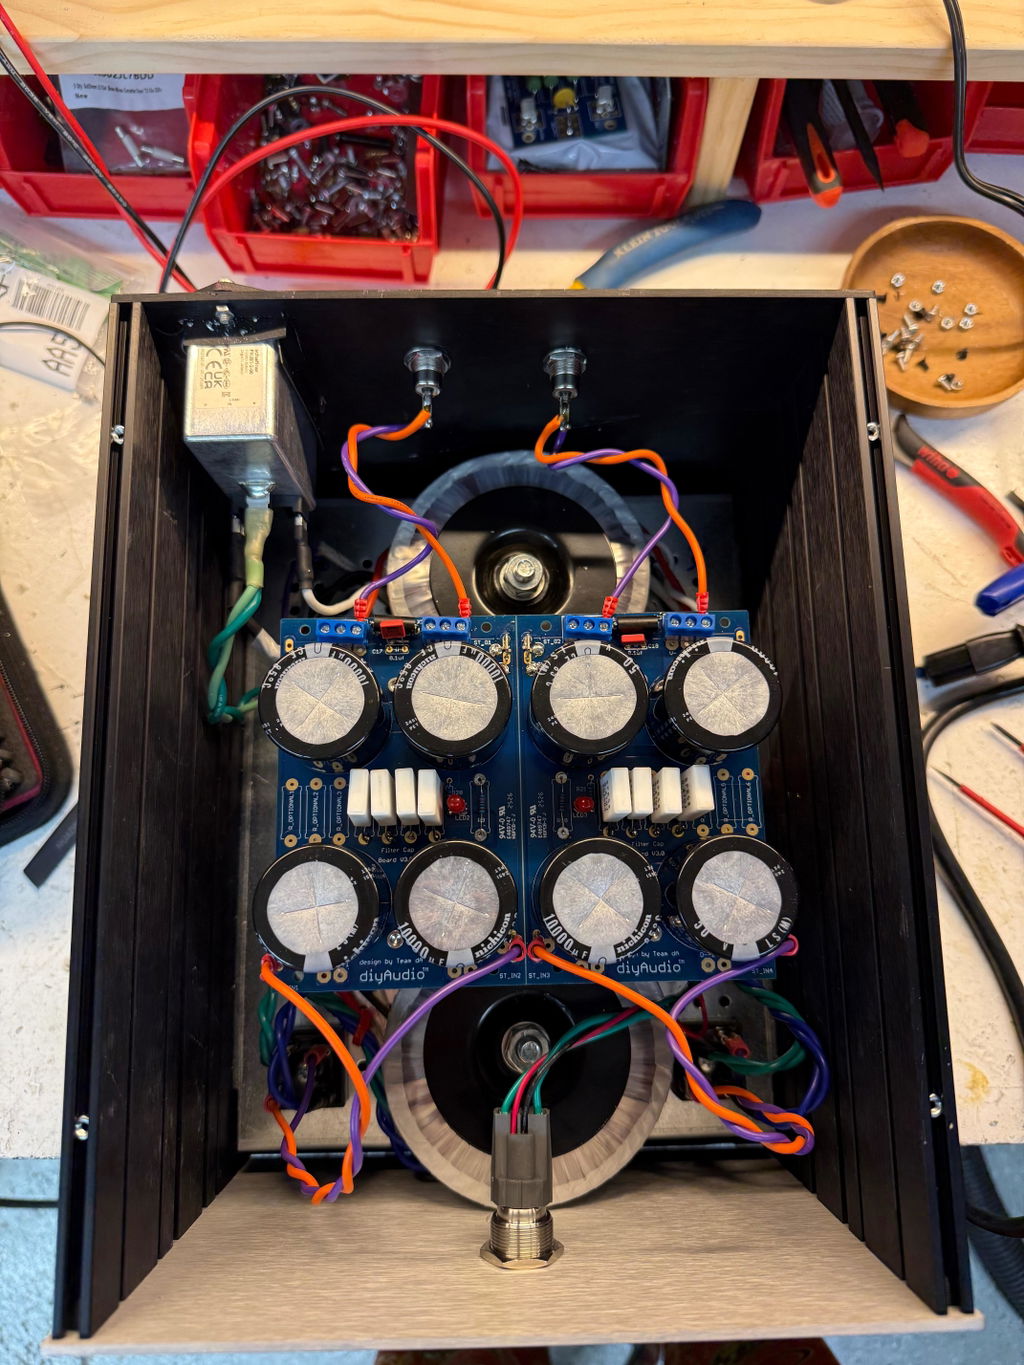
I used this for an external dual mono PSU setup for two Amp Camp monoblocks - great board with plenty of versatility. I snapped off (very carefully) the diode section as I opted for bolt down bridges. The support thread was very helpful too, I had a few questions that I needed to confirm and the community was very helpful and fast.
I used two of them to build two Honey Badger power amps in mono configuration. It works really well and the the documentation is clear and detailled. I have no complaints whatsoever.
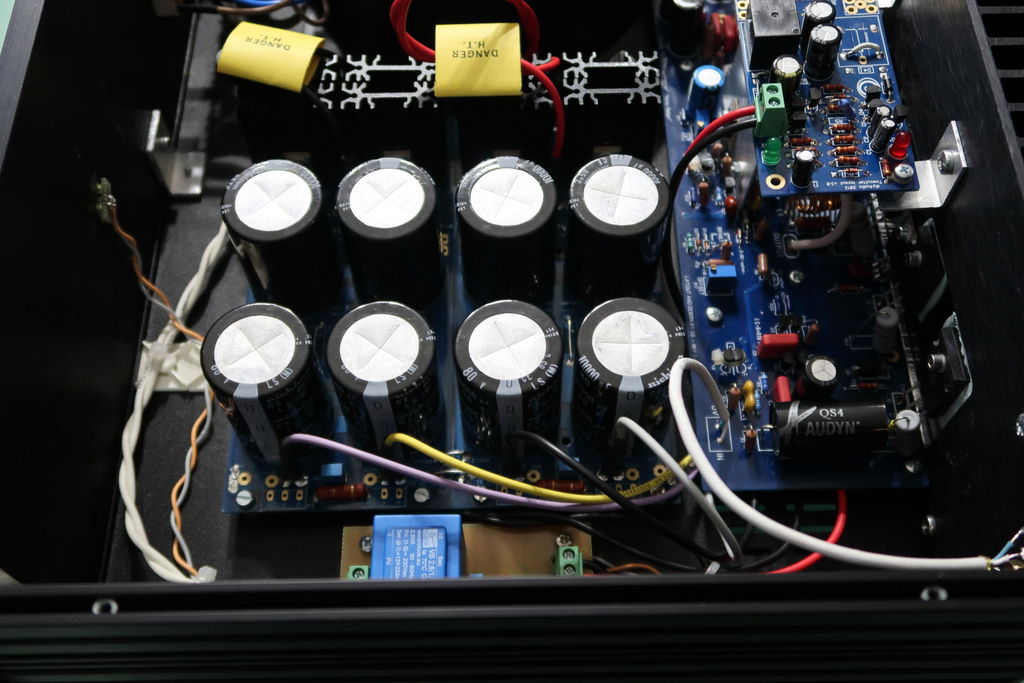
Built 2 of these boards for a pair of Honey Badger amps. Excellent boards, quick and easy to build. Work great.
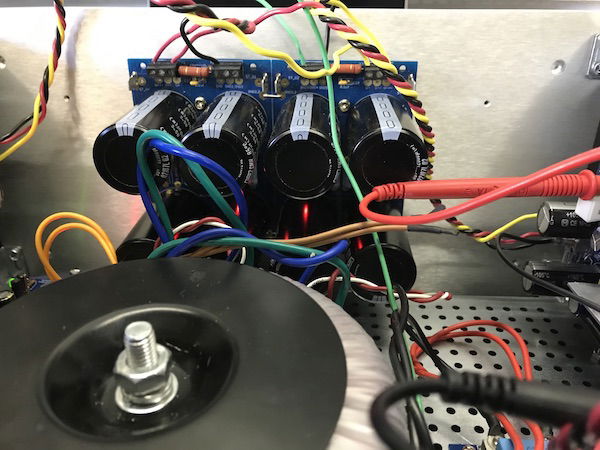
As usual the PCBs are beautiful. Wanting to make a FirstWatt amp, I found this kit too "universal". I had to figure out what was necessary and split the diodes part of the PCB. It took me a long while to manage that, slowly and cautiously with a cutter but the result is up to expectation.

Arrived within a week to the UK. I’ve used the boards many times, excellent product. I used the diode boards, instead of separate bridge rectifiers this time. It maybe my imagination but the sound output appeared smoother.
I used the board in an Aleph J build. It's wonderfully quiet. The board has many build options and takes a little reading to decide how you want to use it. The diyaudio discussion thread was very helpful. Highly recommend.