F-5T
- Description
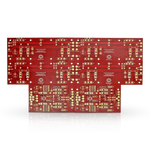
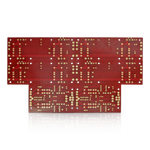
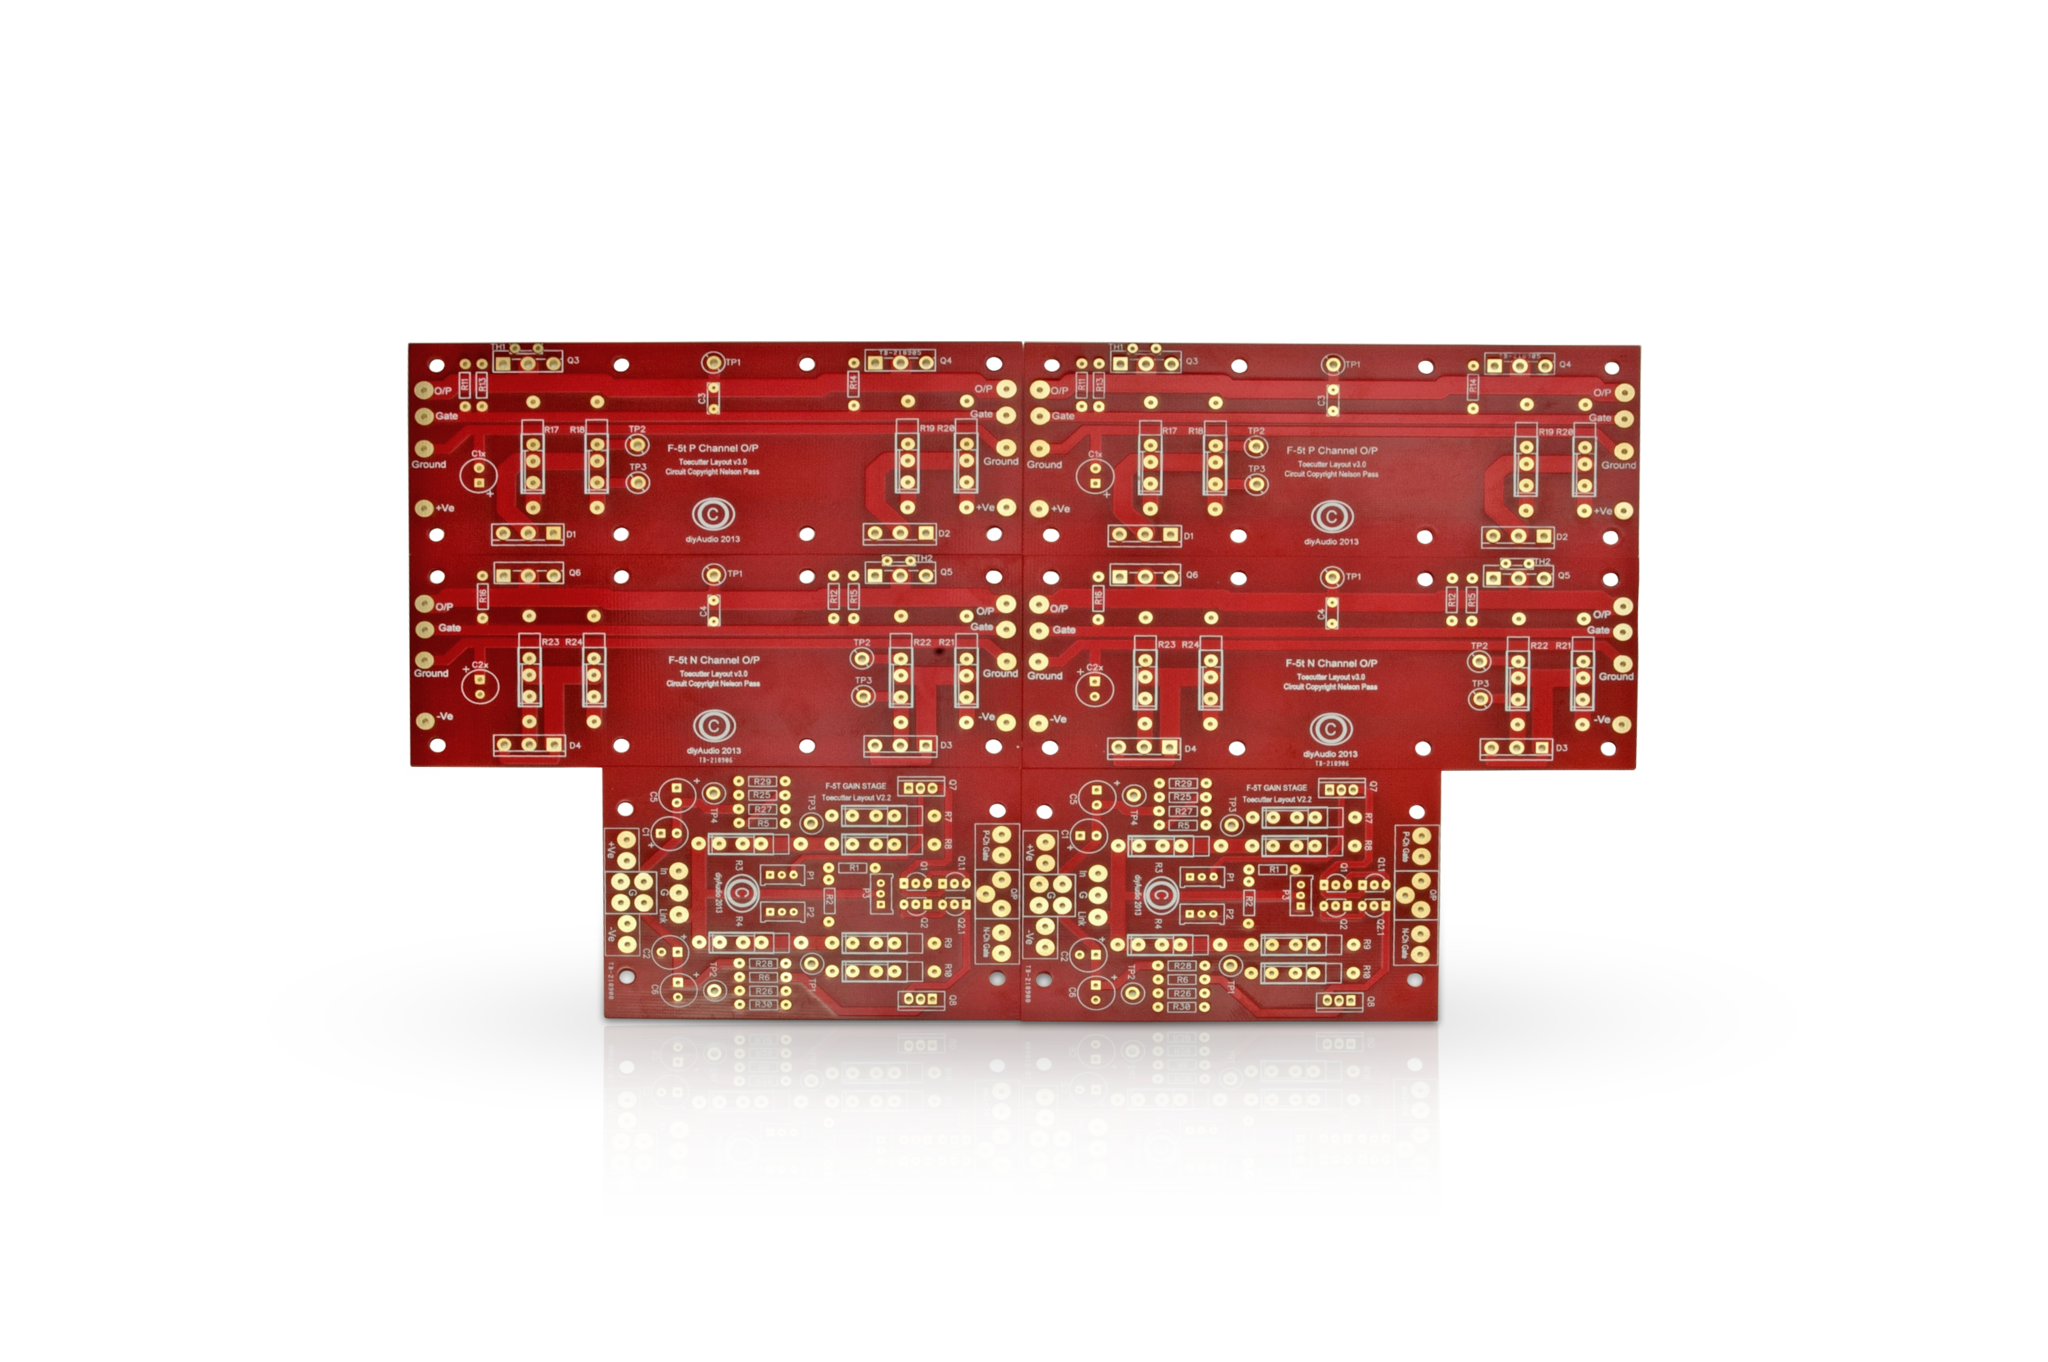
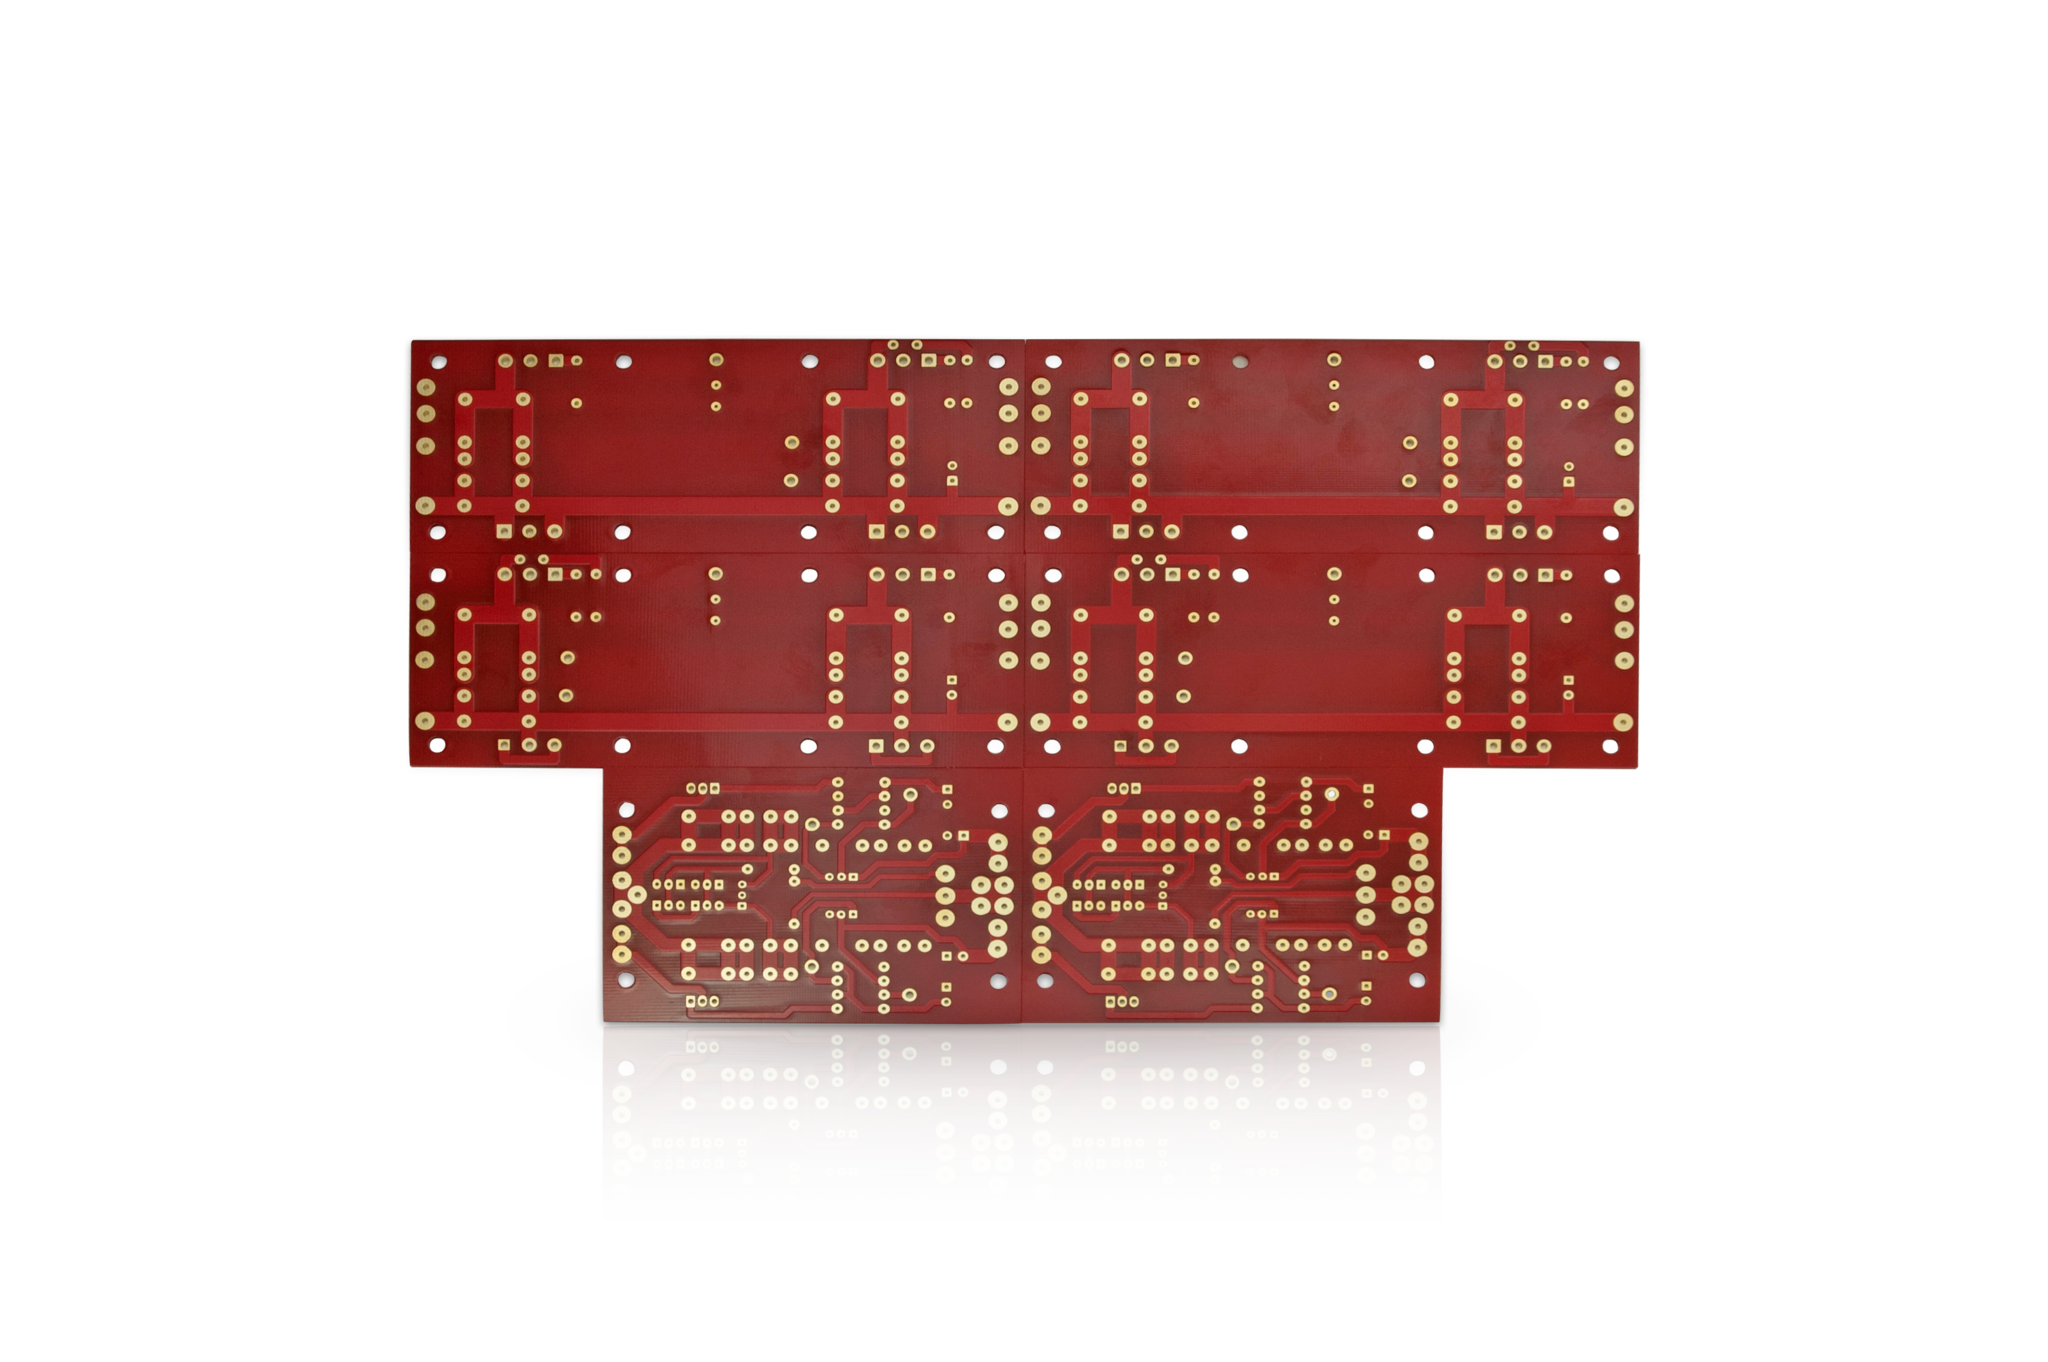
This set of circuit boards is used to make the F-5 Turbo power amplifier from the mind of DIY hero and audio genius, Nelson Pass.
One set of PCBs will make a stereo F-5T v2, or a single monoblock F-5T v3. This is the third revision of the boards, which has nothing to do with using them to make a V2 or V3 F-5T!
Please read the F-5 Turbo Article written by Mr. Pass to familiarize yourself with the different versions.
Illustrated build guide
An Illustrated build guide showing all sorts of useful information on how to build your F5Turbo can be found here - Illustrated Build Guide
Circuit Description
The F-5 Turbo is a Push-Pull, Class-A power amplifier. Esentally a scaled-up F5, with more output devices and a higher voltage power supply. The F-5 Turbo is a voltage source amplifier, requiring nothing out of the ordinary from your preamp or speakers.
The F-5 Turbo is the biggest offering in the Nelson Pass/Firstwatt DIY series of amplifiers. The v3 will handily drive 100Watts into 8ohm, and much more into 4ohm. This circuit also has the ability to scale up to truly amazing power levels.
Populate these boards with your components, then add your own power supply, chassis and heat sinks to complete the amplifier. The mounting hole spacing is compatible with the diyAudio Universal Mounting Specification mounting pattern found in the Deluxe Chassis.
Output Power
- F-5T v2 - 50 Watts per channel into 8ohm
- F-5T v3 - 100 Watts into 8ohm. (The v3 should be built as monoblocks.)
Power supply requirements
A stereo F-5T v2 requires a bipolar power supply of (+/- 32V). This will require an 24V+24V (or 48V Center Tapped) transformer from 600-800VA, and PSU capacitance of 80,000uF per rail or more. The DIYaudio Universal PSU v3 was made with the requirments of this very amp when it was designed.
The F-5T v3 will require two of the above PSU. (One for each monoblock)
The amplifier has the ability to use a higher voltage PSU for more power, but you must 'cascode' the driver stage of the amp to protect the input Jfets. (And have even more heatsink.) See the article for more details.
Chassis suggestions
This is a high-wattage Class-A amplifier. It has lots of excess heat that needs to be dealt with. The 5U Chassis is of suitable size and disipation for a Stereo v2 or a mono v3.
The 5U Deluxe amplifier chassis makes a great home for this amplifier, and has pre-tapped holes that match the circuit board and transistor mounting positions. The diyAudio "Universal Mounting Specification" (UMS) is a common mounting pattern between the amplifier PCB and the heatsinks. The new revision driver board will fit on the heatsinks, between the output boards.
Helpful Links
- F-5 Turbo Article by Nelson Pass
- F-5T v2 Bill of Materials
- F-5T v3 Bill of Materials
- Support discussion thread for these boards
- Please note that while these boards are marked as "V3" that refers to the fact they are the third revision of the boards, and nothing to do with their suitability to make a v2 or v3 F-5T. You can use these boards to make either a v2 or v3 F-5T.
Other Notes
- The F-5 Turbo, an F-5 on steroids, with outputs up to 100w per channel
- With these PCBs you can make a 2 channel amp, or a massive monoblock depending on the output desired, PSU voltage, and the heatsinking available! Either way it should be used with the 5U x 400 chassis. You could also make a smaller monoblock using the 4U x 300 chassis, and only 2 of the output boards.
- For questions about the PCB itself and myriad links to the original article, discussion threads and build threads, please see the F-5T boards support thread
- This is not a beginners project
- These boards are the newest revision, having a new layout of the Front-End board featuring many new solder pads, and rationalized labeling and numbering across all the PCBs. The layout has been only slightly modified, but it is different from the v2 PCB.
| Mounting holes | UMS Heatsink Compatible |
|---|---|
| Number of boards included | 6 |
| Layers | 2 |
| Board Revision | 3.0 |
F-5T
Really good boards and with lots of options. I went for single 5U x 400 UMS tapped Dissipante chassis, +/- 52V rails, cascoded jfets, source resistor diodes fitted, stability caps and higher resistance gatestoppers, (I dont want it going unstable). I also fitted a manually resettable 70 degree C thermostat in line with the mains supply and fixed to the right heatsink at the top, its a big amp and I think safety is important. Doubled up feedback resistors to to 4 x 470R @ 3W by fixing another pair on the back of the board, jfet source resistors upped to 11R and P3 fitted and centred for now. 2000VA Airlink transformer with 6 x 82,000uF/63V Kemet ALS70 psu caps and 15mm thick aluminium ground block. Only running at 1amp bias so far and yet to tidy up wiring loop area etc, will then bias up to standard 300mV suitable for MUR3020 doides and a reasonable chassis dissipation of 240W. So far this amp has big authority in the sound and super bass, I like it!
Big thanks to Diy Audio Store and especially NP, these boards make phenomenal circuits so accessible.
A wonderfully designed amplifier! These PCBs are easy to solder, feature clear writing and proper spacing. The circuit is easy to assemble with some patience- follow the guide/watch NocturneVid66's assembly videos, and you're off to a great start!
This build is a dual mono (common star ground) in a 500mm dissipante chassis. Biased to 300mV, it runs at approximately 115 degrees F while never exceeding 10mV of offset across either channel. I highly recommend the available thermal pads from the site as well!! I chose to cassacode as well as put caps on the output boards. Cassacode if your needs demand it, skip the caps unless you have HF osculation. Power caps are 22,000uF x 16 = 352,000uF total at 63v rails; all wire is oversized, and I soldered screw-down wire terminals for connections between boards.
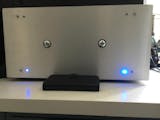
I live in the UK, the boards JFETS and MOSFETS arrived within two weeks. The F5 Turbo is my most challenging yet surprisingly straight forward build to date. I used a 5U Galaxy enclosure and 2 X 625 VA Transformers 24-0-24v bolted vertically to the front panel it’s not pretty but functional. Thus the two large bolts in the front panel. Thanks to 6L6’s build guide the build was straightforward. I opted for the V3 build without the extra transistor. Care has to be taken with the components as the MOSFETS and diodes are identical. The biasing is a slow process but was eventually biased to 350 mV. The guide has excellent instructions. It sounds superb and slightly more dynamic than the normally aspirated F5 which also sounds superb. Thank you Nelson, 6L6 and all the team at DIY Audio.
Bought the boards from DiyStore in April 2018 and it was going to be next months project..... I eventually got to it about month ago and build it without any problems. Using a 30v Antek 800VA transformer to give me 41V DC and currently have it biased at 0.330v and monitoring the heatsink temperature which seems to be fine and sitting at roughly 50deg Celsius. After a couple of hours of playing it with the Noir pre-amp the sound settled and it sounding absolutely stunning now… a project well worth it and highly recommended!!!
I’m planning to pair this with the electrostats I’m building, but that’s for next month.
As always beautiful looking pcb's .Can't wait to get started on this new project . F5-Aleph-j now the turbo,all my pcb's came from the diyaudio store Perfect guides from 6L6 makes it a breeze to follow,id like to take this opportunity to thank Mr.Nelson Pass and all the input everyone has left in the forum i found a plethora of information that left me with out having to ask for any help .Again thank you all.soon to come pics i hope lol.
Excellent quality boards. Fast delivery.
- Related products
- Recently viewed
