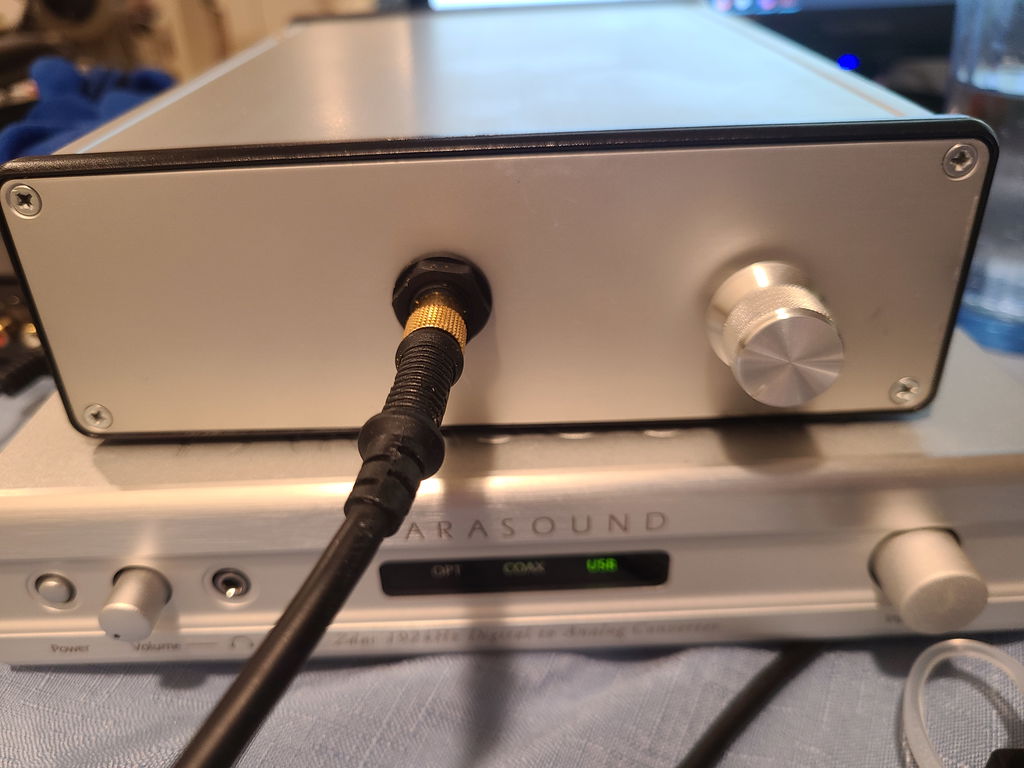
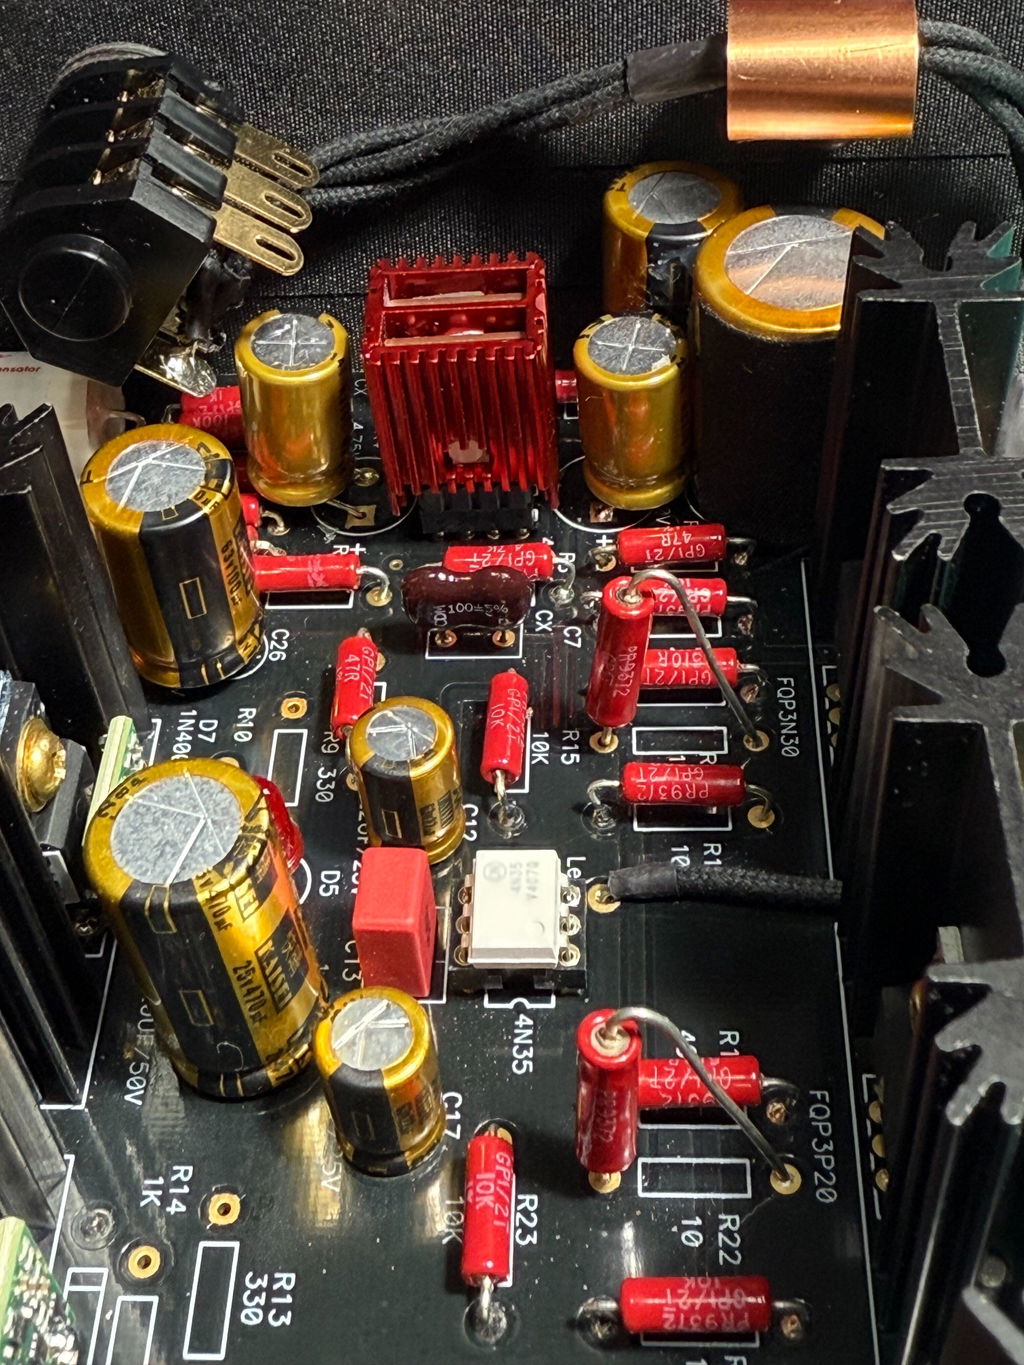
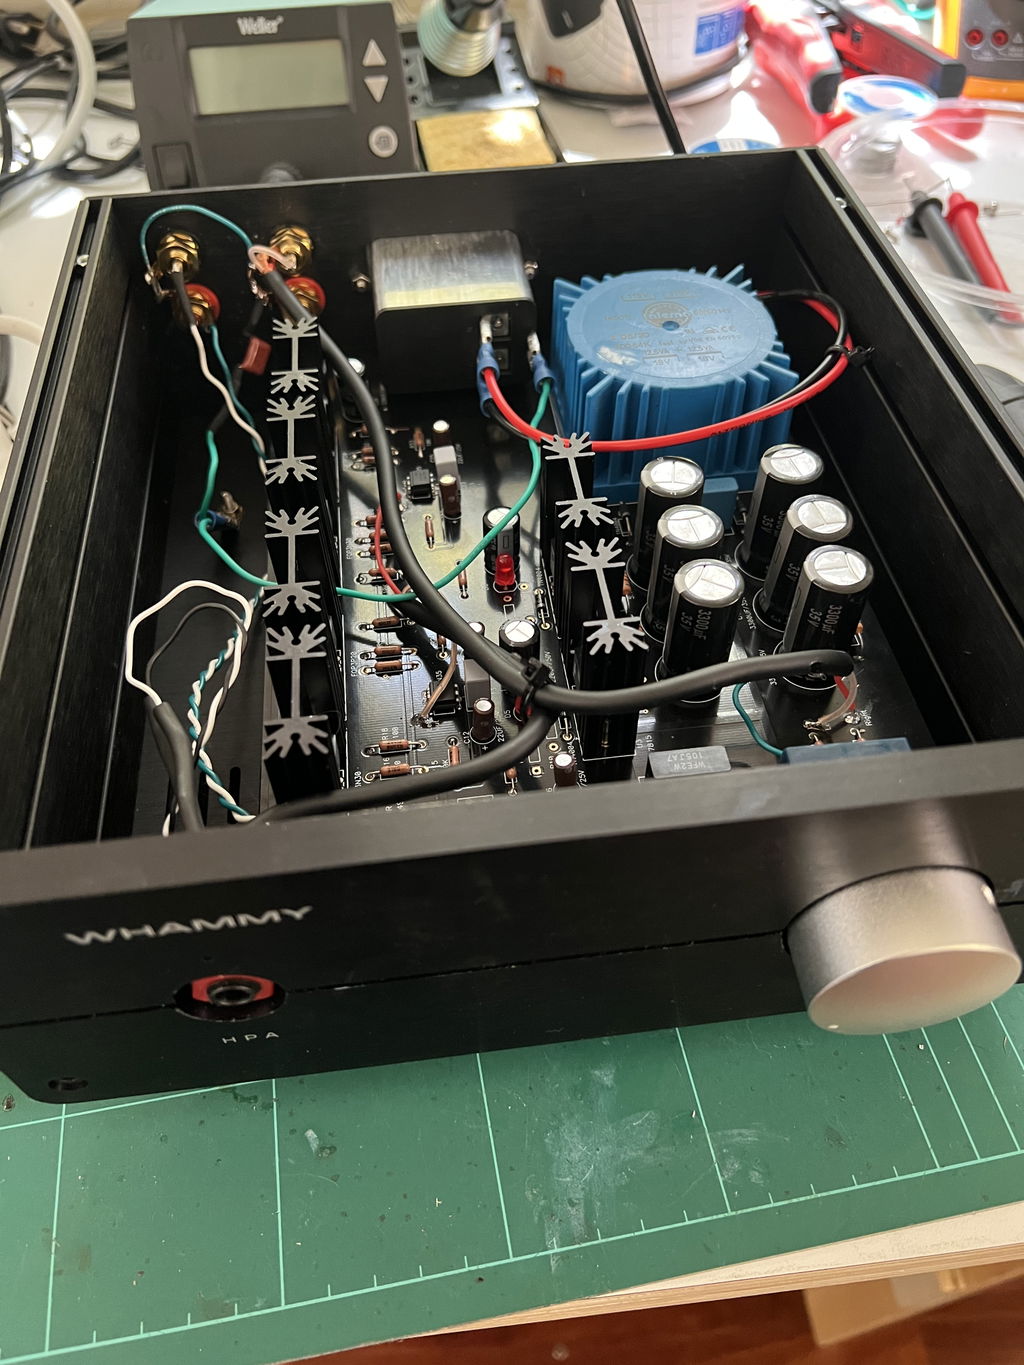
I initially bought a used Whammy from eBay that a seller had built using odd spare parts. It didn't sound terrible but not what I was expecting. So I set about modifying it. It soon became clear that I wanted to change everything so I bought a new PCB and started from scratch, re-using just the case and the heatsinks.
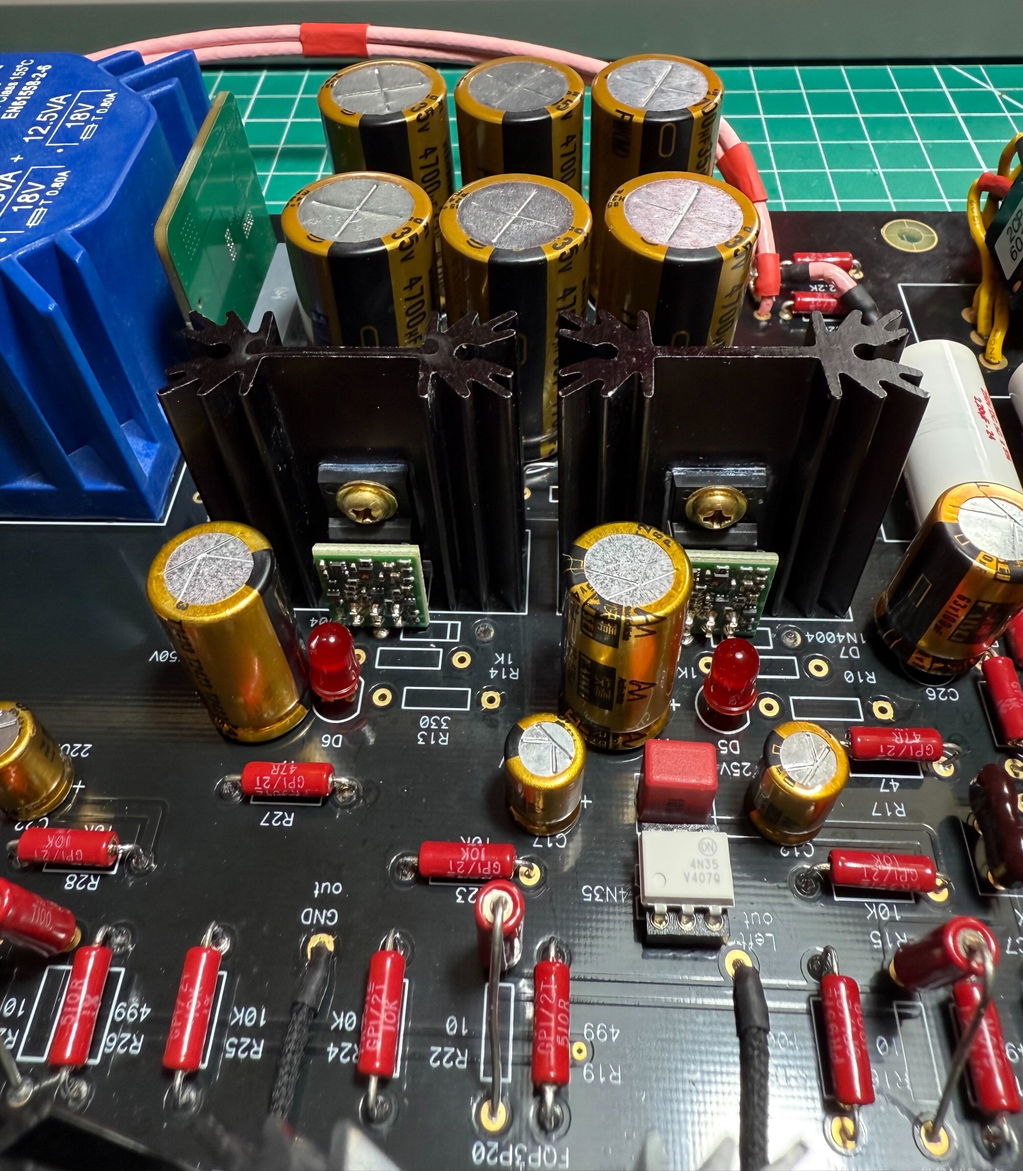
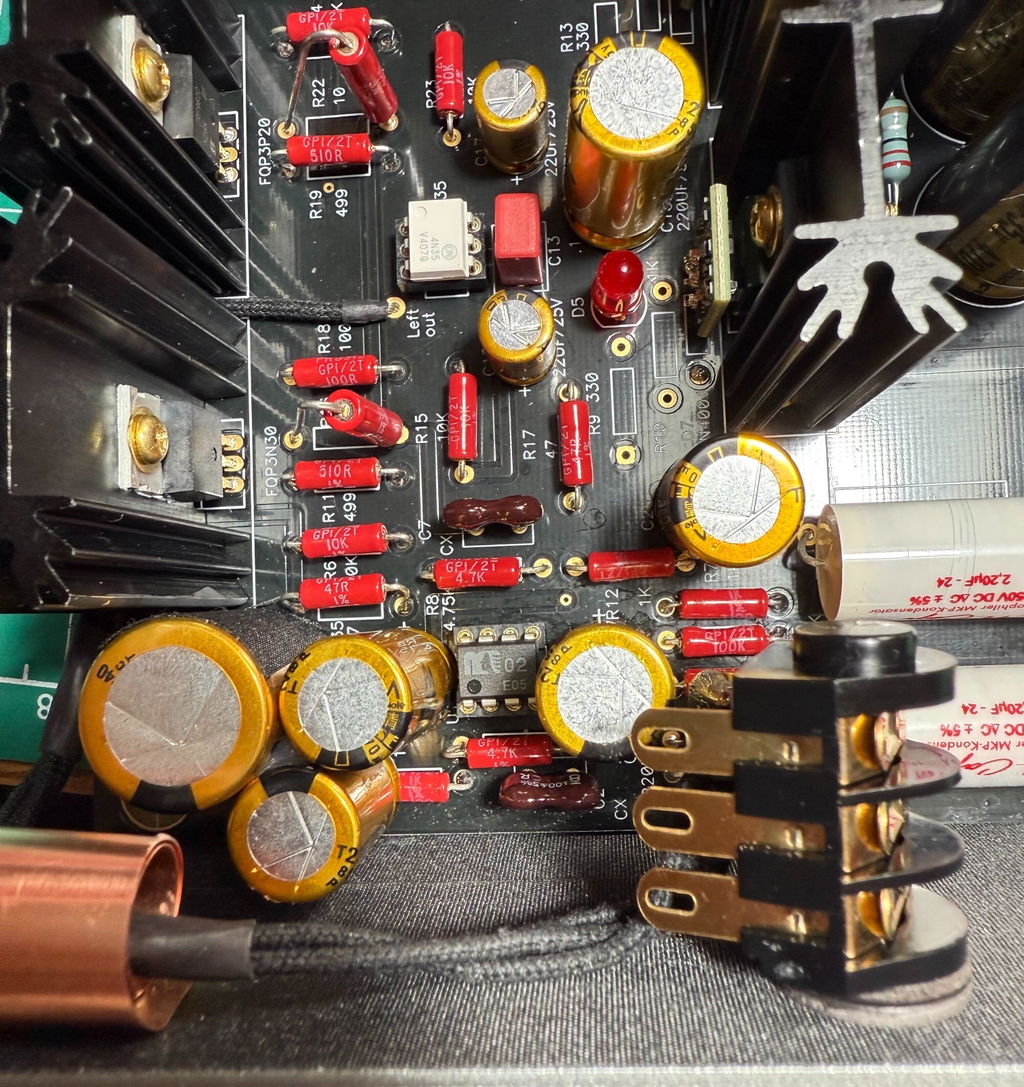
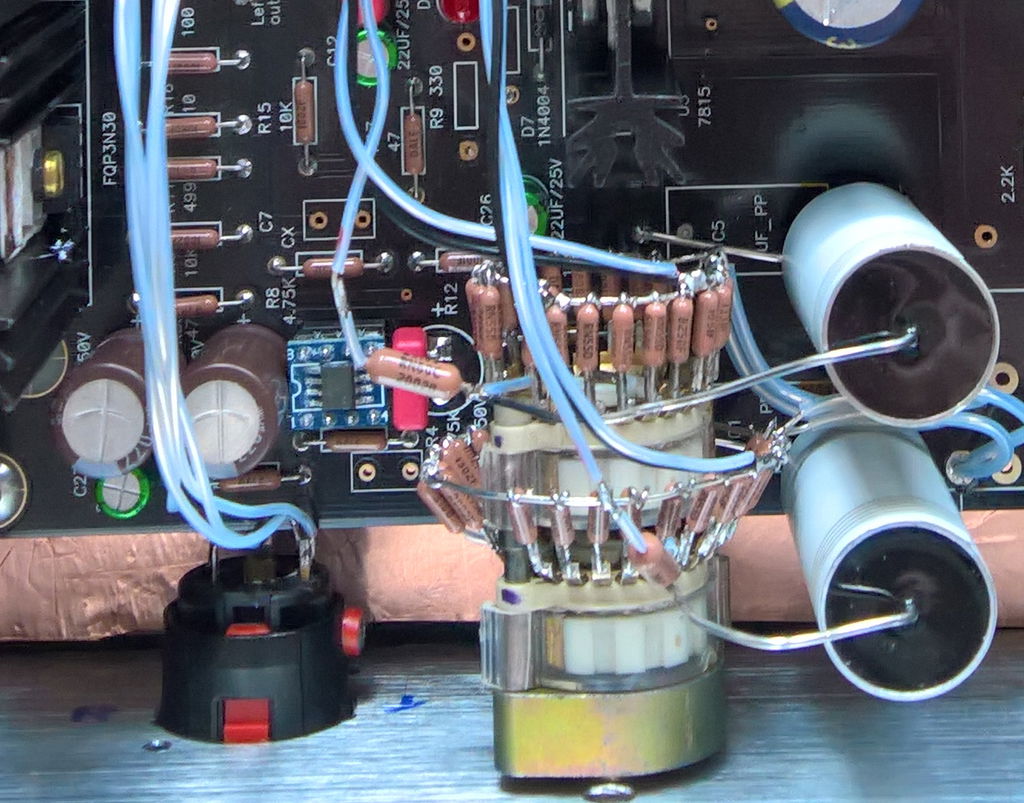
The parts I used that are non-standard are Sparkos discrete voltage regulators, PRP PR9372 non-magnetic 1% resisters, Nichicon FW power supply capacitors and Audio Note Kaisei capacitors and Audio Note silver plated RCA connectors. A Saligny Universal discrete synchronous rectifier instead of diodes from https://evotronix.eu/product/saligny-universal/ Transformer from Digikey and other components from Farnell. I tried various op amps from Digikey and Farnell.
Screened input cable is BICC silver, single core screened, in pink because I bought it on World Trans visibility day and my cousin is a Trans woman, the output cable is DueLund copper in cotton and oil insulation - because why not ? DIY Audio is about making interesting decisions and trying something new like oderous cable and the Salingy rectifier :)
I tried various op amps from the venerable 5532, OPA2134, OPA2132... 134, 1611 LF353... lots of OPA op amps and also a Muses02. The best reasonably priced chip was the OPA2134 which did everything really well, but it was beaten quite clearly by the Burson V7 vivid which is what's in it now. It does run warm so I added some ventilation to the case but even without that I think it would be fine.
The built process was very easy once all the parts had arrived. Planning the build is important as putting large items in first makes adding resistors and smaller parts more difficult later on. There's plenty of space for most things if you use the recommended values, but if you want to increase or change to different types or values, double check the space available. Make sure you can clean the board using a proper solvent mix, especially around the op amp.
The community on DIYAudio is fantastic with a number of people offering great help and support. I'm a latecomer to the project so there are already lots of questions answered which make for interesting reading.
How does it sound ? It's brilliant ! It copes with my 300 ohm Sennheisers very easily, the bass is deep and strong without being overpowering. (Fit the MUSES02 op amp if you want emphasised bass response) It's easily the equal of most commercial headphone amplifiers.
The PCB quality is very good, double sided and if you find you need to de-solder a part, the pad doesn't automatically lift, as happens with even good commercial products. Being black it looks great with contrasting components, hence the red resistors.
I'd really recommend this project to anybody, forget the fact it's relatively easy to build, what you end up with is a great headphone amplifier which you can modify and test ideas on for years to come.
Many thanks to Wayne Colburn of Pass Labs for the design, you know a Pass Labs design is going to sound great !
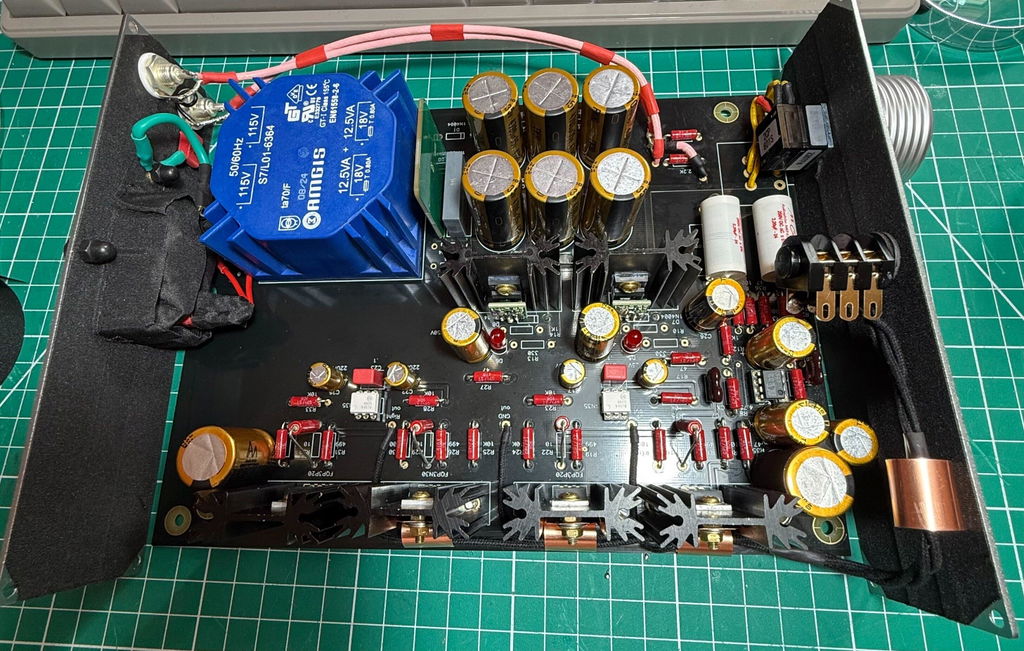
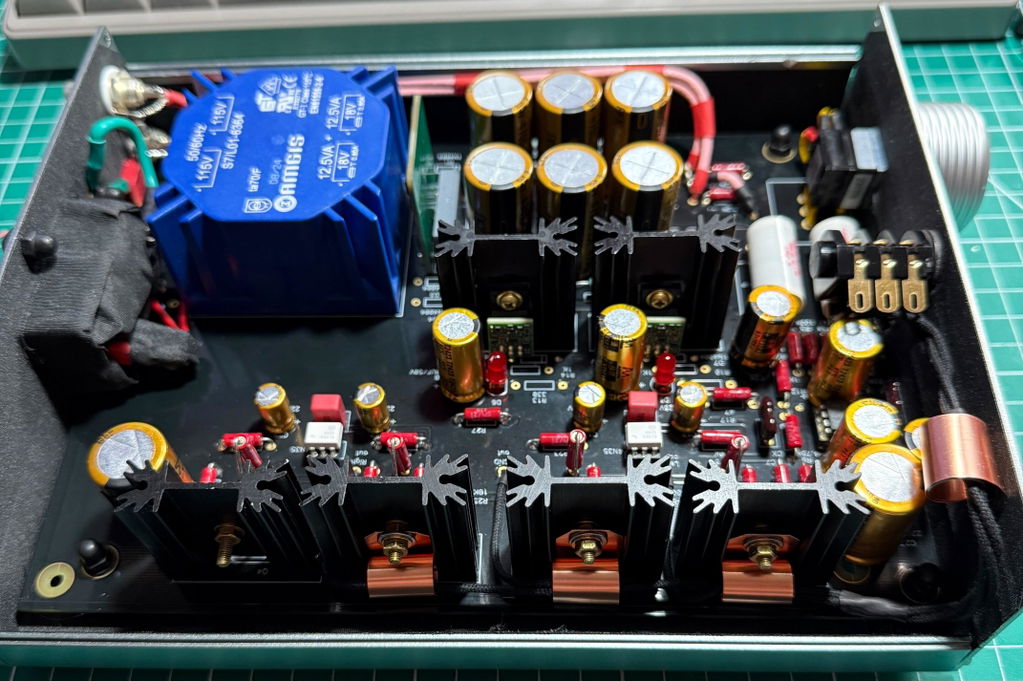
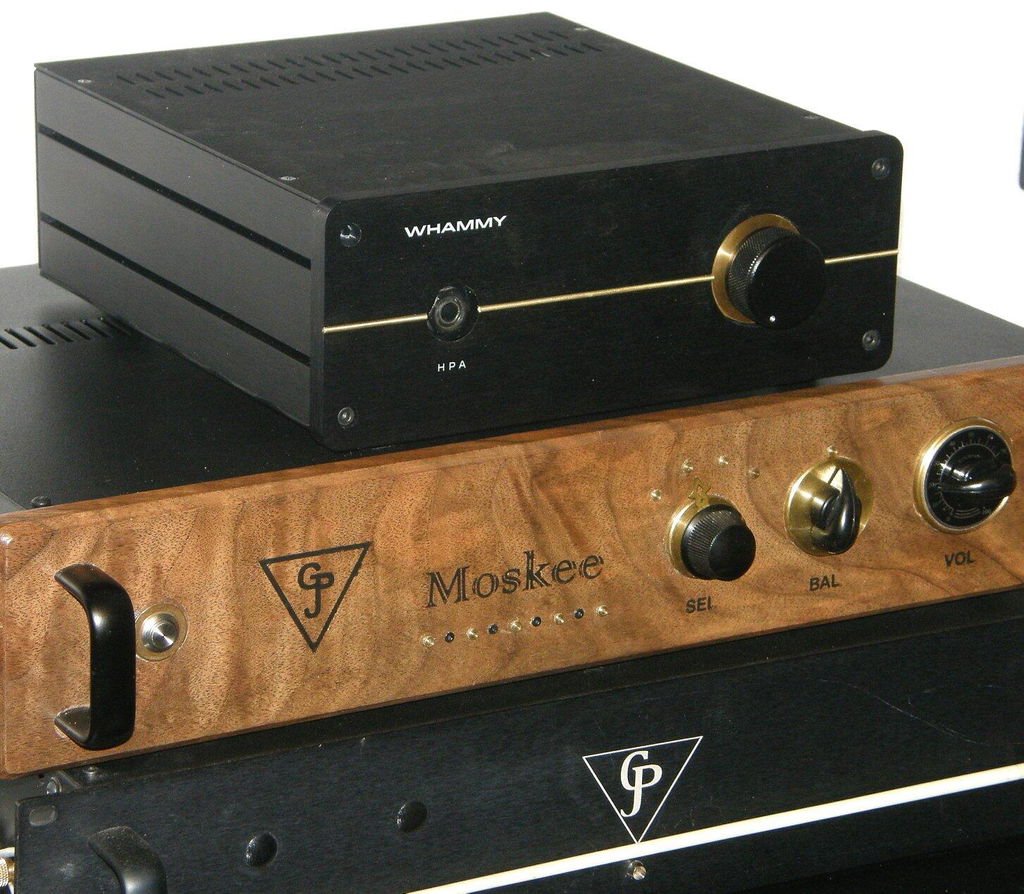
The chassis has a lot going for it. Most of all, I like the thick front plate. It is what separates the chassis other offers out there. Then of course is the fact that chassis is completely silk screened, holes drilled and even the inset for the volume control is a nice touch. I like the way that the chassis goes together, but also wish that the nuts didn't have to be kept in alignment while you are assembling the unit. What I did to compensate was to use a bit of putty on each side of the nut to keep it exactly where it needs to be when you are inserting the screw. It would be a good idea to have 6 of these screws instead of only 4 to hold the top and bottom plates down all the way across the side/top/bottom of the chassis. I used G6000 to keep these plates from rattling. Having that, I would readily buy another one of these for my next Whammy build, as you won't find a chassis better suited for this project.
The Kit went together well. The only issue that tripped me up was Neutrik headphone jack. I didn't realize it was different than what the schematic showed. Of course I ended up wiring the wrong side of the jack. Then it took time of chasing signals. It was only when I plugged in and unwired 3.5mm to 1/4in adaptor that I noticed contacts moving. My stupidity.. 😳
Other than that it all worked on the 1st shot, sounds fantastic and was a fun project. I'm embarrassed to mention my screw up... Oh well, live and learn.
The pick shows the mistake ...

I always felt that solid state amps lacked the soundstage, presence and timbre that you can get from a good tube amp. I was wrong. My Whammy is *almost* as good as my OTL tube amp, and I mean it's very close. Building it was a fun experience and not that hard, even for a novice like me.

Building and finishing the case was much harder the building the electronics. Easy to build for even a novice like mem using the standard bill of materials. Worked first time with no noise at all, even at full volume. Upgraded the op-amp already, with impressive results. Drives my Audeze LCD-X very well. I am really very happy with my decision to build this and the sound quality of the final result. The case it not too bad either!


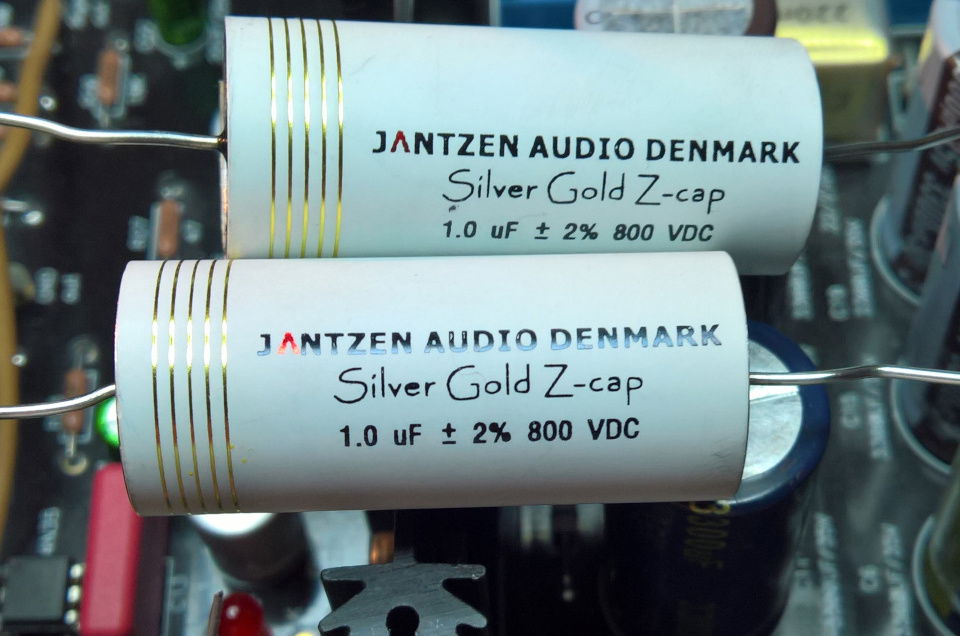
Just wanted to add some thoughts regarding WHAMMY as a PreAmp for F6 (powers Troels Gravesen's Discovery 861 DIY loudspeakers which are awesome) and some upgrades which have been made (Jantzen Audio Silver-Z caps and Sparkos Labs SS3602 Dual Opamp). It has been used for ~1,5 years as a headphone amp and I was very happy to listen to it (all stock components, AD823ANZ opamp). But as a preamp it was also very good, best I have ever heard. Plenty of details, pleasant to listen. Upgrading C1 and C5 to Jantzen Audio Silver-Z provided some additional clarity on highs, but SS3602 pushed it to another level. Everything has improved: much more precision on lows, bass guitar sounds much more clear, separated; punchier drums; vocals much more separated, articulated and pleasant; highs were good before, but with SS3602 become even more airy, so precise. Lower distortion gives an ability to listen louder with no fatigue. I expected some improvement, but SS3602 provided much more than I thought. Obviously, your experience may vary due to the different speakers, amp. But still, I highly recommend to try SS3602! Keep in mind that you'll have to provide some space by drawing back C3, C4, C9.
I don't think that Silver-Z caps alone give a big difference compared to 5$ foil caps, but 40$ for 2 is not as much. Also worth trying.


The PCB from DIY audiostore is well designed and of good quality. The layout is exactly according to the published schematic. I just have one suggestion: the decoupling caps are between the pot and the opamp. In my builds I put them directly at the input. Otherwise the pot will probably generate a scratching noise if there is DC at the input. For the next order of PCB‘s in my opinion it is worth thinking about changing the layout.
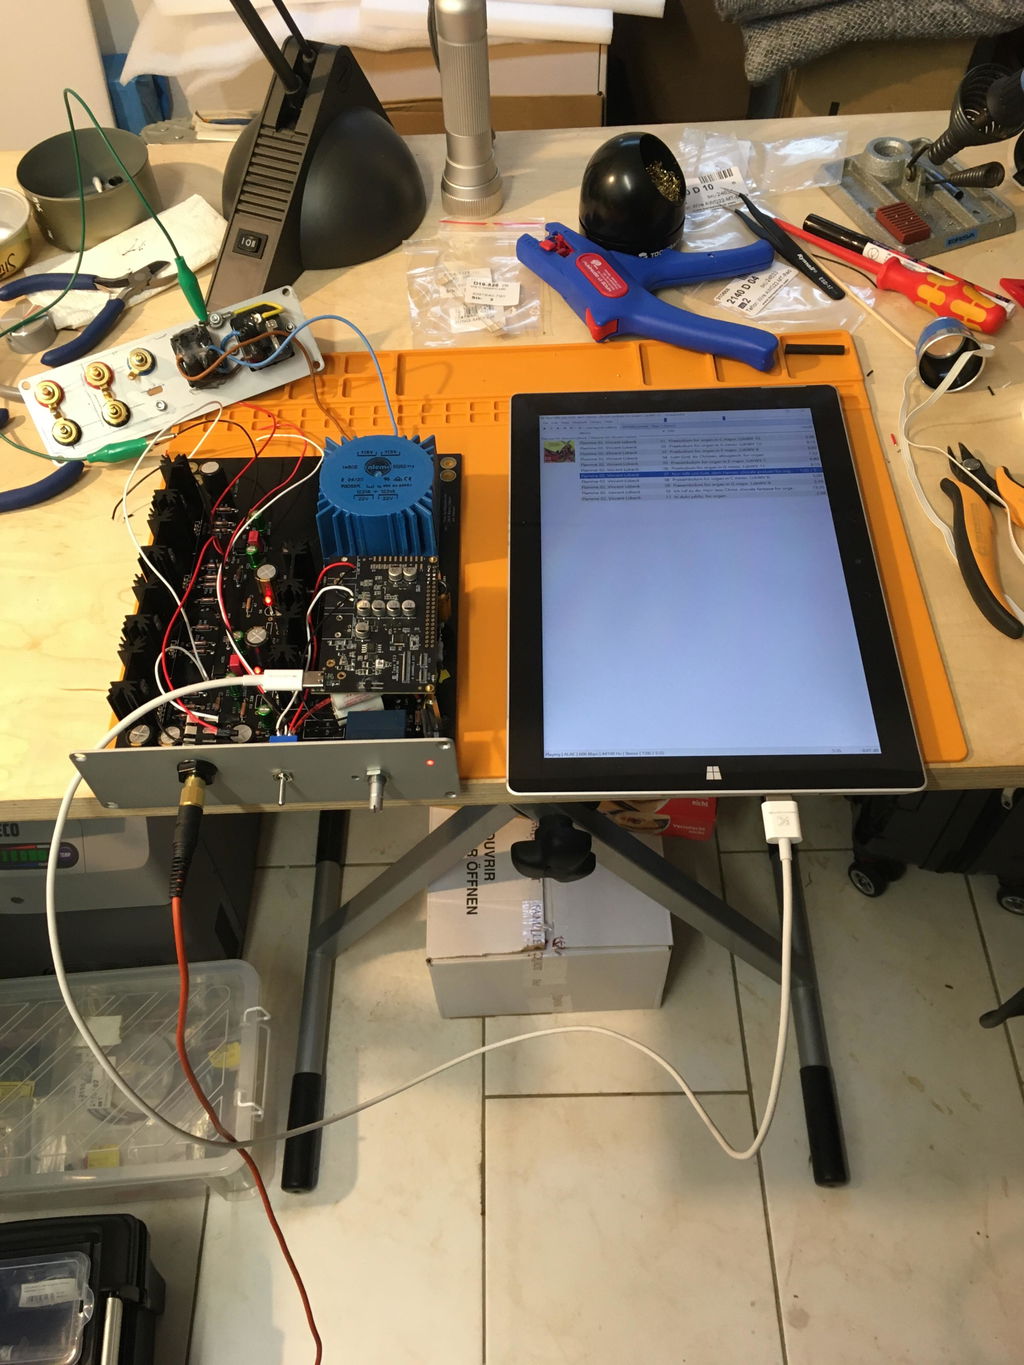
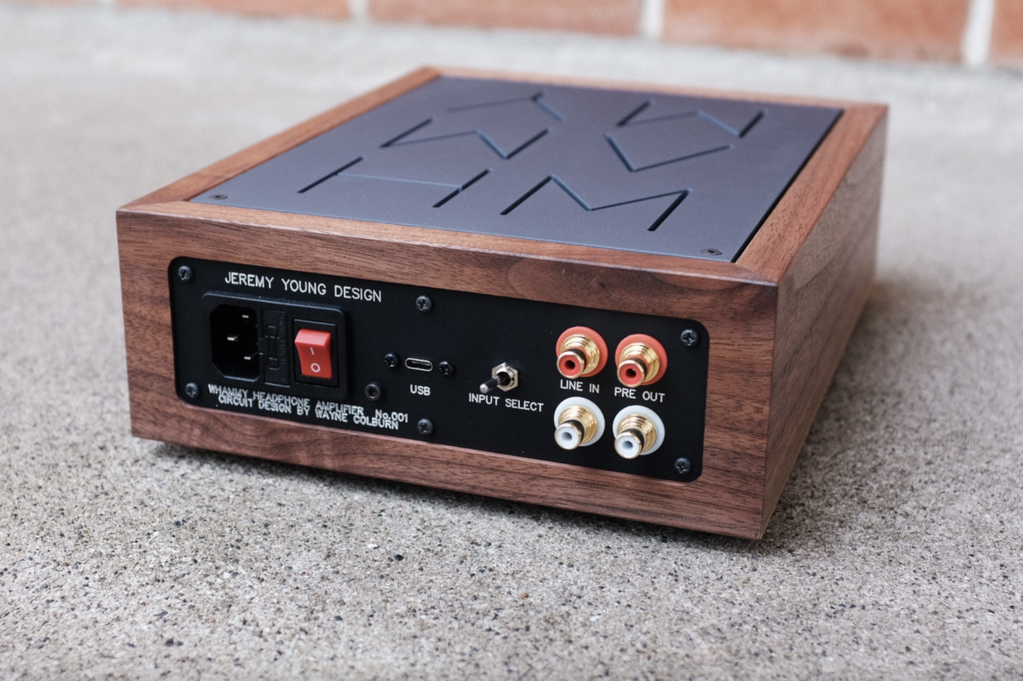
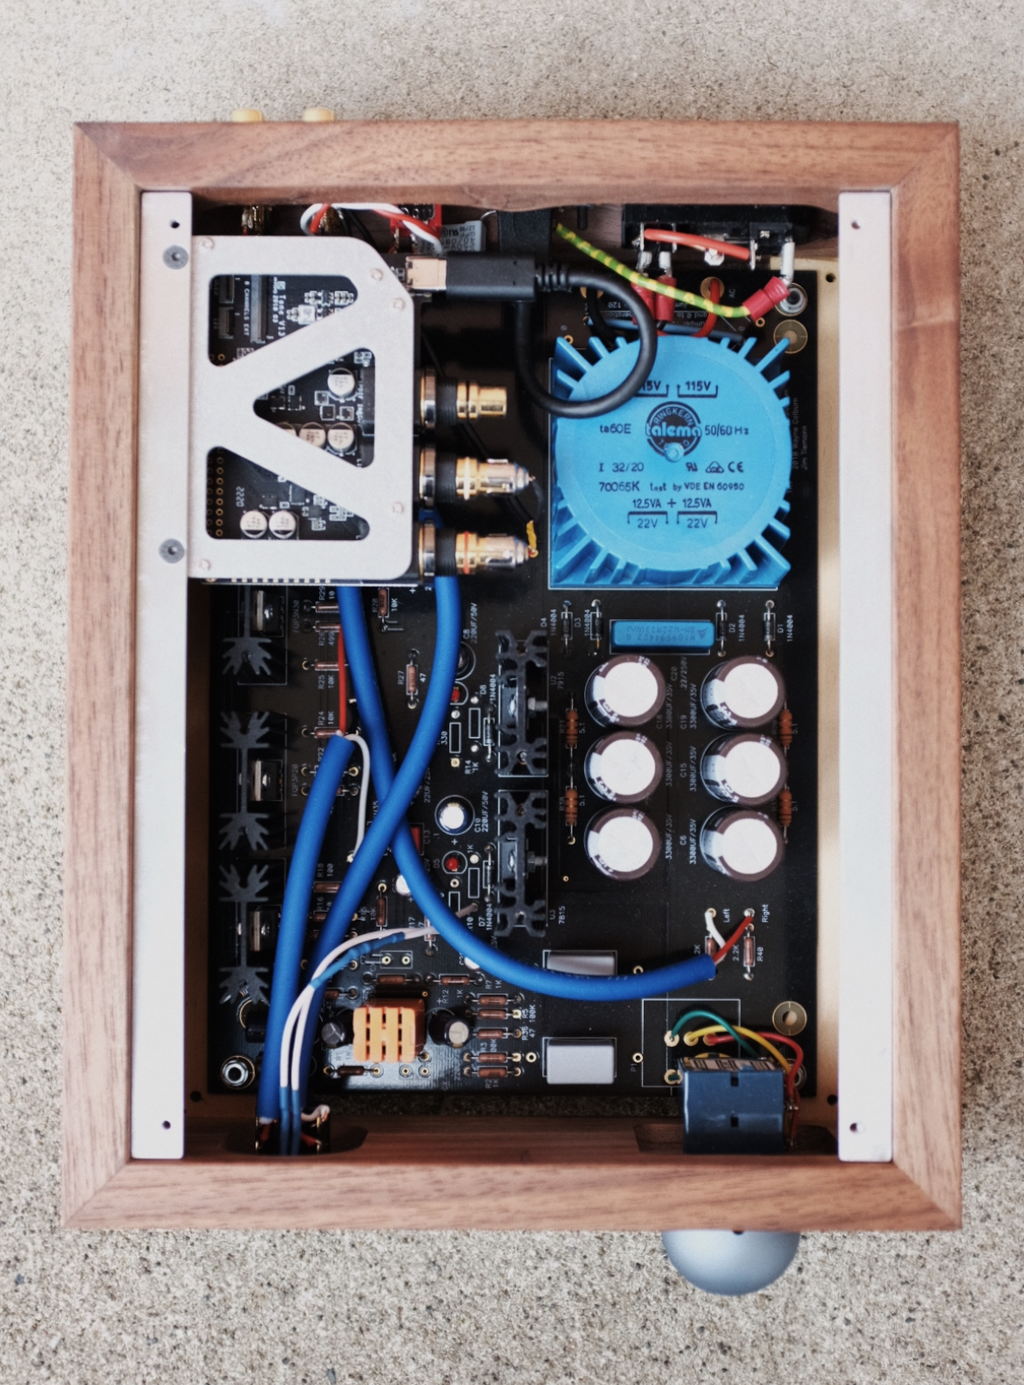
I added the Khadas Tone Board DAC to my build. So I have an excellent DAC/headamp in a small chassis.
This is the second Whammy I have constructed the first having been enjoyed by me for quite a while, this time I decided to "up the game" a little by adding a Burson Audio discrete opamp in place of the usual suspects. The quality of the circuit boards never fails to impress, heavy plating, high quality printing and a very good finish. Construction was without drama and all worked first time, though for the purpose of initial testing I used a generic "cheap" opamp when everything checked out OK then this was replaced with a Burson Audio V6 Classic. Amazing, no other word for it. The audio quality just goes to show the basic design is very good indeed, I am sure it performs as well if not better than anything "off the shelf" both in its own price braket and at a considerably more expensive level. As time goes on I am sure it will continue to improve as things "Burn in" .
This is a great project for anyone to tackle, you won't be dissapointed with the results I am sure, it is easily achieveable with modertate skill level and some patience.
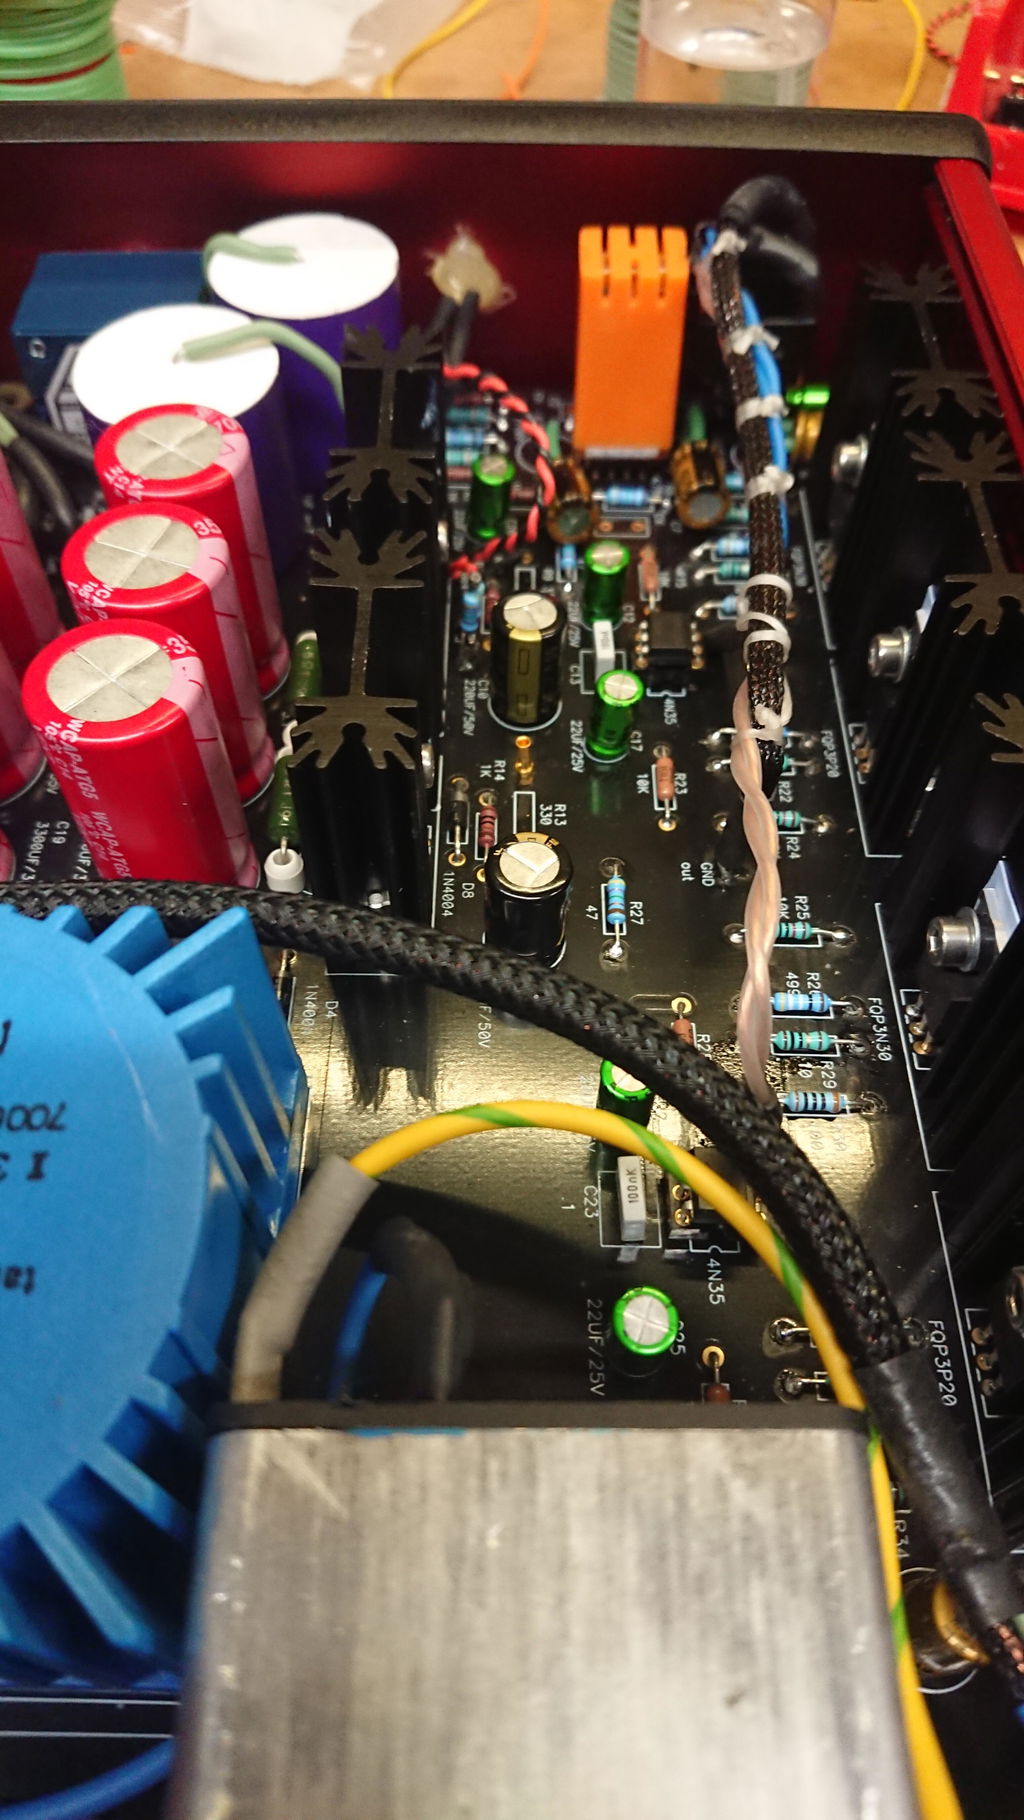
Im very happy how Its sounds.
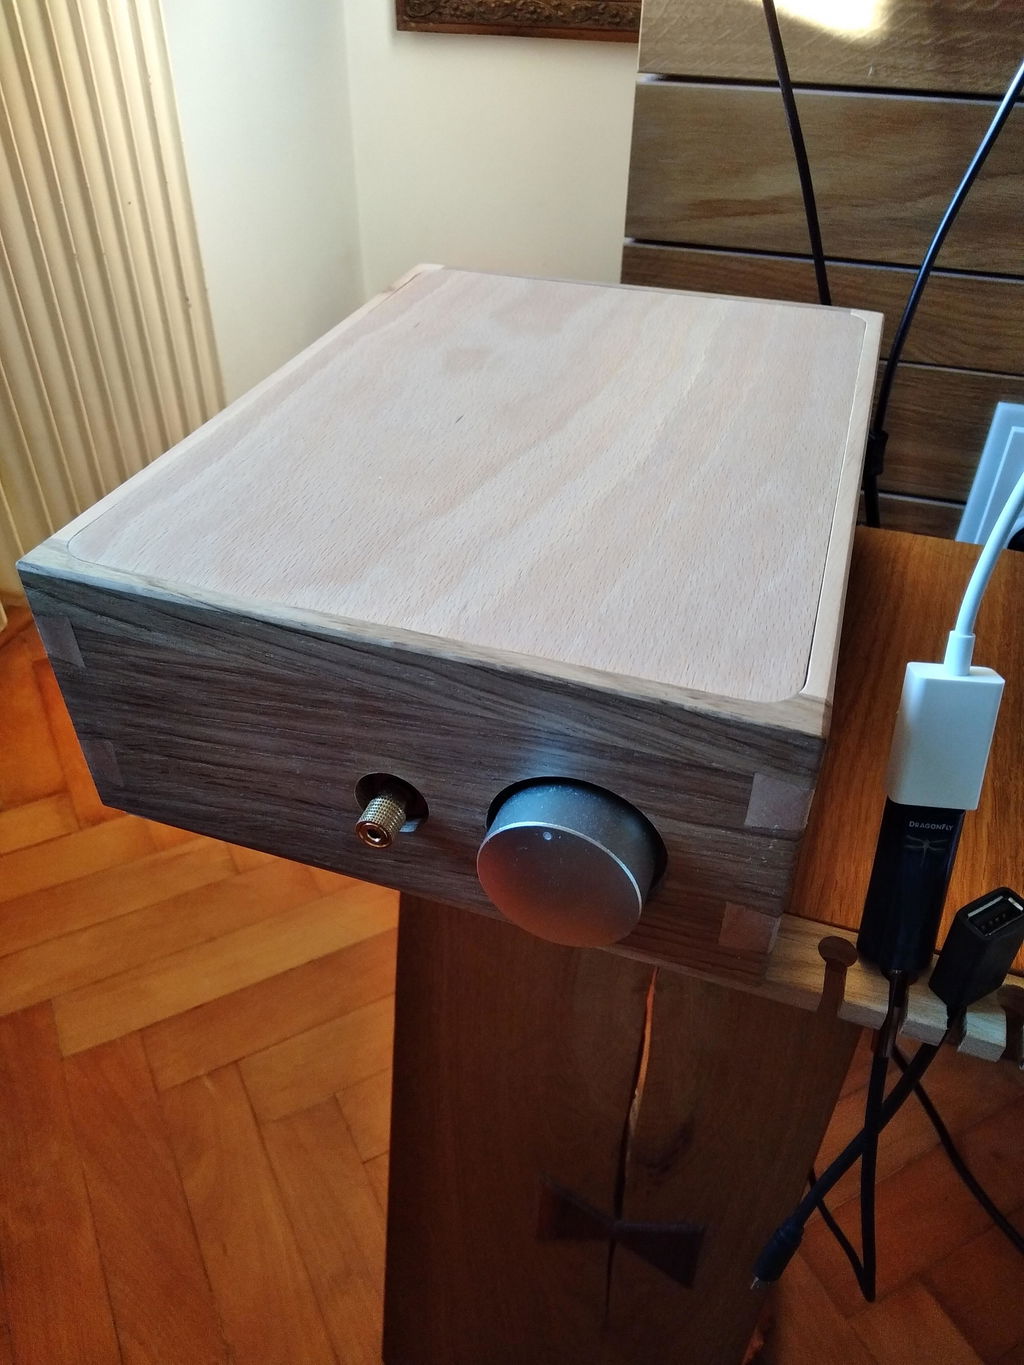
built it over 2 easy days. worked straight after the build, no issues.
Its rocking an audio technica M20X for now, (a very very economy phone, but one which has run-in atleast 1000 hours as a training e-drum monitor).
this amp has become a motivation to audition few headphones. it deserves much better than what I have now.
Also, was pleasantly surprised how well it drove my (bridged) pair of Amp camp amps and my DIY horn speakers.
the kit did not come with:
Pre-out RCA sockets, even though the back panel is drilled out for the same, and the shielded cable length provided for.
A resistor for the blue power LED
not an issue except for needing to run to the local parts store.
I will be trying out a few opamps with this . including the burson discreet v6.
Thank you Wayne,
more karma points to you. I am a very happy user.
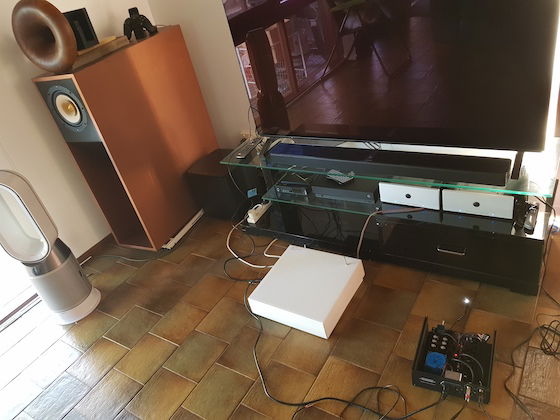
A fun build, sounds absolutely awesome as a headphone amp and just as great as a pre-amp.
The original build guide was a great help.
Beautiful kit and definitely highly recommended!!!
Many thanks to Wayne for making this design available to us and the Diyaudio store guys for putting an awesome kit together.
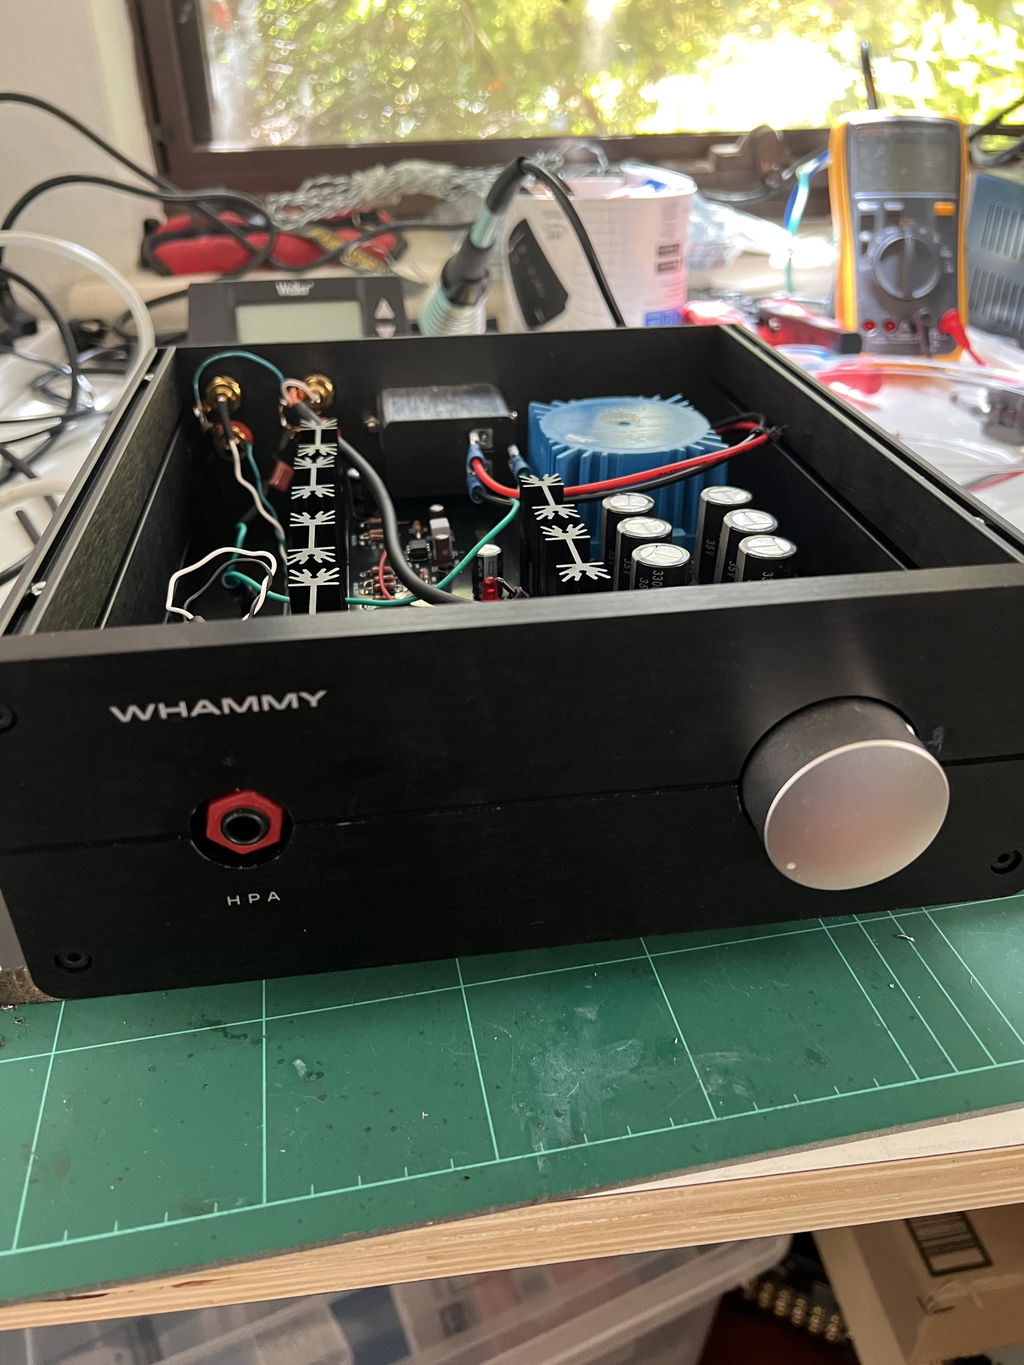
Easy to construct, well designed PCB and high quality parts used and the result is a superb headphone amp.
Amazing detail and dynamic range, wide open sound stage, neutral sounding.
It is not the most compact headphone amp but what you loose in desktop space you gain in sound quality and enjoyment listening to your favourite artists and albums all over again.
This headphone amp has tonnes of power available and can drive virtually all headphones to insanely loud levels. Tested with a range of headphones from Sennheiser, Beyer Dynamic and Audeze and they all sound amazing through this amp.
You won't want to take your headphones off after listening to this amp.
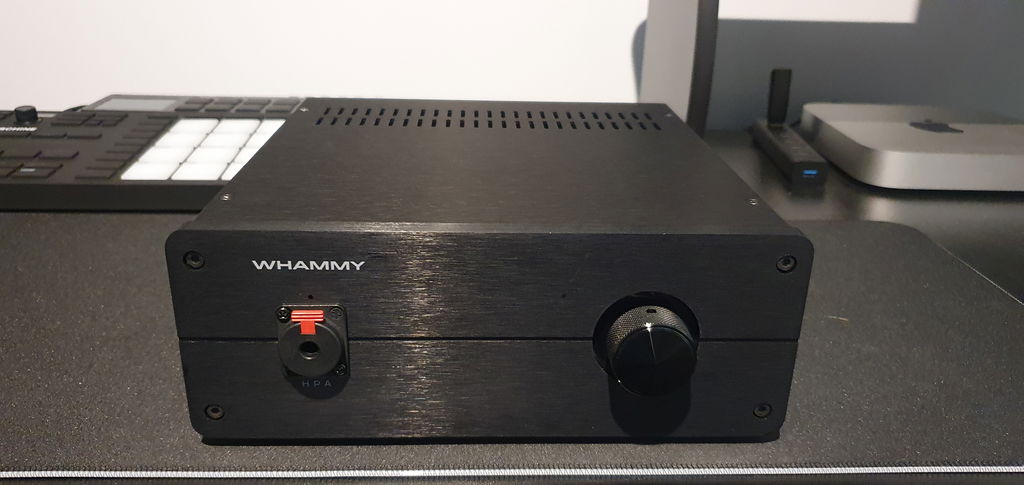
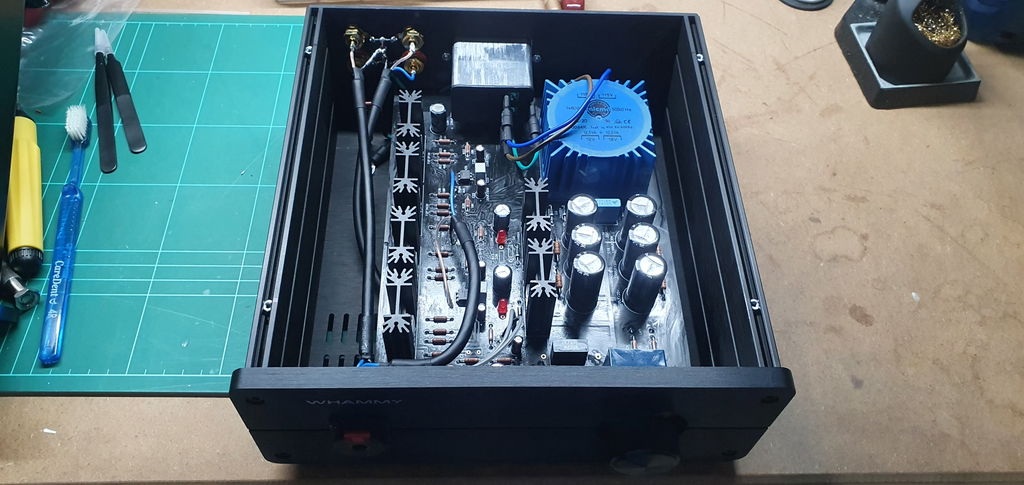
This is the third amplifier I have build and I'm really happy with how it turned out. I went to the trouble of integrating a Khadas Tone Board DAC so it could be used as an "all in one" solution for my desk at work. It sounds great with my HD6XX and was a lot of fun to build. You can see more details about my build here. www.jeremyyoungdesign.com
Thanks Wayne!
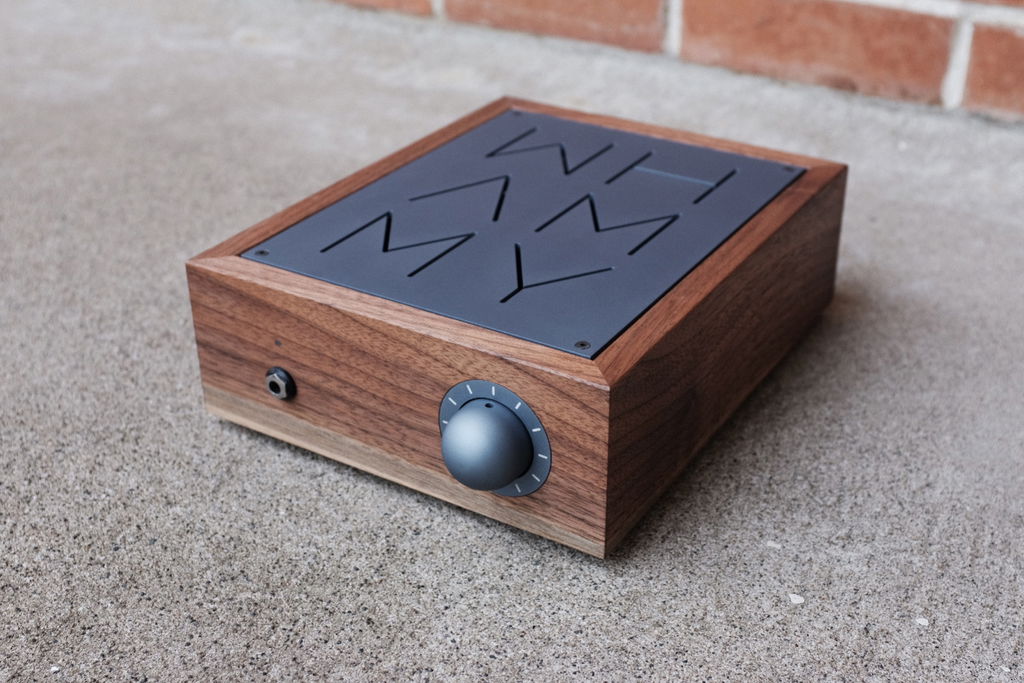
A friend of mine trigged me into headphone listening. It is wonderful to be able to listen and enjoy music in the evening at real listening level.
I am a great Pass / Colburn fan and falling across the Whammy I of cause had to give it a try.
Recently I borrowed a set of Hifiman HA1000SE – whee this headphone and the Whammy really is capable putting my HD800 to the wall at a level I have not heard for a headphone before.
Very detailed dynamic sound with energy and nerve I love. It really reveals every change done in my set-up.
To bring it to best possible level I additionally used pure silver wiring, pure copper RCA connector, Jantzen Silver/Gold ac coupling capacitor, copper plates/mica underneath the output transistors, copper alloy screws, OP627 op-amp, Wima MKP10, some extra decoupling, silver solder lead and a 20Kohm 24 pole Elma shunt attenuator.
Being proud of having additional Pass Gear and to honor Wayne I used a look alike chassis – gave up using the heat sink sides.
For now it´s running 40mA bias – I have no clue how much extra performance can be gained by higher levels.
My friend with the HA1000SE is in process of building a tube-based headamp and I can´t wait to compare the amps.
Cool to be able to build something like this.
Hi from Denmark and thanks everybody for contributing to this nice project – reading the very long tread was really inspiring.
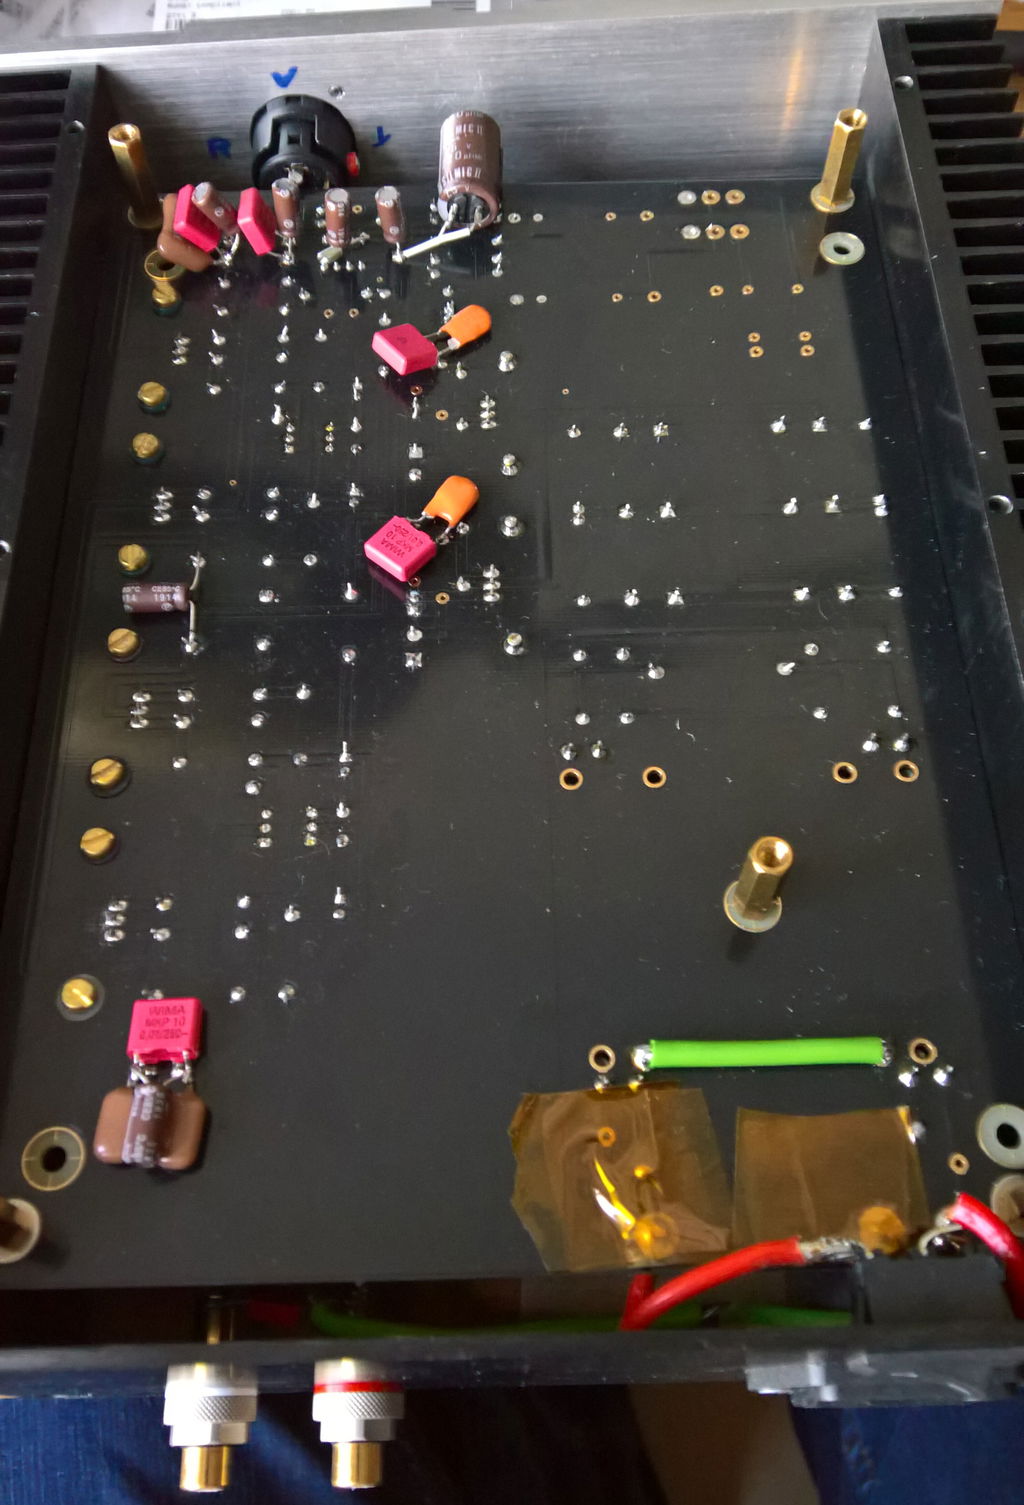
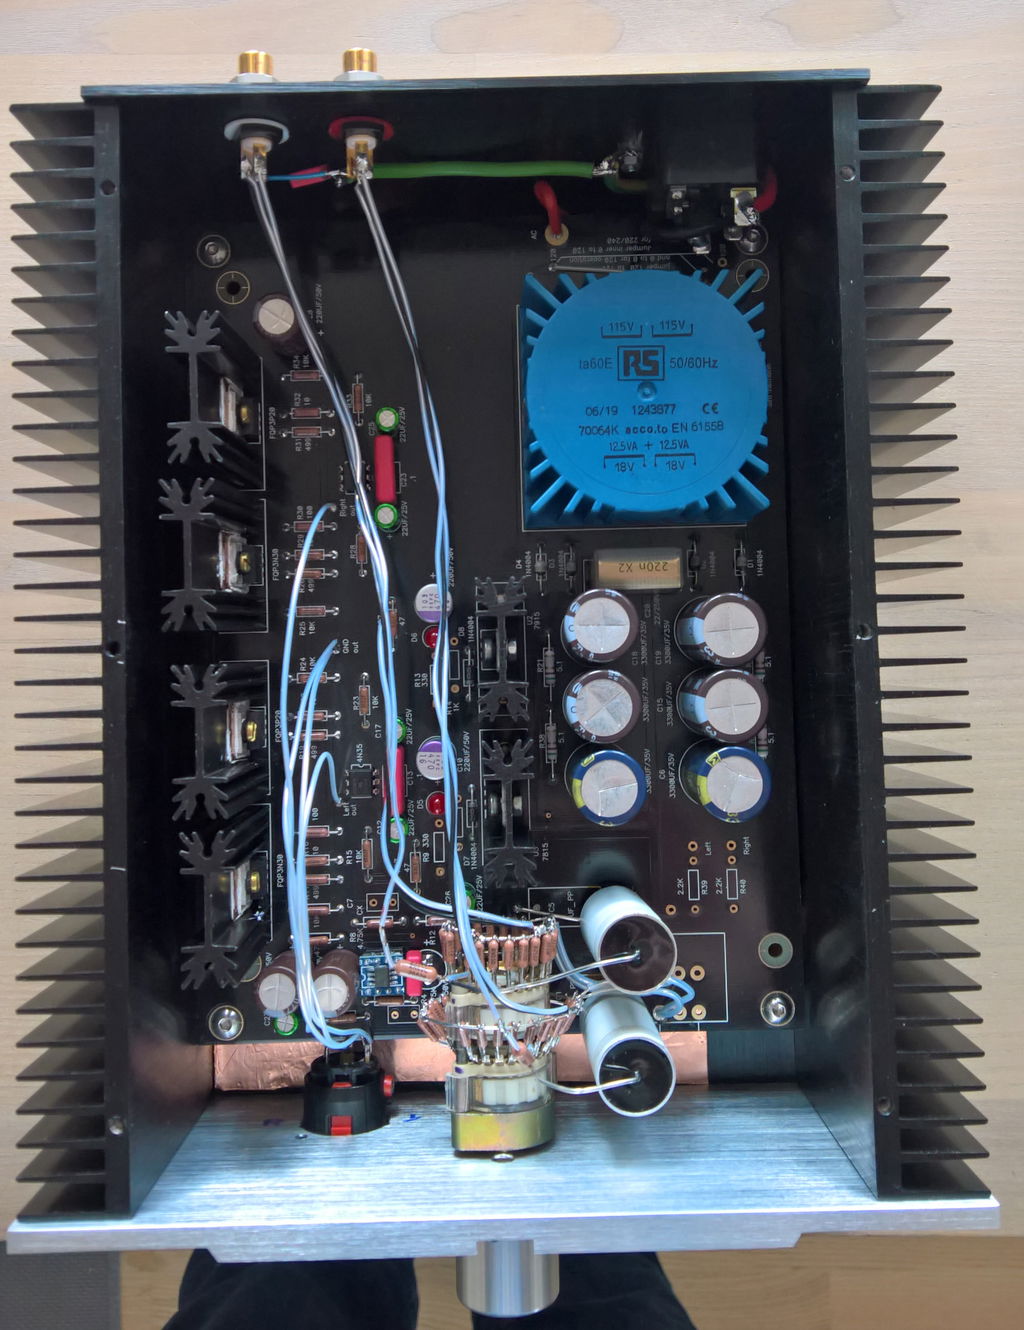
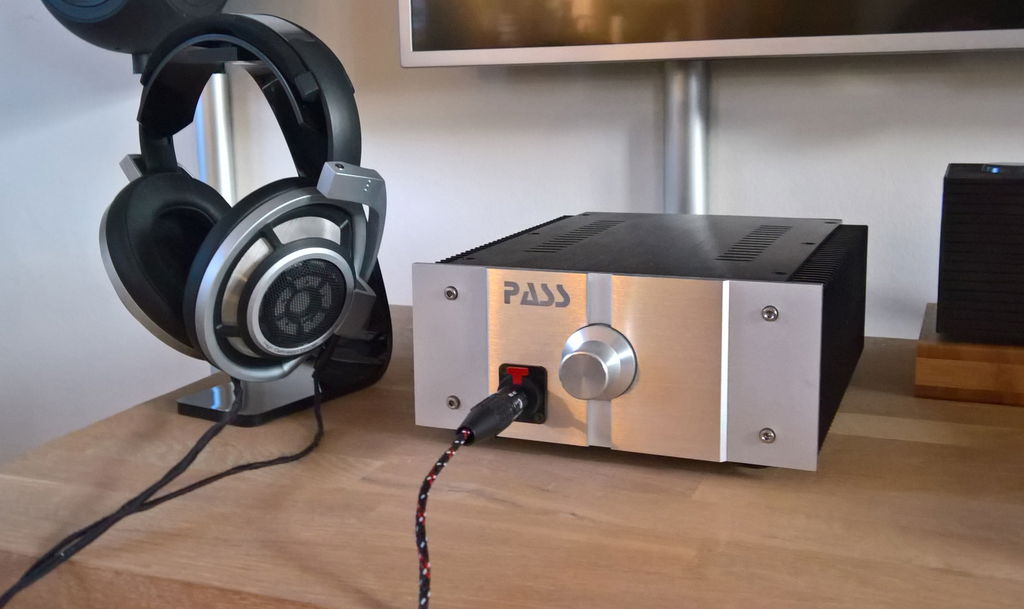
It was my first DIY project and fortunately it was successful. I haven’t killed myself working with mains and very glad about that =) Some patience and accuracy is rewarded by incredible sound, depth and wide soundstage. Built with AD823ANZ and am more than satisfied with SQ – very precise, detailed but pleasant for log-time listening. I will upgrade it to discrete OpAmp – probably with Sparkos Labs’ Dual Discrete Op Amp SS3602 – very excited about that.
I believe that there was no red 0.1uF film cap (between RCA GND and safety earth) listed on the BOM on the Project’s Thread (or I have missed that), so be aware to order it. I can not see any issues without this cap, but if Wayne suggests to put it – we should… If you are using Hammond enclosure 2,028” (51,51mm) high – DON’T choose filter caps higher than 35,5mm. 40mm is too high and they don’t fit – need to replace mine =(
Many thanks to Wayne and the Community for a grate opportunity to built such a gorgeous headphone amp.
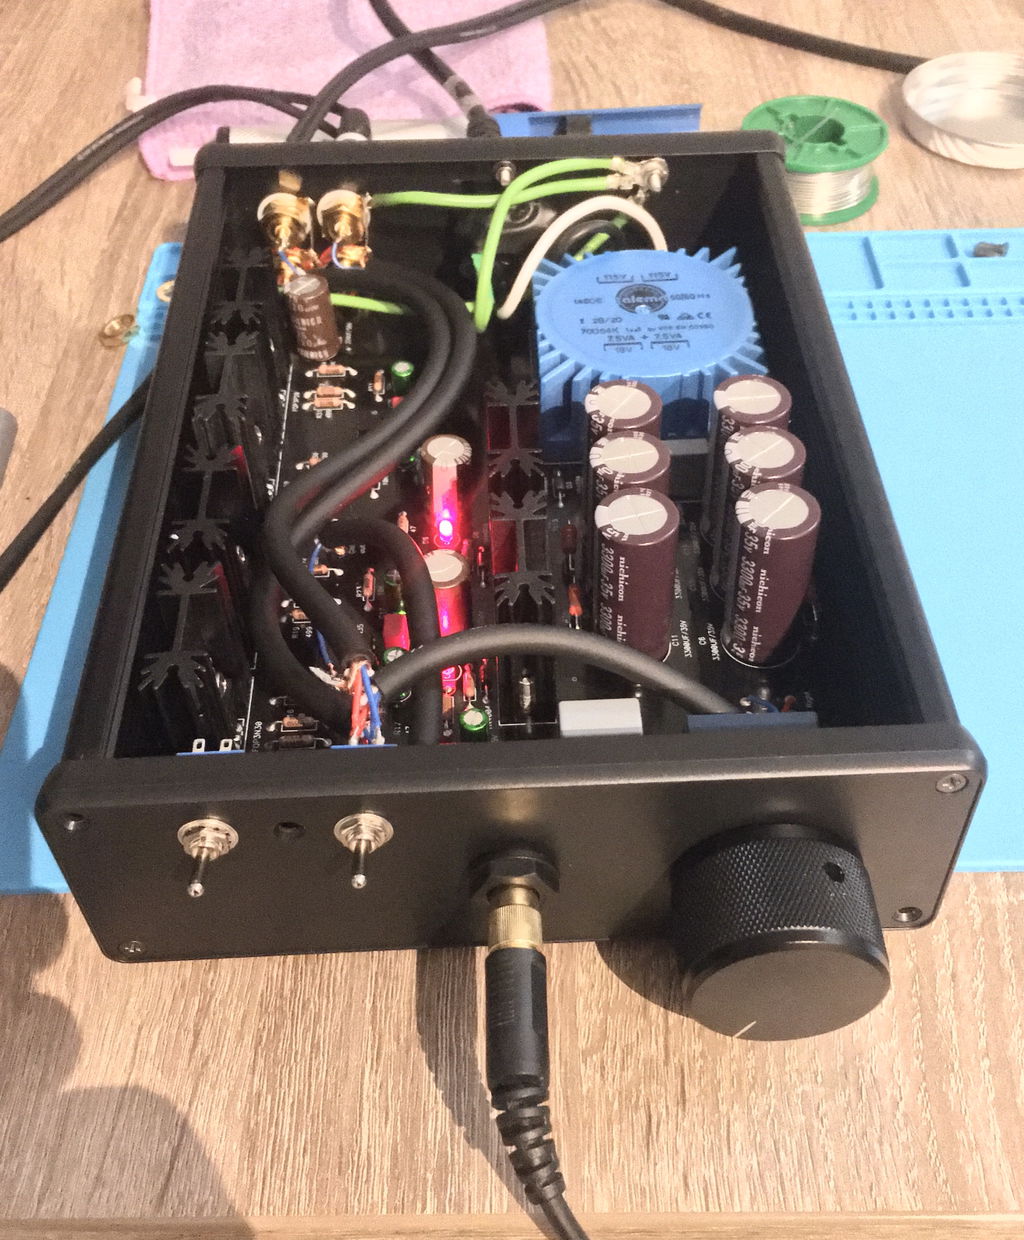
I never really built anything before. Started off with a pair of Amp Camp amps in January. That went so well, I decided to build the Whammy headphone amp. Biggest challenge for me was to order all of the parts because the kit was sold out and I just didn't want to wait. It actually turned out to be fun and easy to track everything down
Listening to the Whammy right now. It sounds great. Dead quiet. I used a socket for the op amp so I could try different op amps out. This is really a little too geeky at the end of the day as it is hard to compare. They all sound bad when you first plug them in and change drastically after an hour or so. So far I've tried the RC4580, which sounded ok. Switched out to the OPA2134PA, which after some burn in time seems to be a little less bright. Nothing drastic. Anyway, a great project. Highly recommended.