Skip to content

B1 with Korg Triode (B1K) Full Kit

Original price $ 299.00 - Original price $ 299.00
Original price
$ 299.00
$ 299.00 - $ 299.00
Current price $ 299.00
Availability:
in stock, ready to be shipped

At the Burning Amp Festival in 2017 Nelson presented a pre-amp using the Korg Nutube dual triode. The latest revision of the circuit available is now available complete with Fairchild JFETs and all directly supplied by Nelson Pass. 

Please check the following links for more information:

There are 4 elements to building a complete preamplifier. Purchase the elements separately, or all together as a "full kit" bundle for $299. To build a complete preamplifier you will need:

  1. Korg Nutube ($49.99)
  2. B1K PCB + JFETs ($25)
  3. B1K Chassis ($129)
  4. B1K Completion Kit ($99)

What's in the completion kit?

Everything else you need to complete the project other than the Nutube, PCB + JFETs and Chassis. It's an assortment of bits and pieces that joins the Nutube, PCB and Chassis together, turning the whole things into a "full kit", hence the name "completion kit". 

The included "wall wart" style power adapter supports an input voltage of 90-264V and has a US style plug. If you don't live in the US you will need to obtain a suitable plug adapter.

Each kit contains high-quality audio-grade parts that have been carefully chosen for their suitability for this project.

At the time of writing (November 2021), we're still in middle of a pandemic-related global-supply-chain traffic jam. These are predicted to extend until 2023. While we'd like to have everything match the build guide visually, quantities of some of the parts you see in the guide might not be available right now. In those cases we have included well considered substitutions. You'll have to use a little imagination when following the guide.

Discussion threads / Links:


Customer Reviews

Based on 101 reviews
95%
(96)
4%
(4)
0%
(0)
0%
(0)
1%
(1)
C
CreazyTuba
What a good DIY kit

Building for the first time a pre amp and it was a great experience! The guide of Jim (very detialed step by step) and also some youtube videos where very helpfull. Thanks so much also Jim for the after sales! Did no upgrades so far, first going to try it on the F6 (still in build phase).
Tip: i used the pass guide for the last adjustments.

E
Eric L.
Excellent...but Only with Upgraded Caps

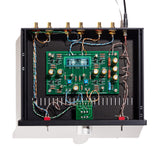
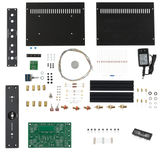
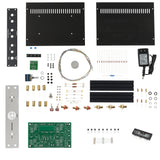
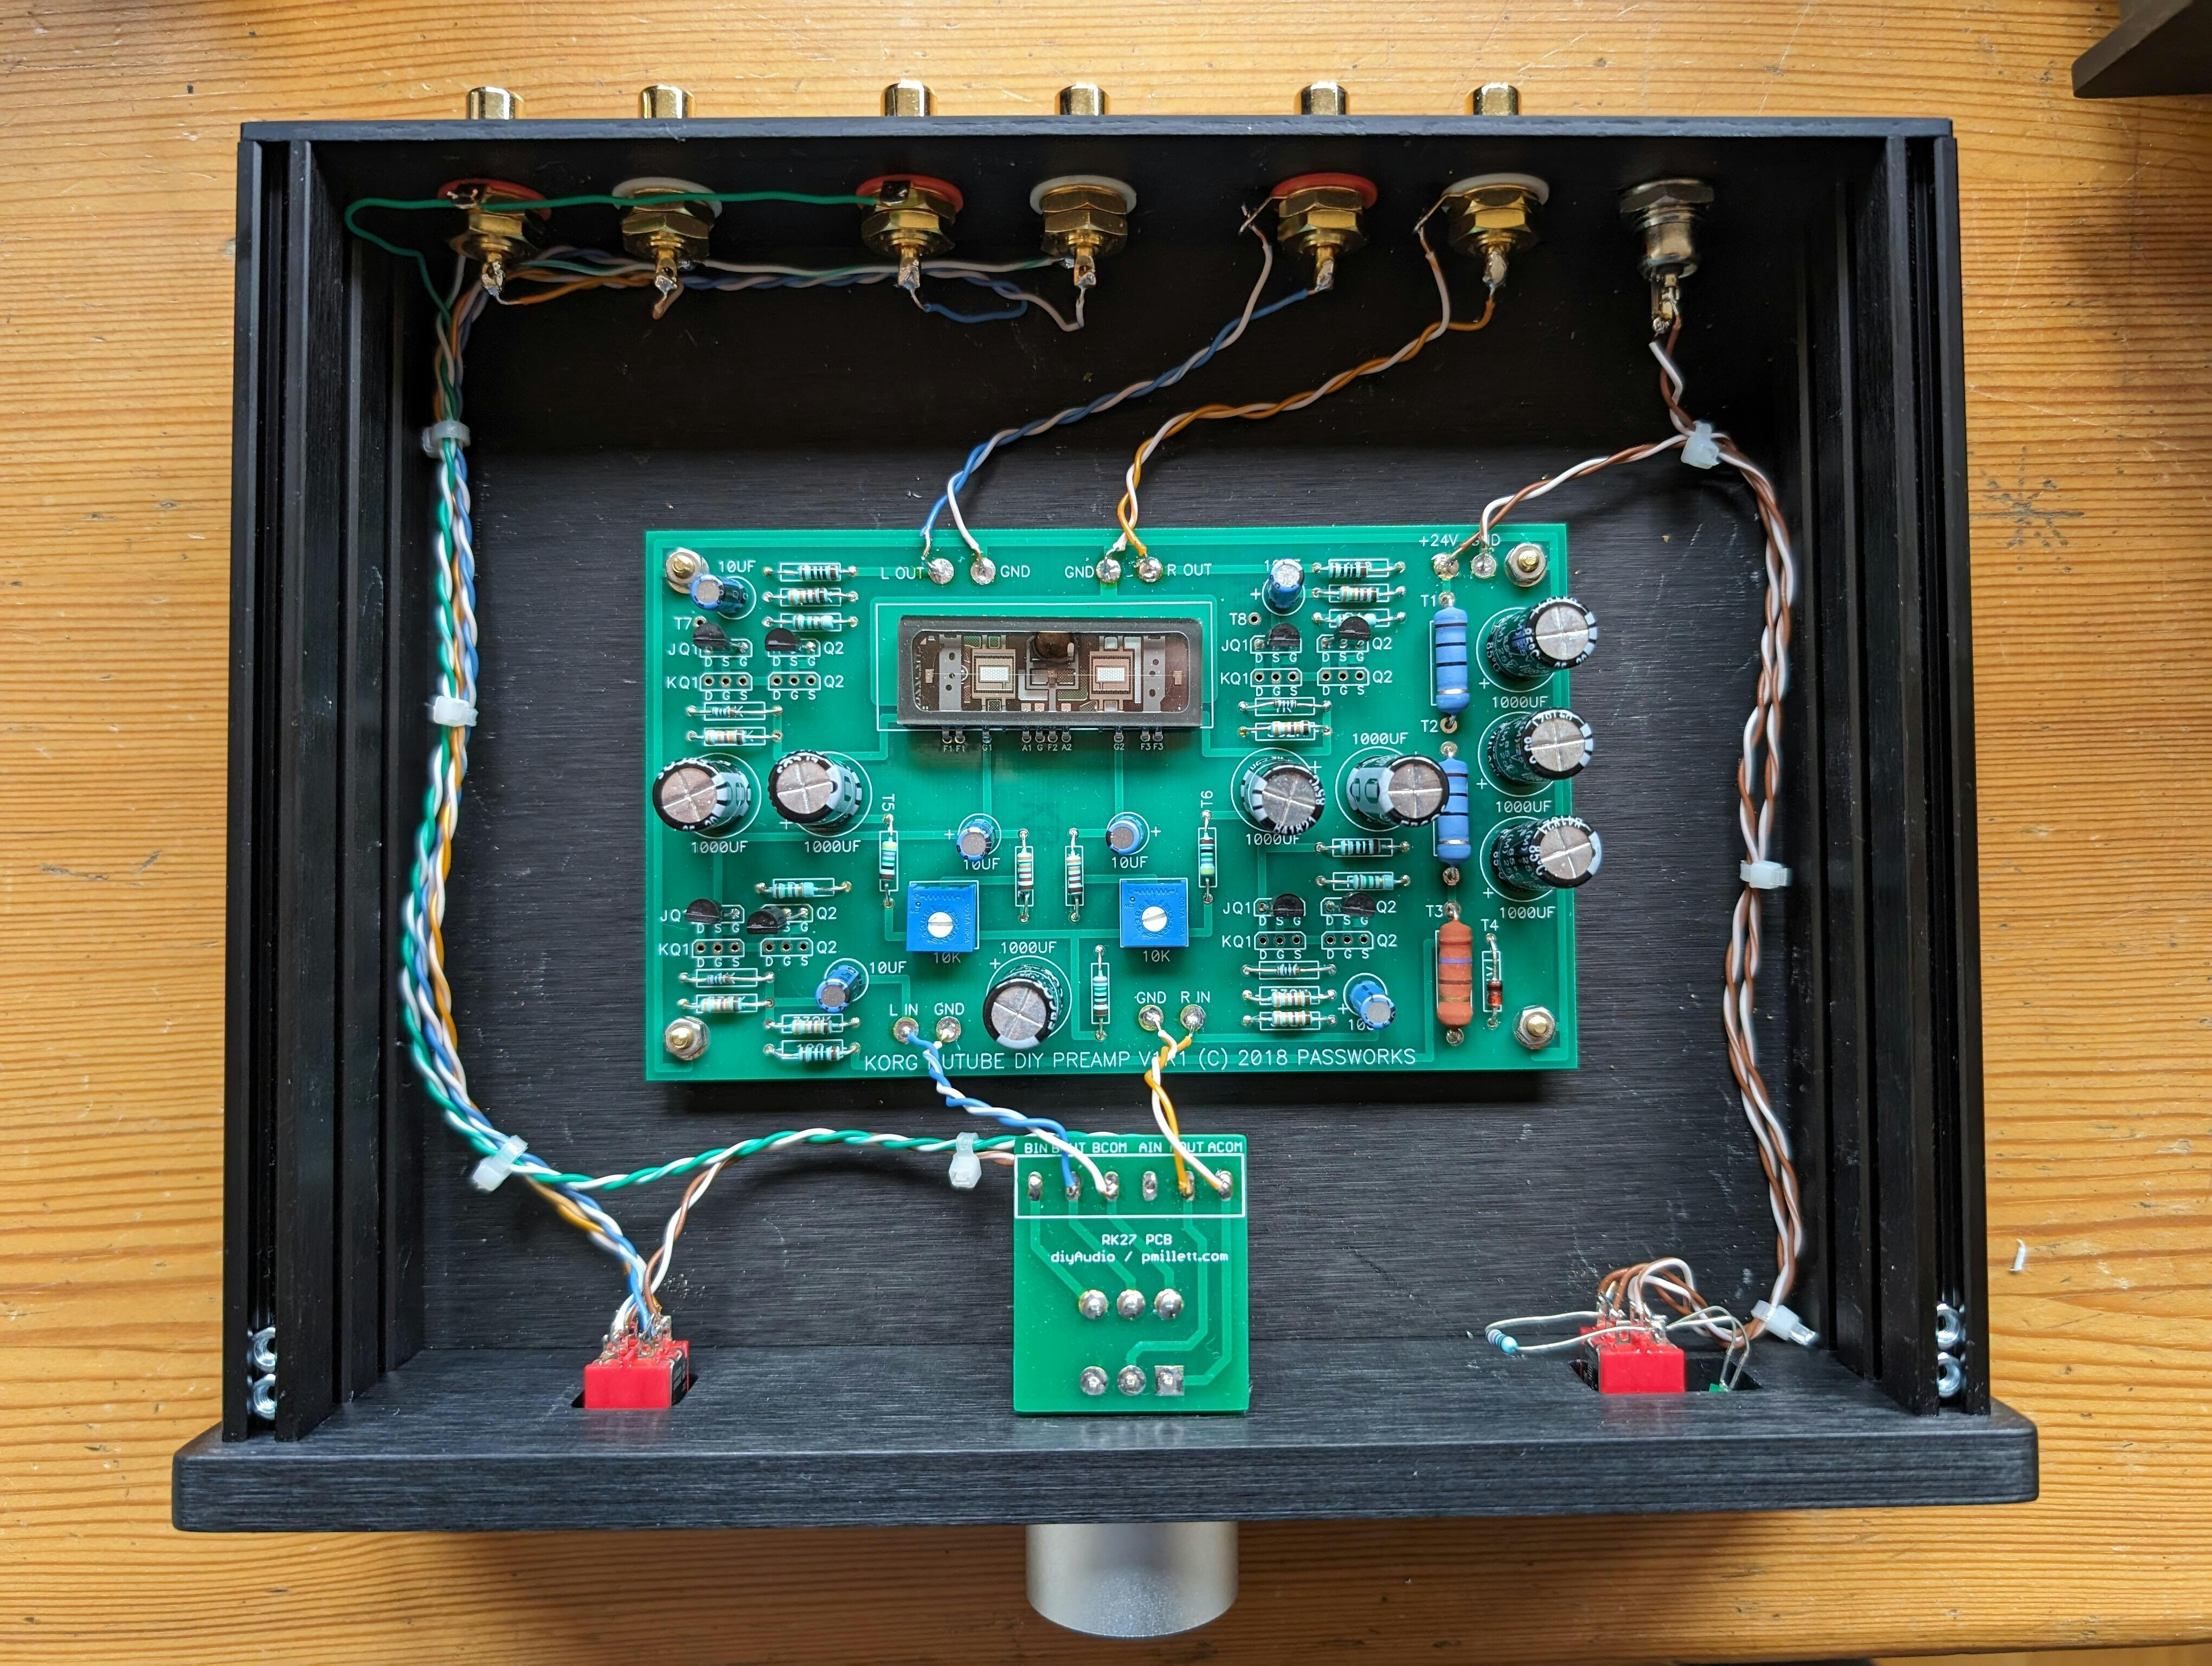
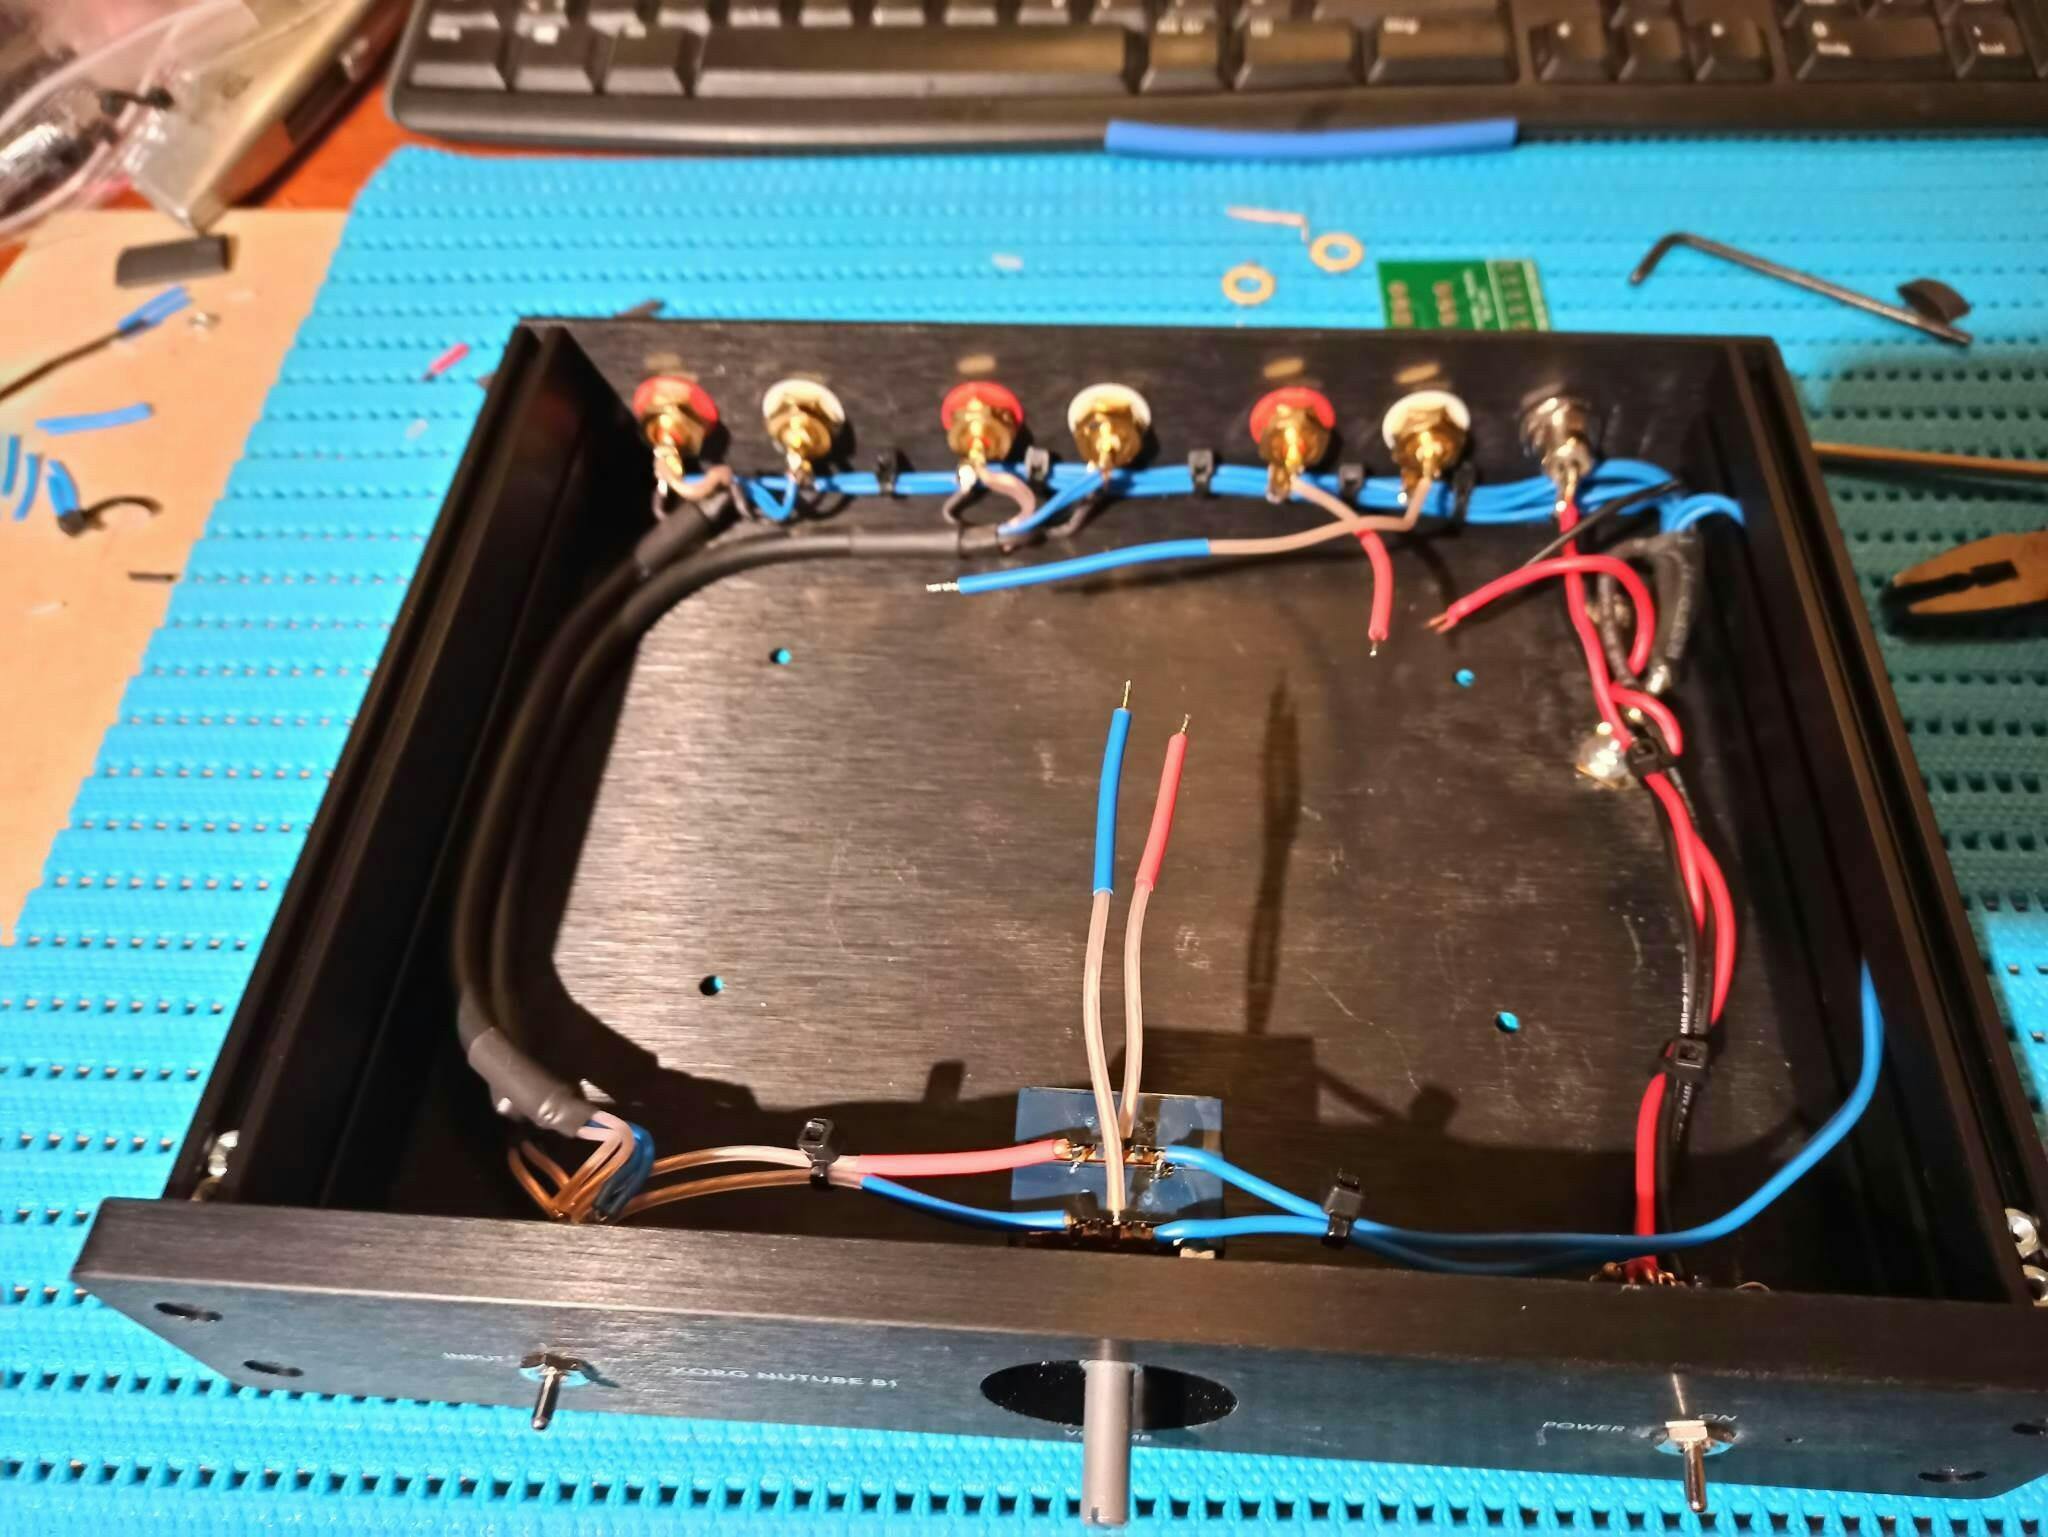
DIY noob. I built the stock kit over a weekend. As an old Navy Electronics Technician it was pretty easy, although I haven't soldered a PCB in 30 years. The build guide is very good.

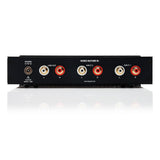
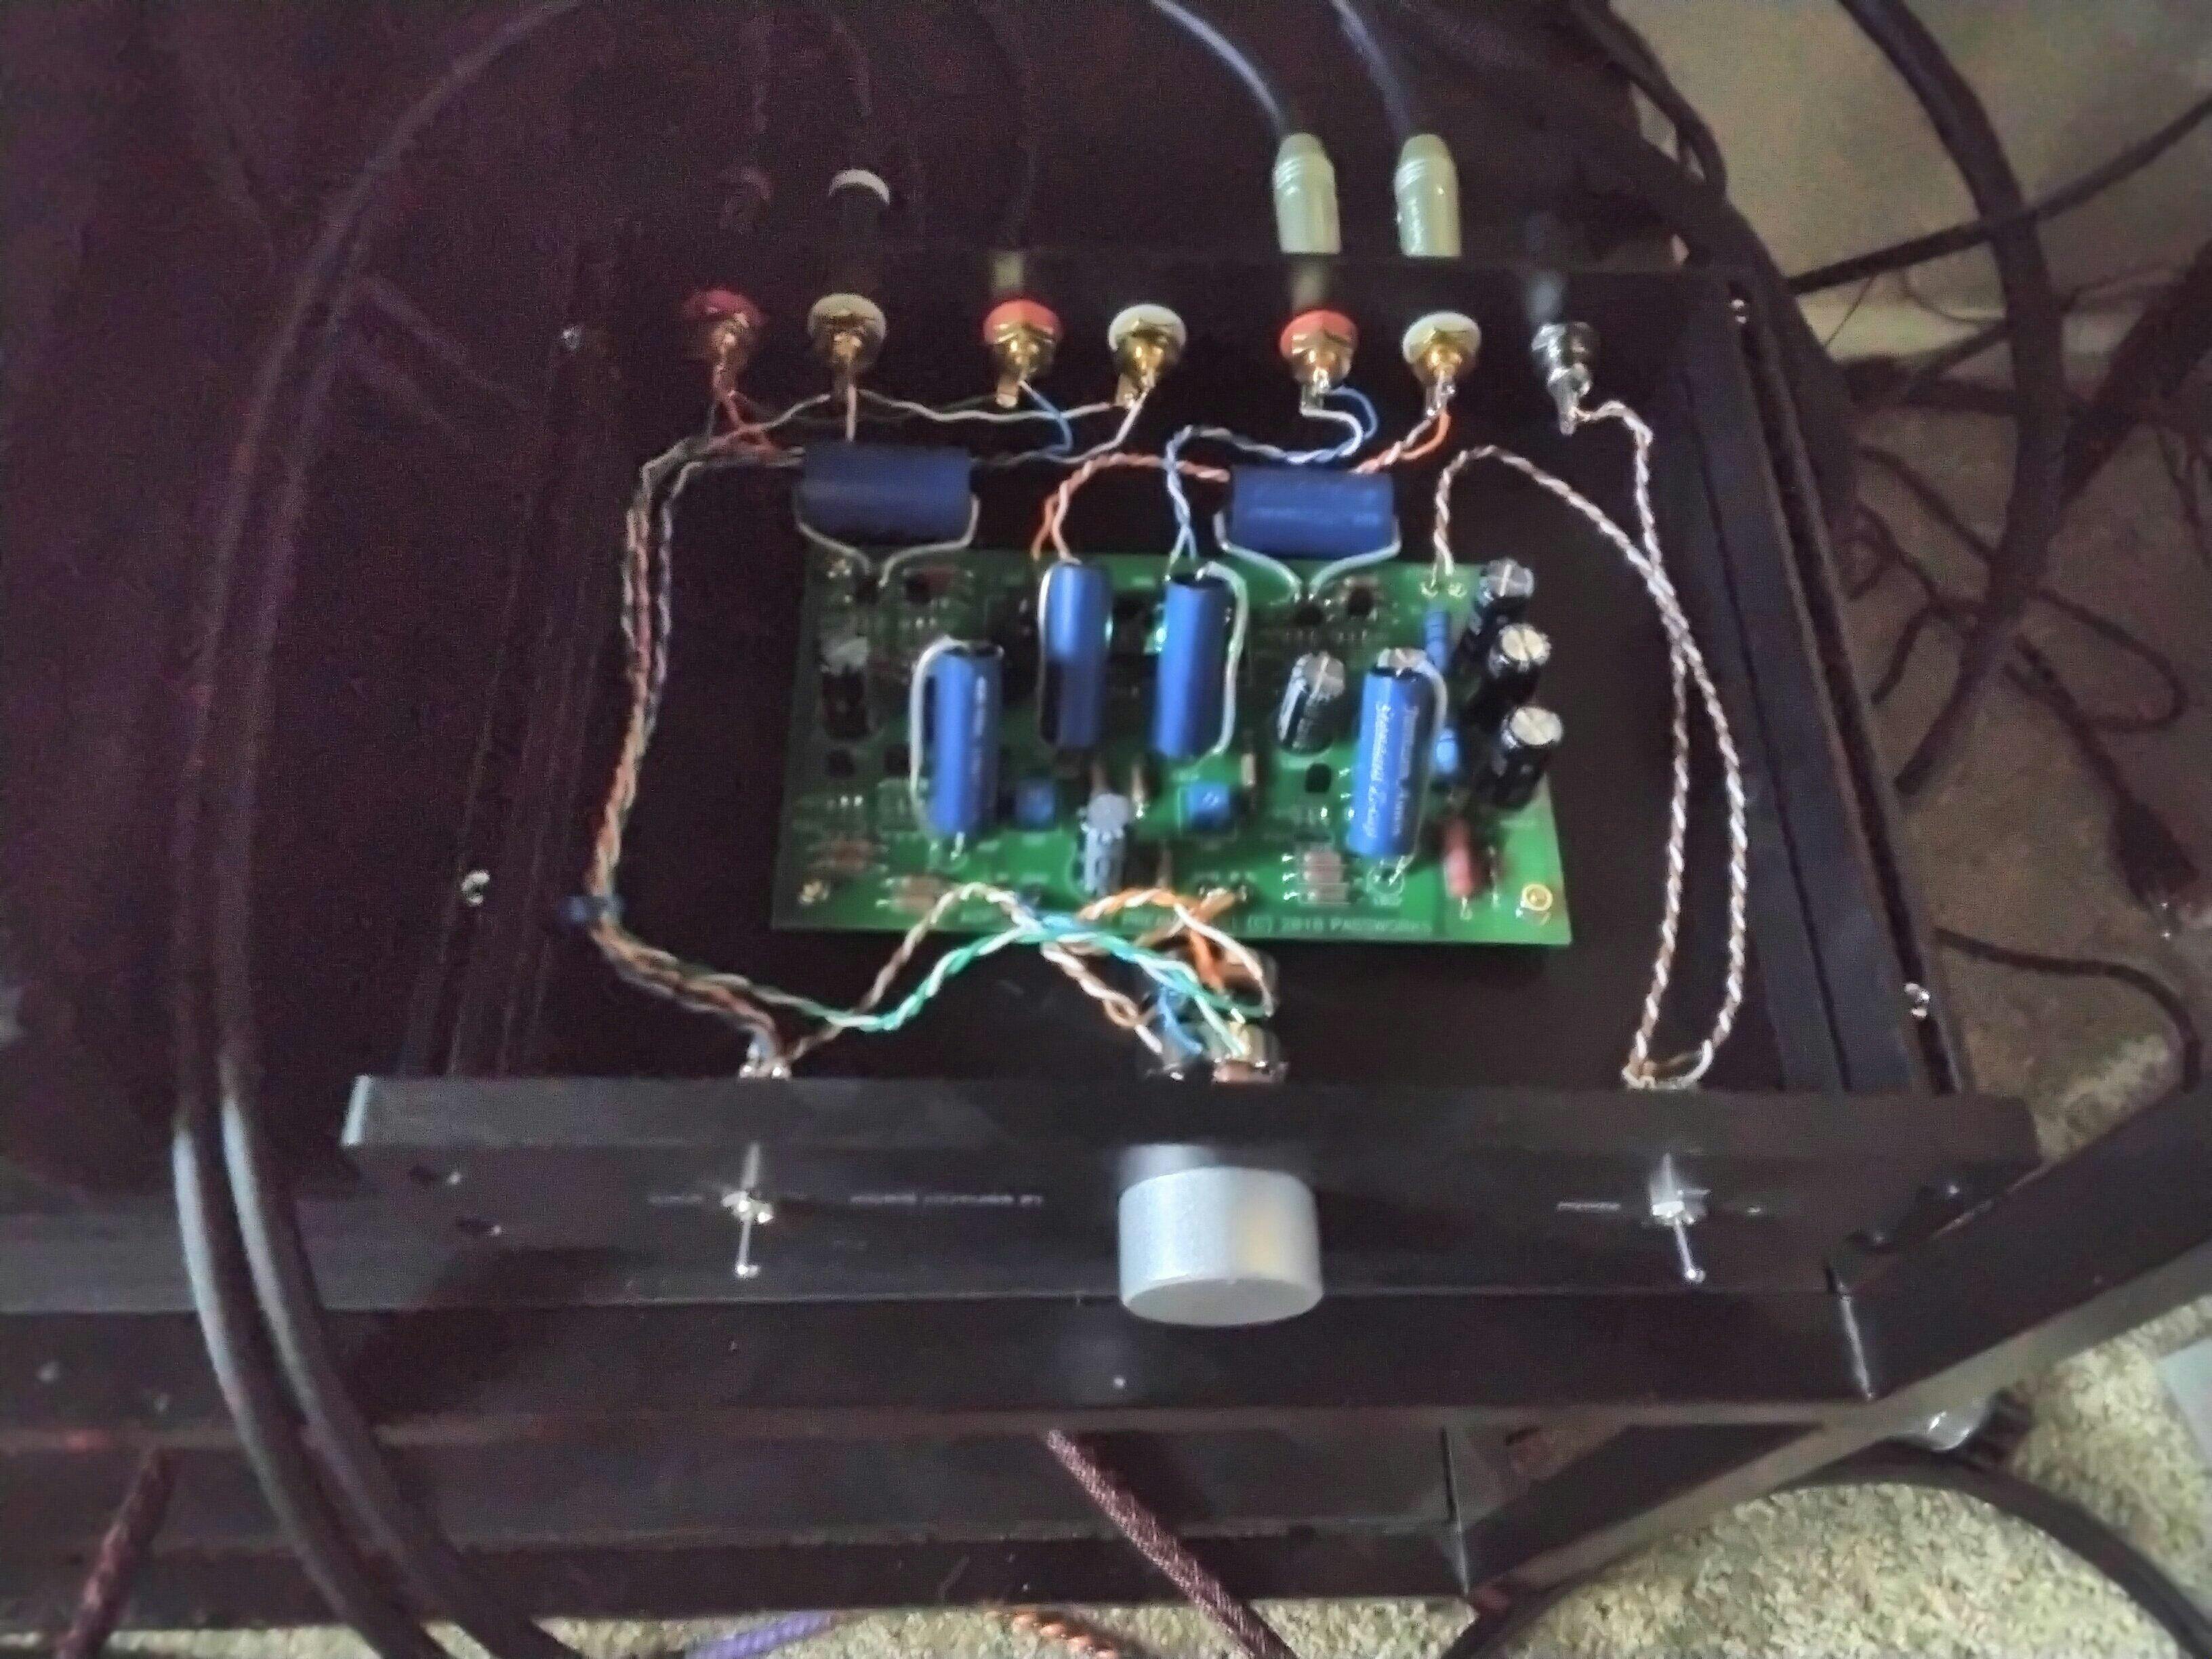
I really wanted to like this preamp. Nelson Pass is a legend and the reviews are almost universally glowing. Unfortunately, the stock build was a bit of a disappointment for me. There was a significant loss of detail in the music compared to straight out of my DAC. The soundstage was flat as well. Multiple settings on the bias pots had some effect, but no real improvement in resolution. While it's certainly possible that I screwed something up, a thorough inspection revealed no errors.

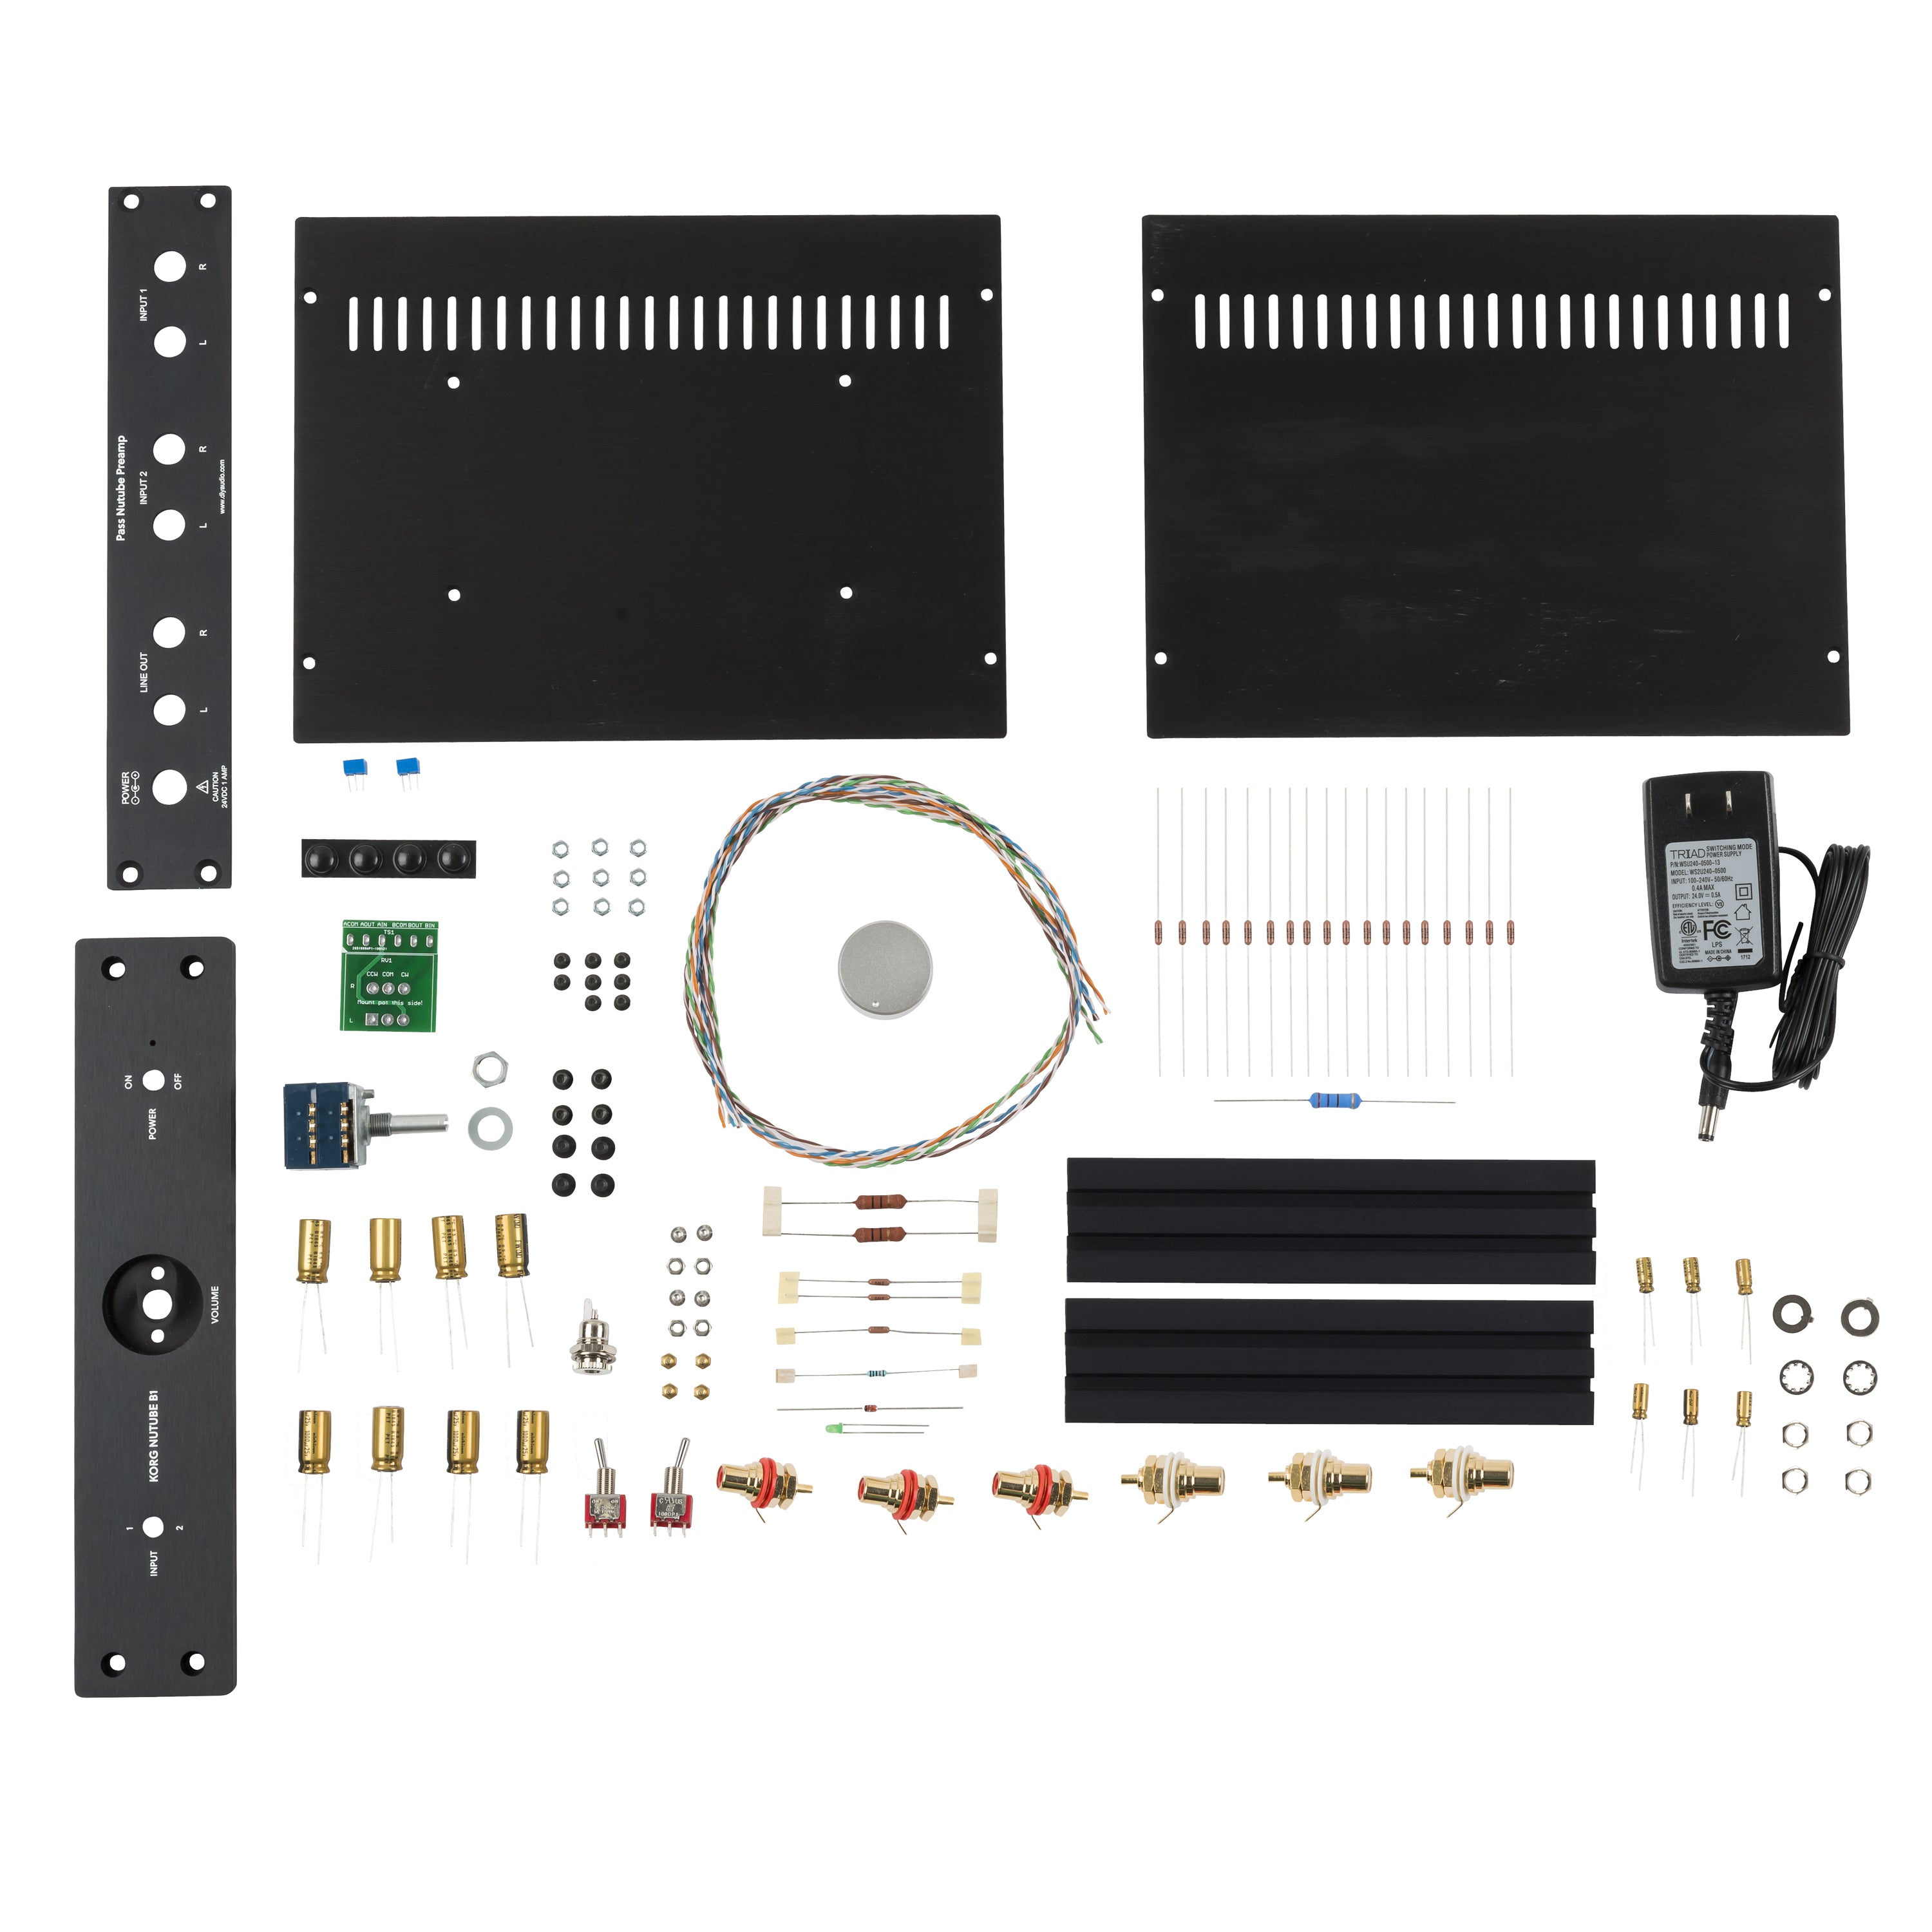
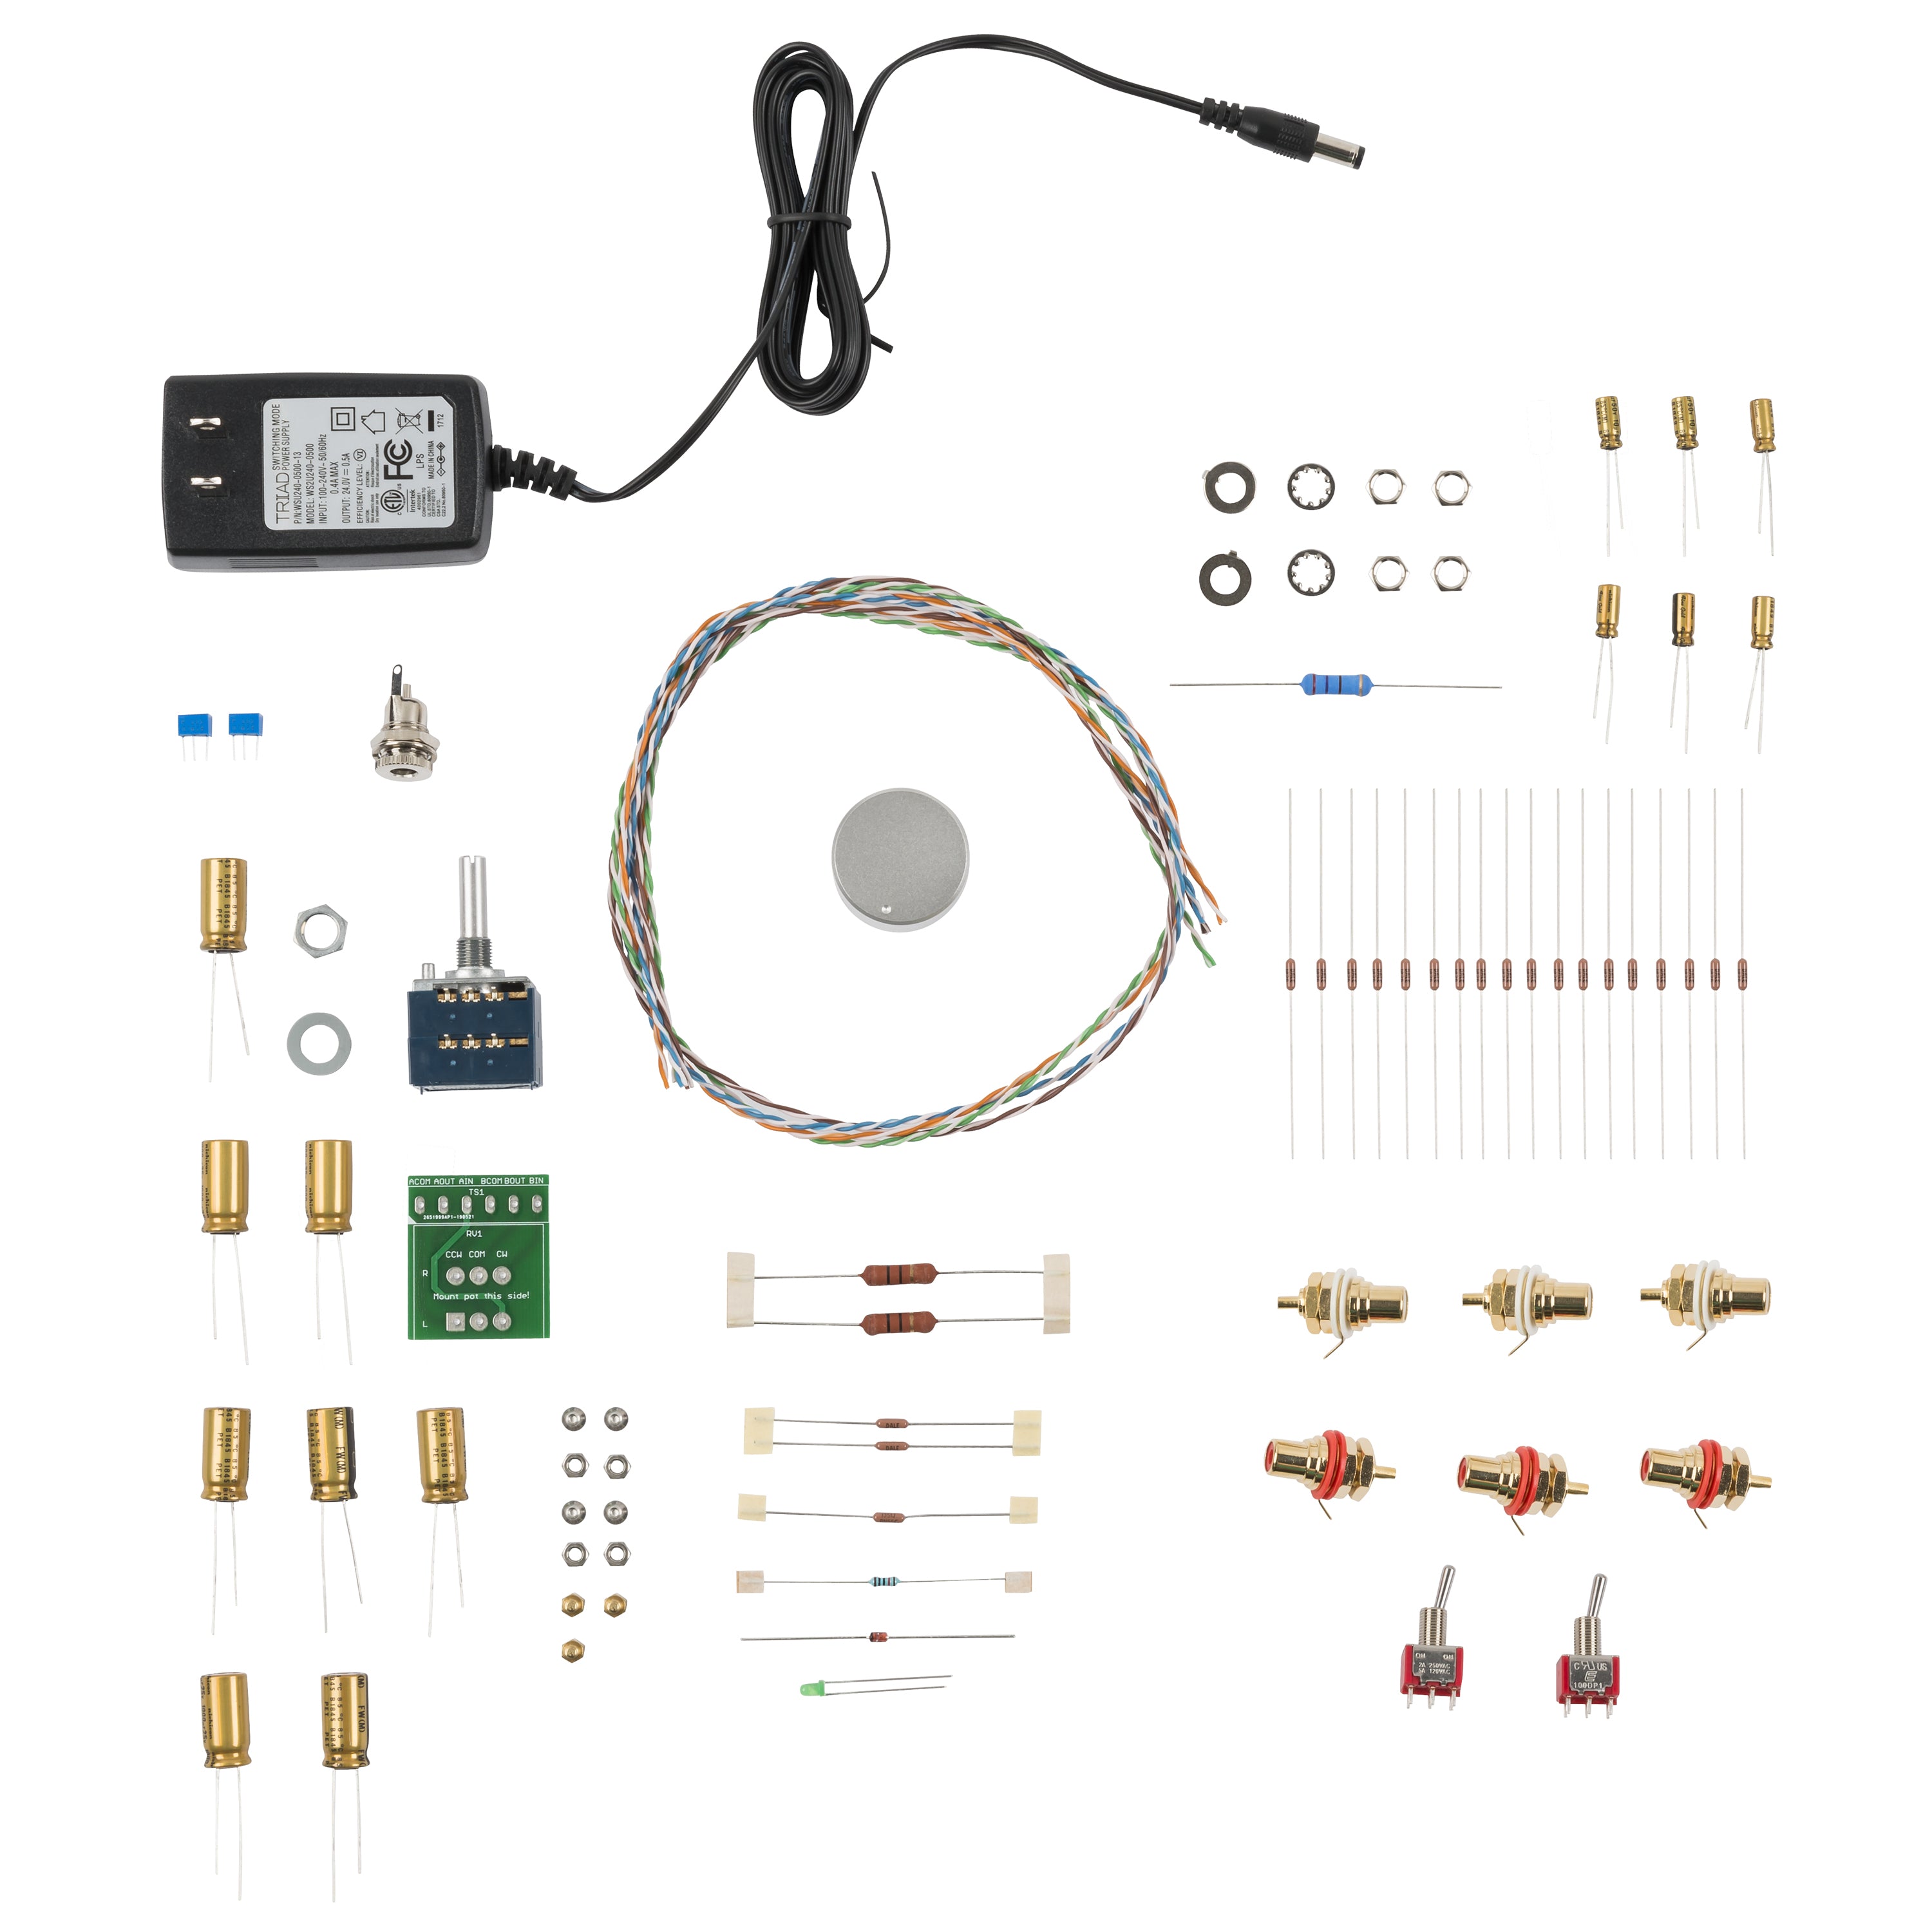
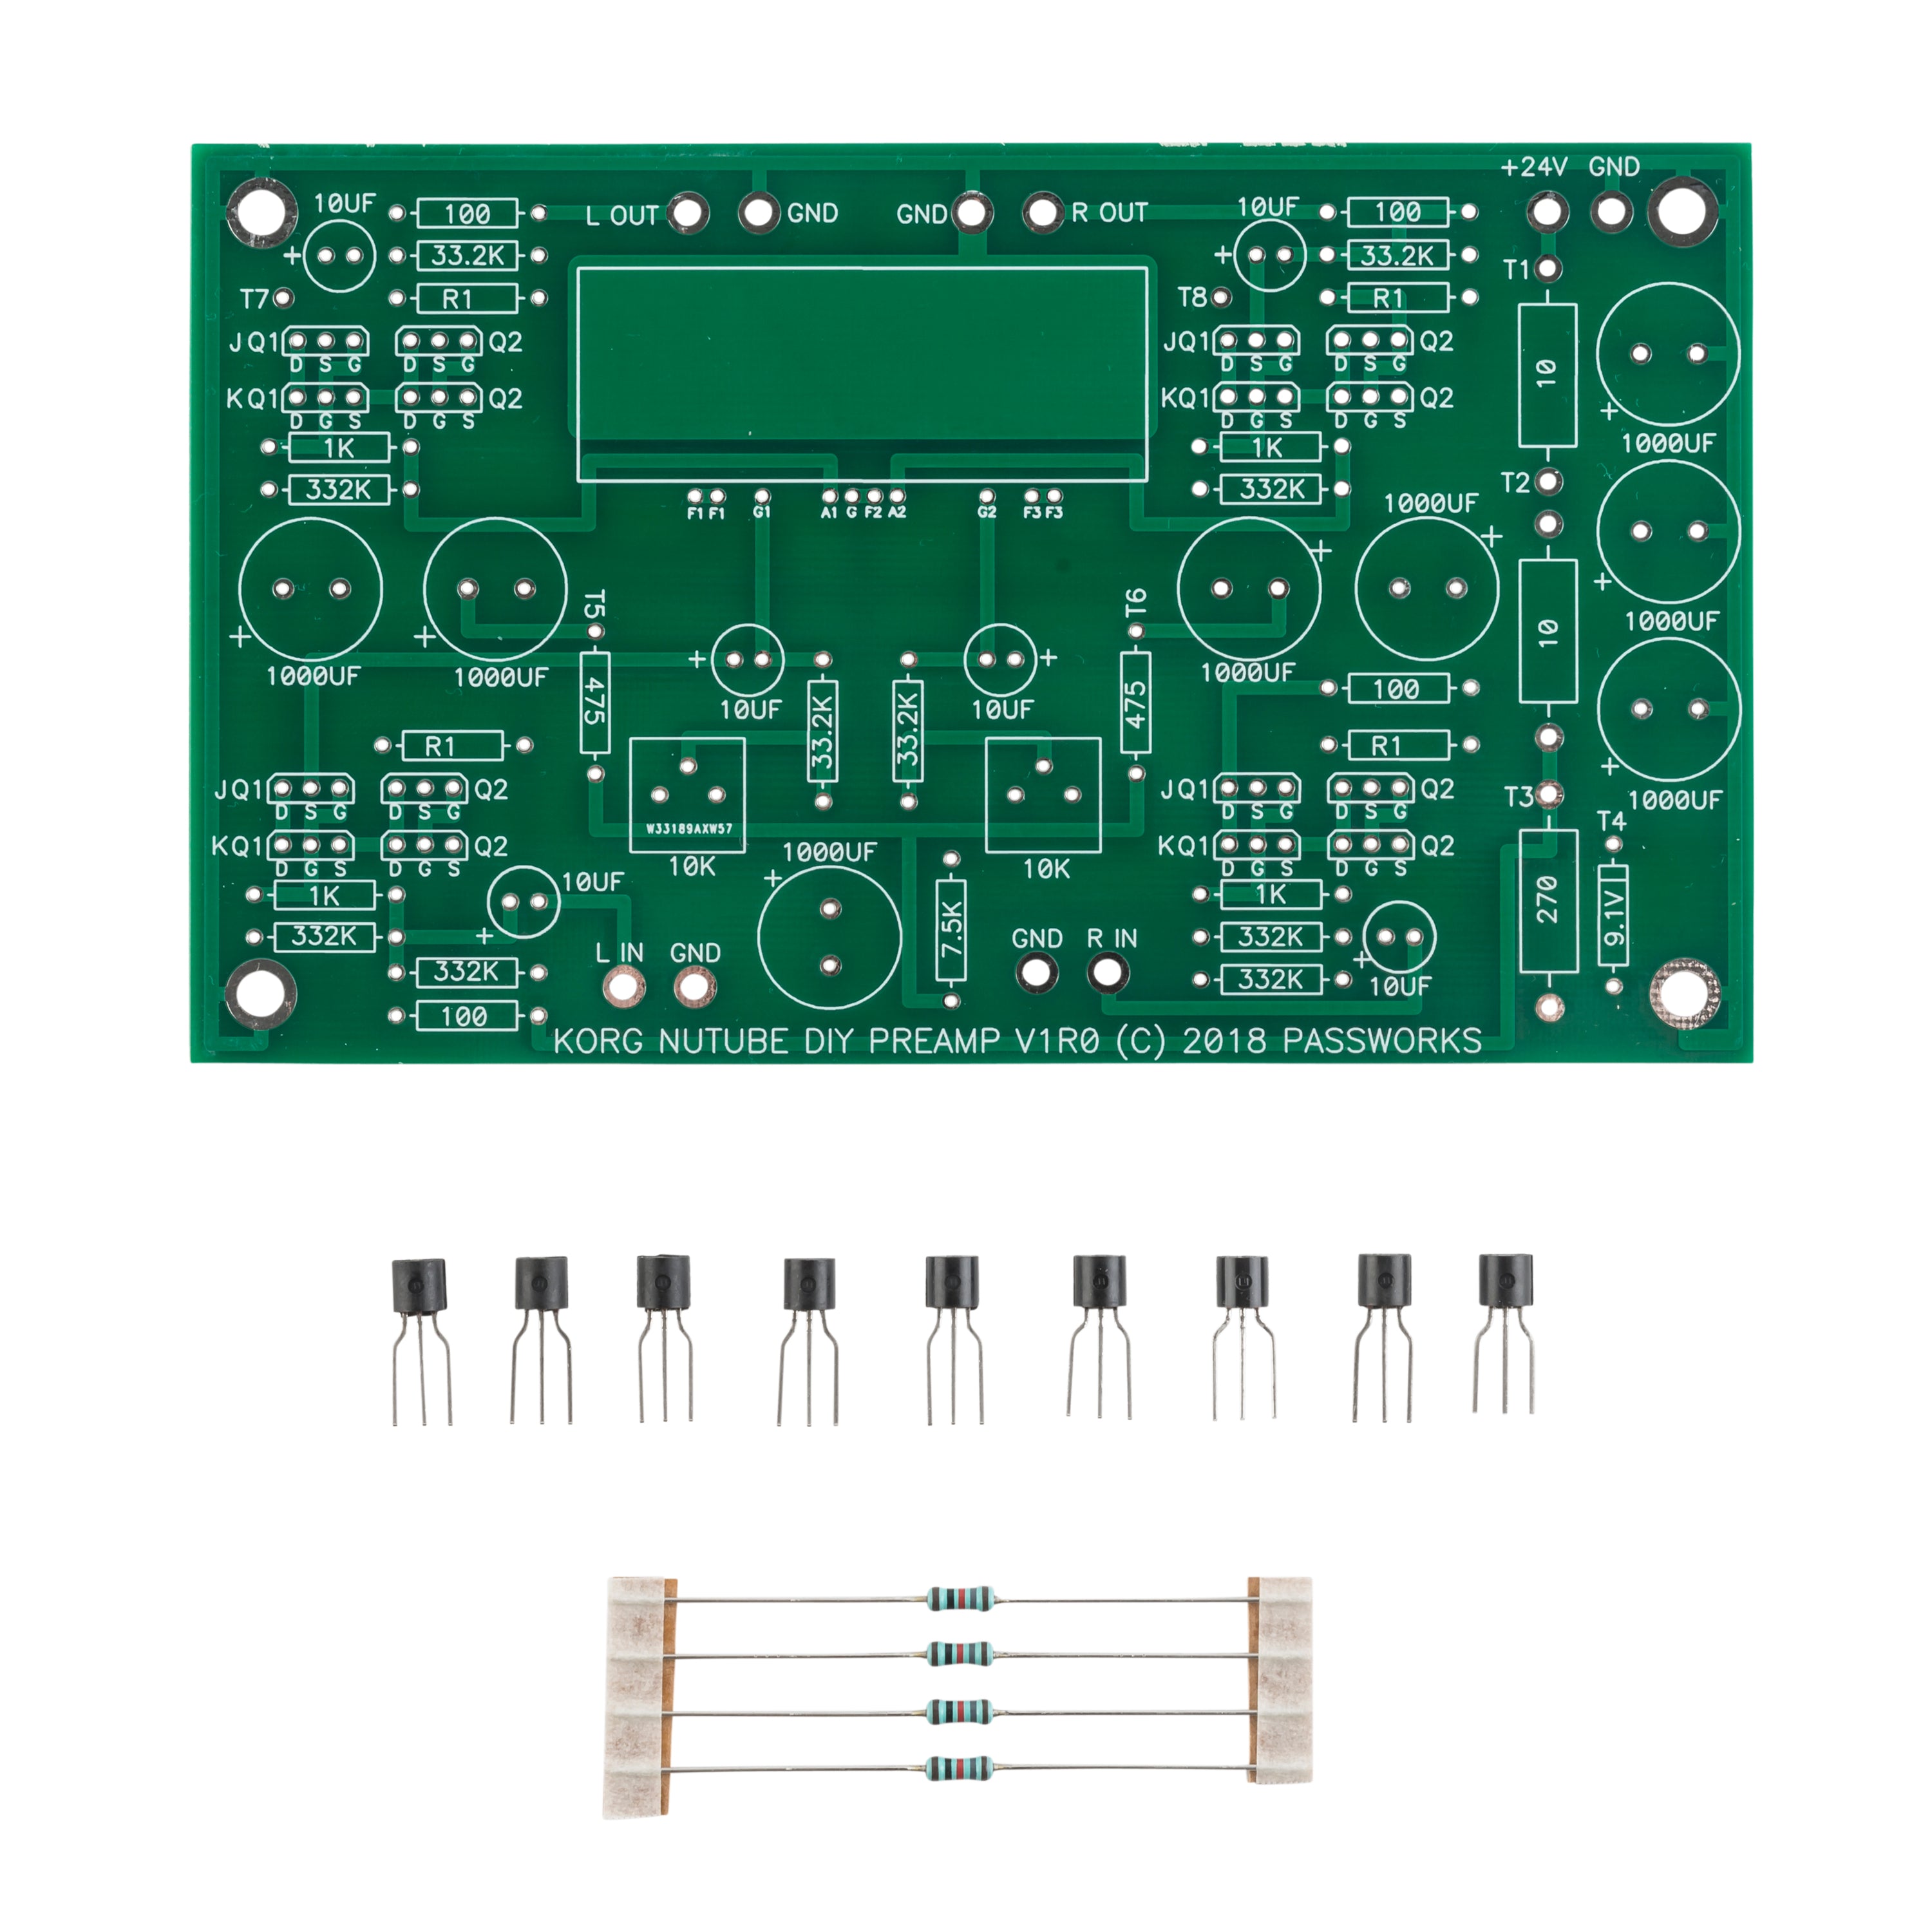
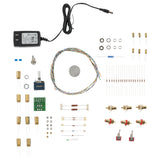
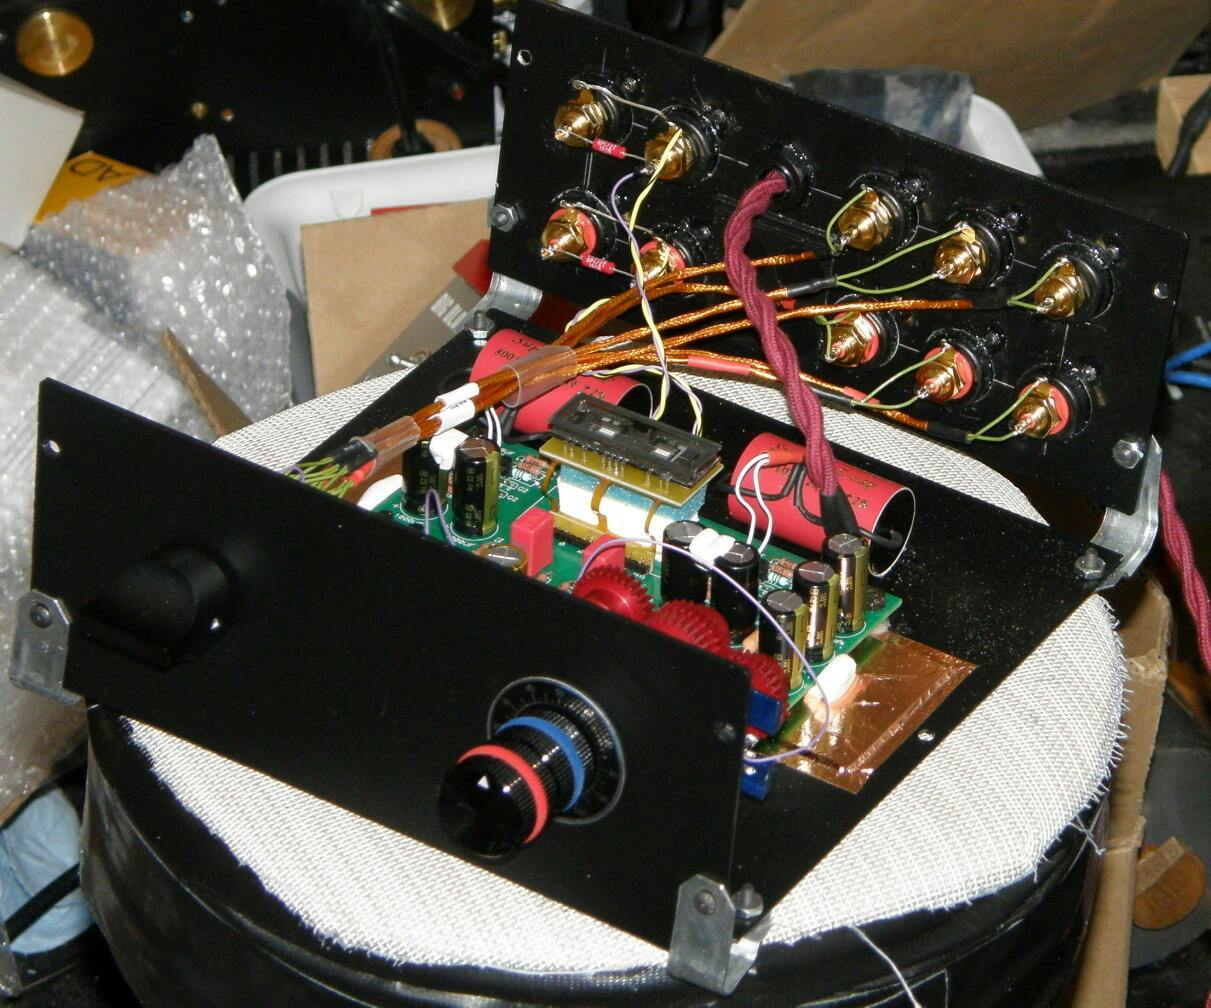
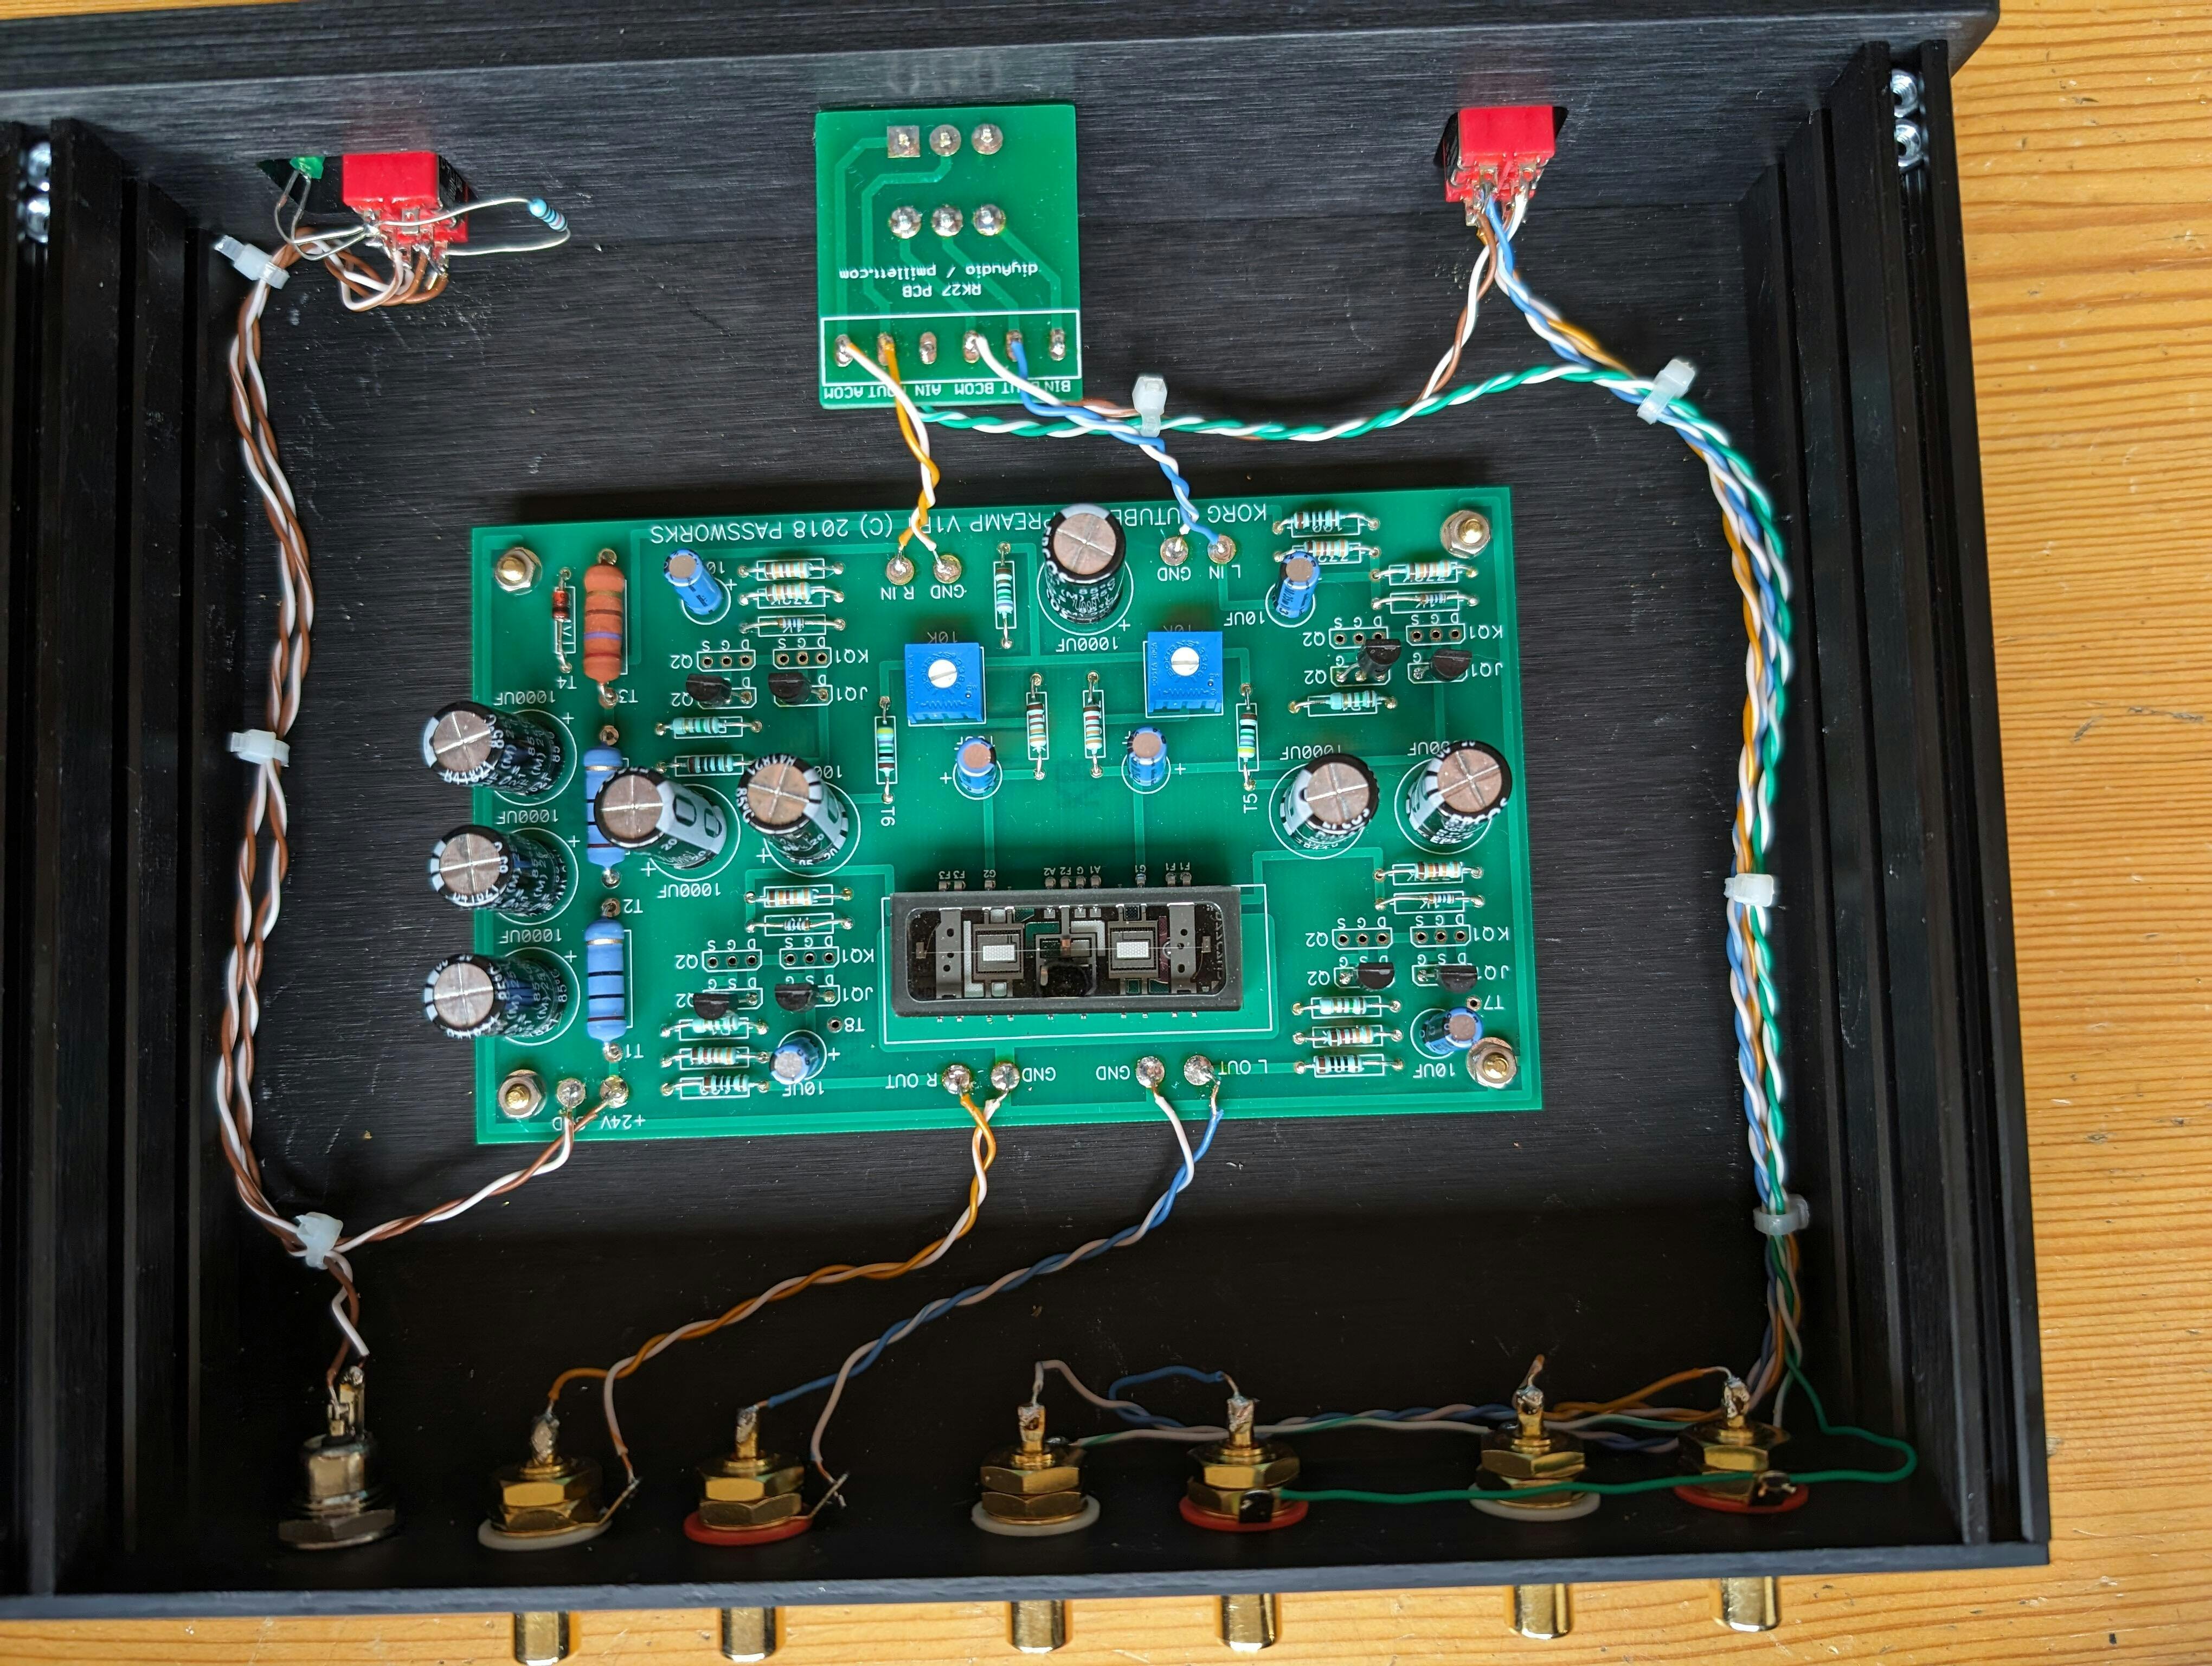
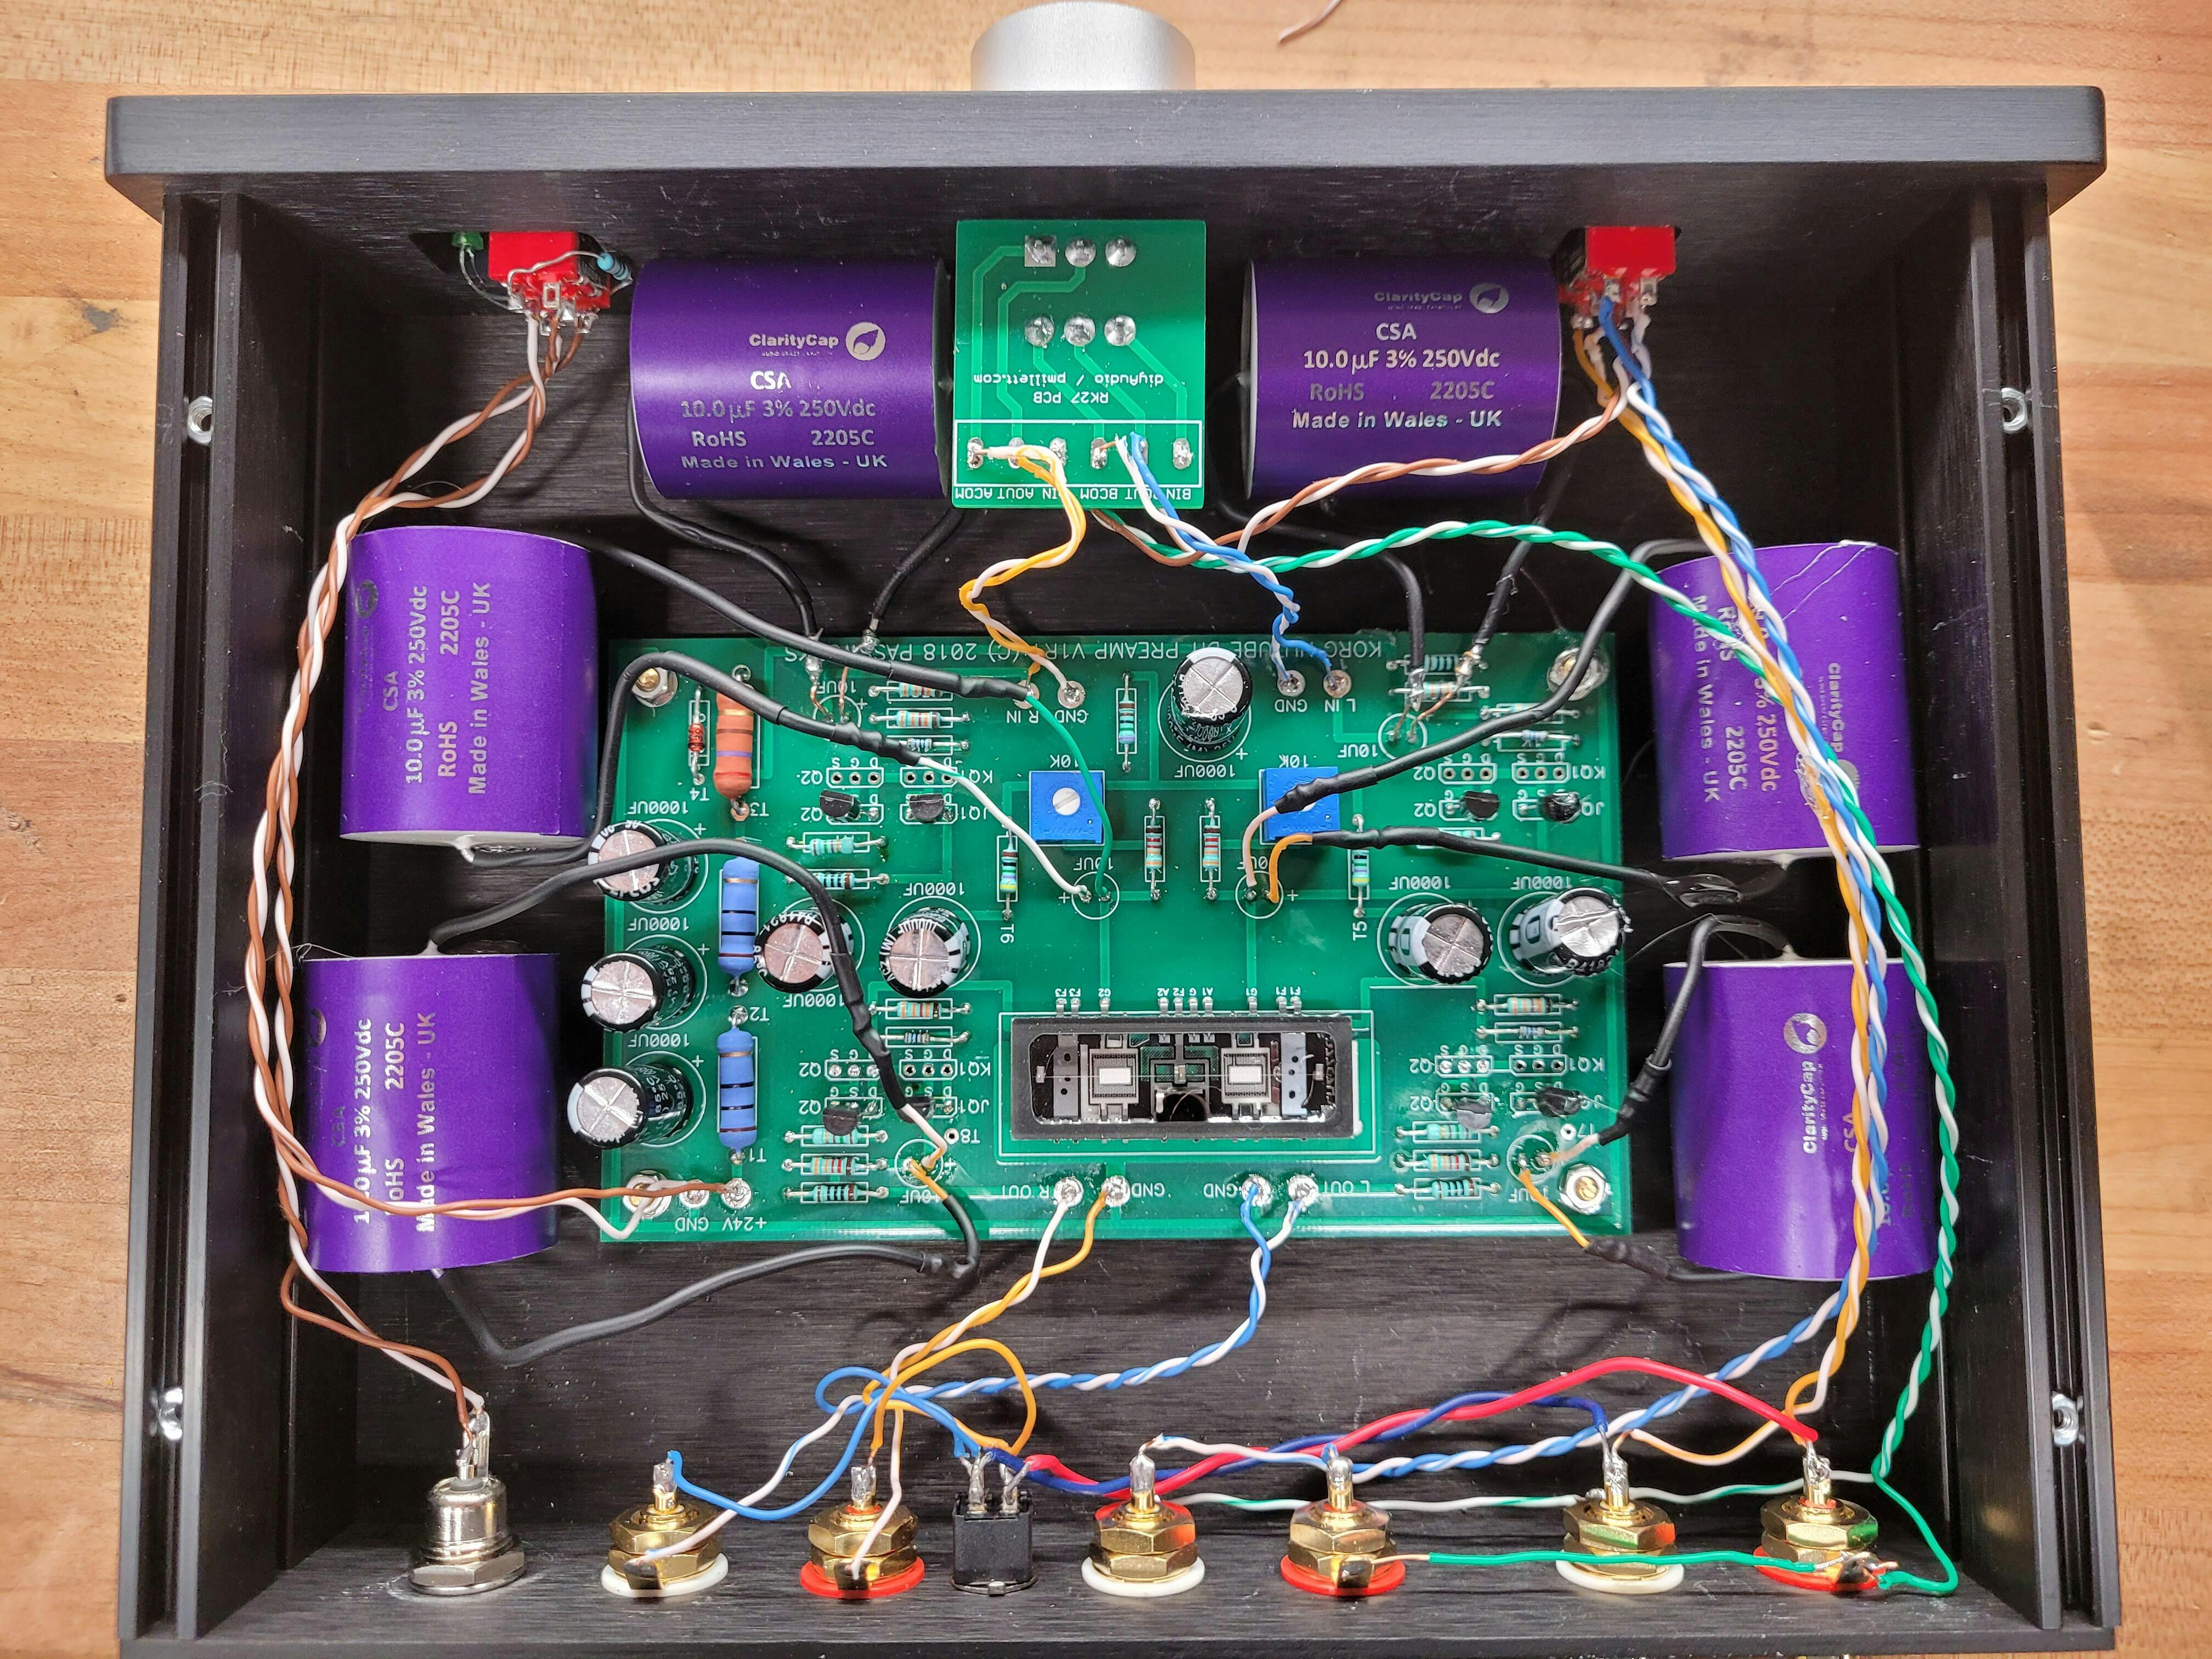
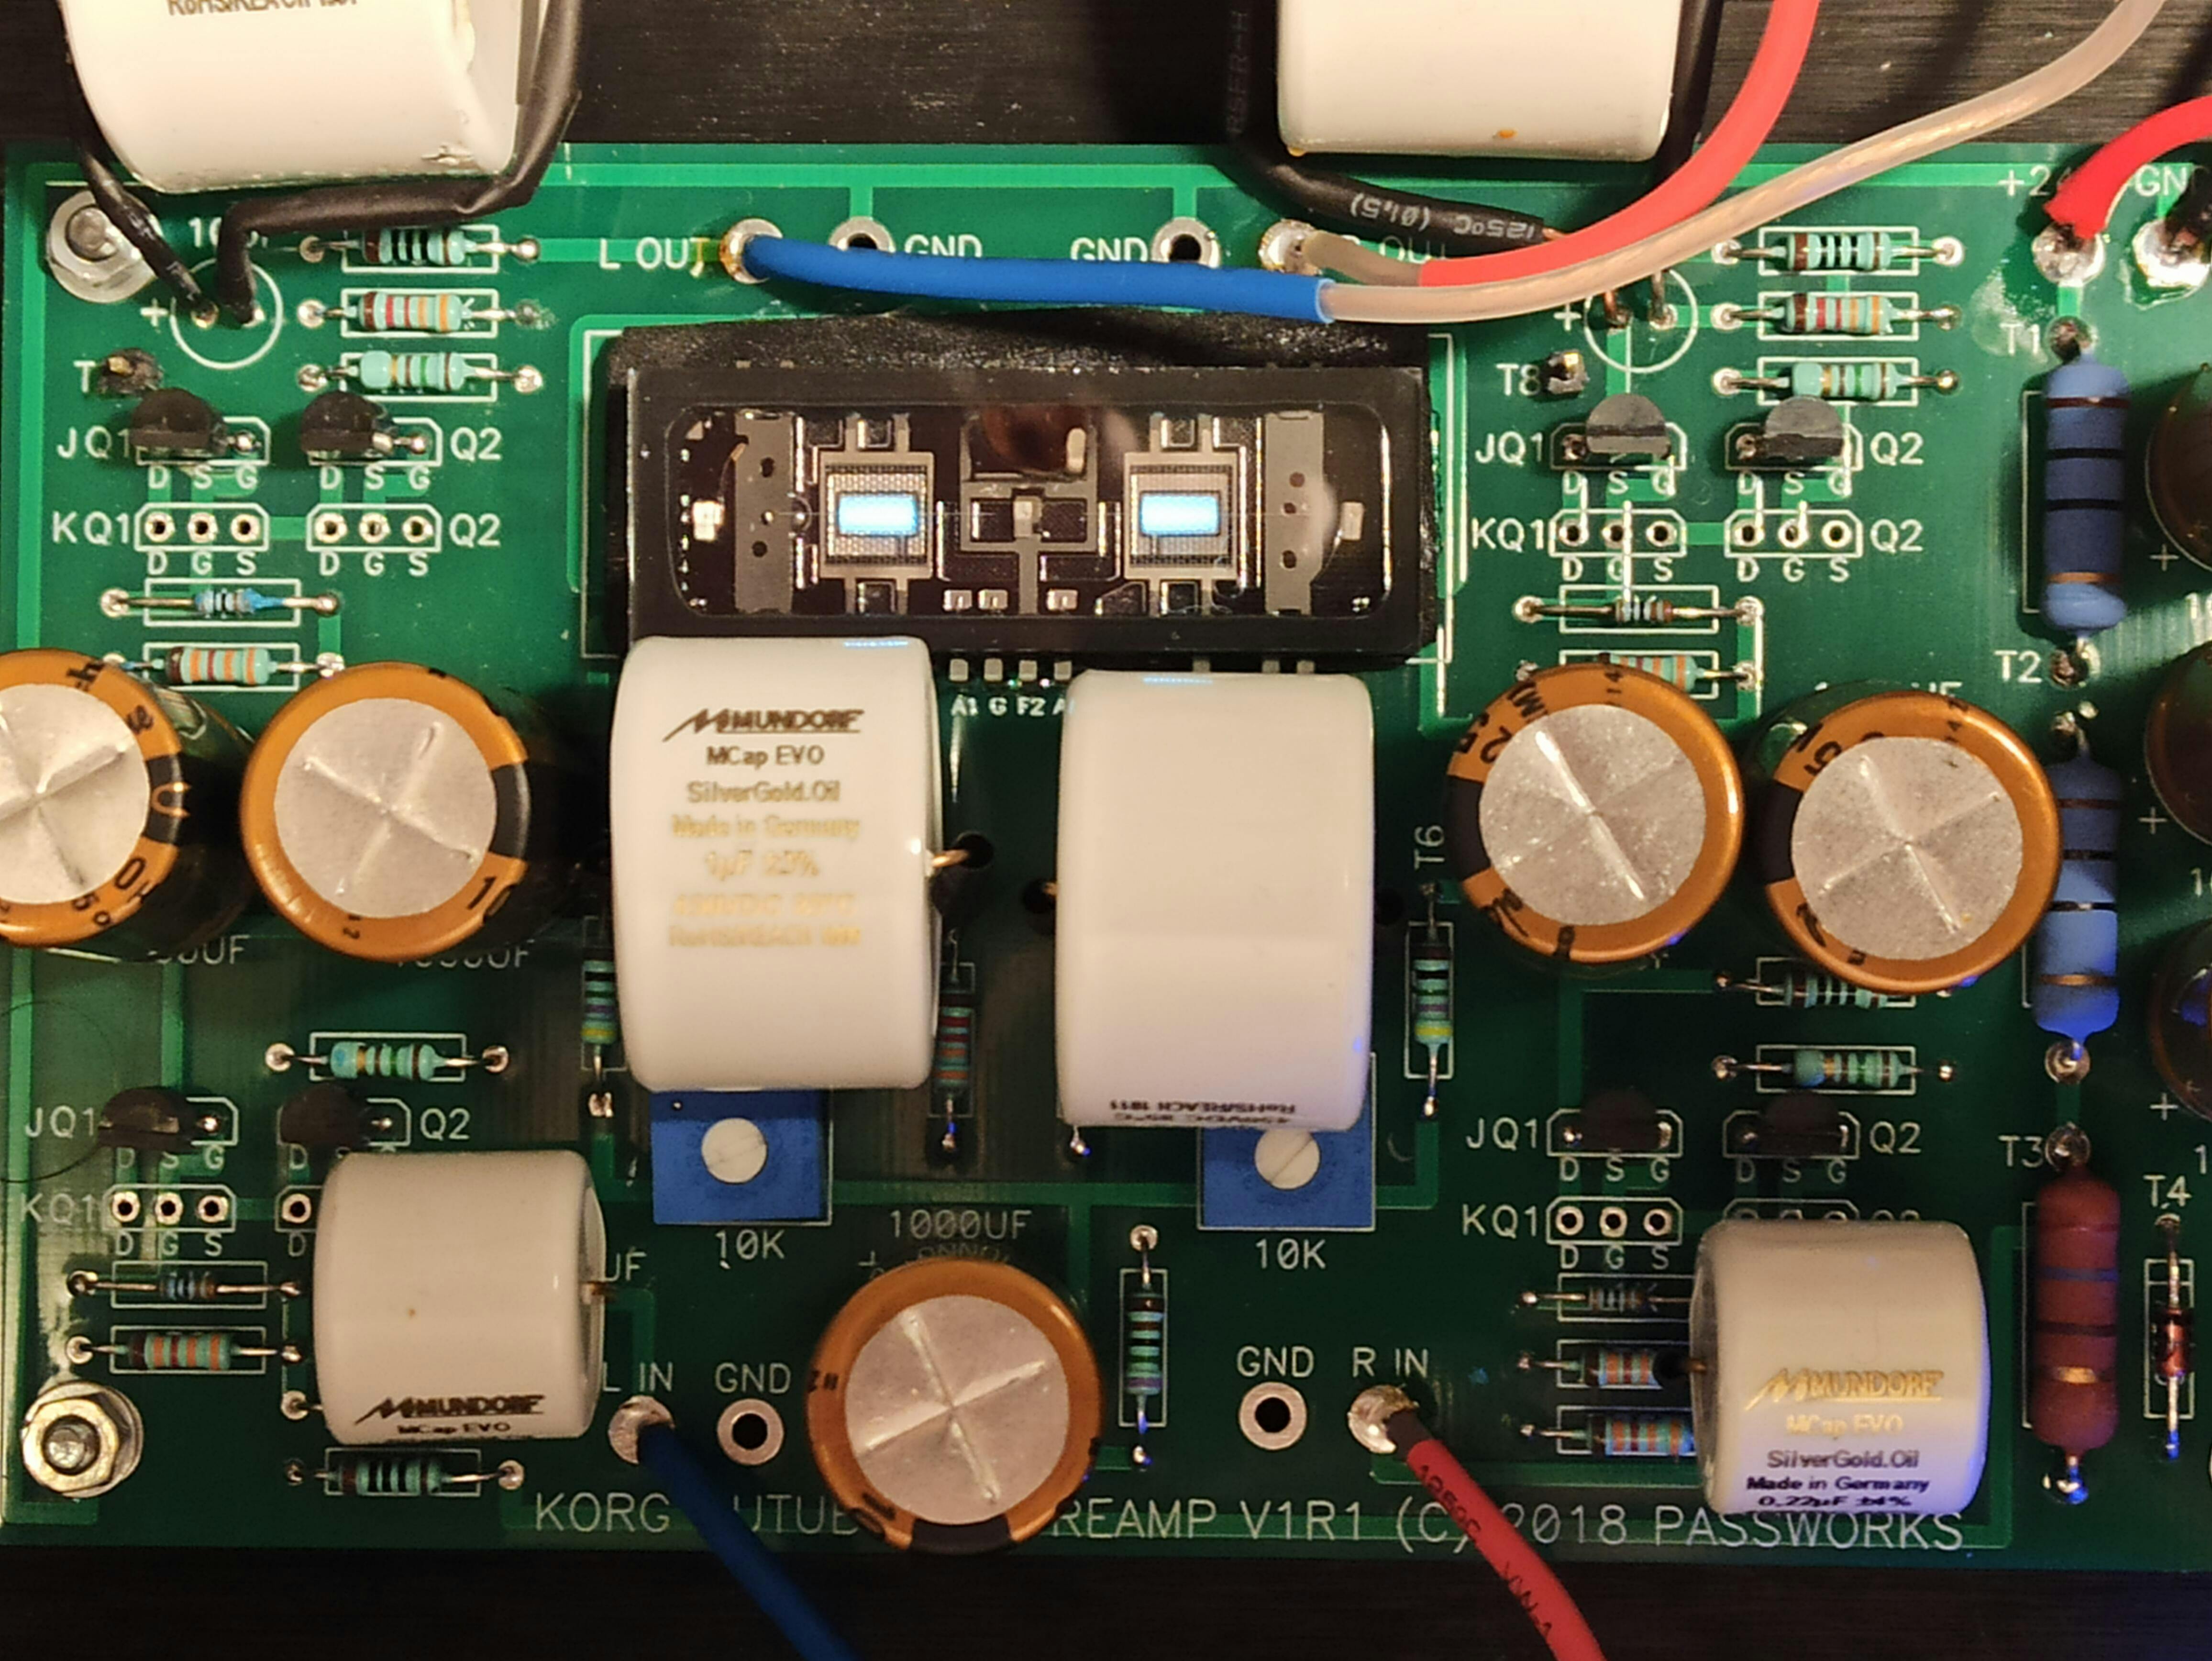
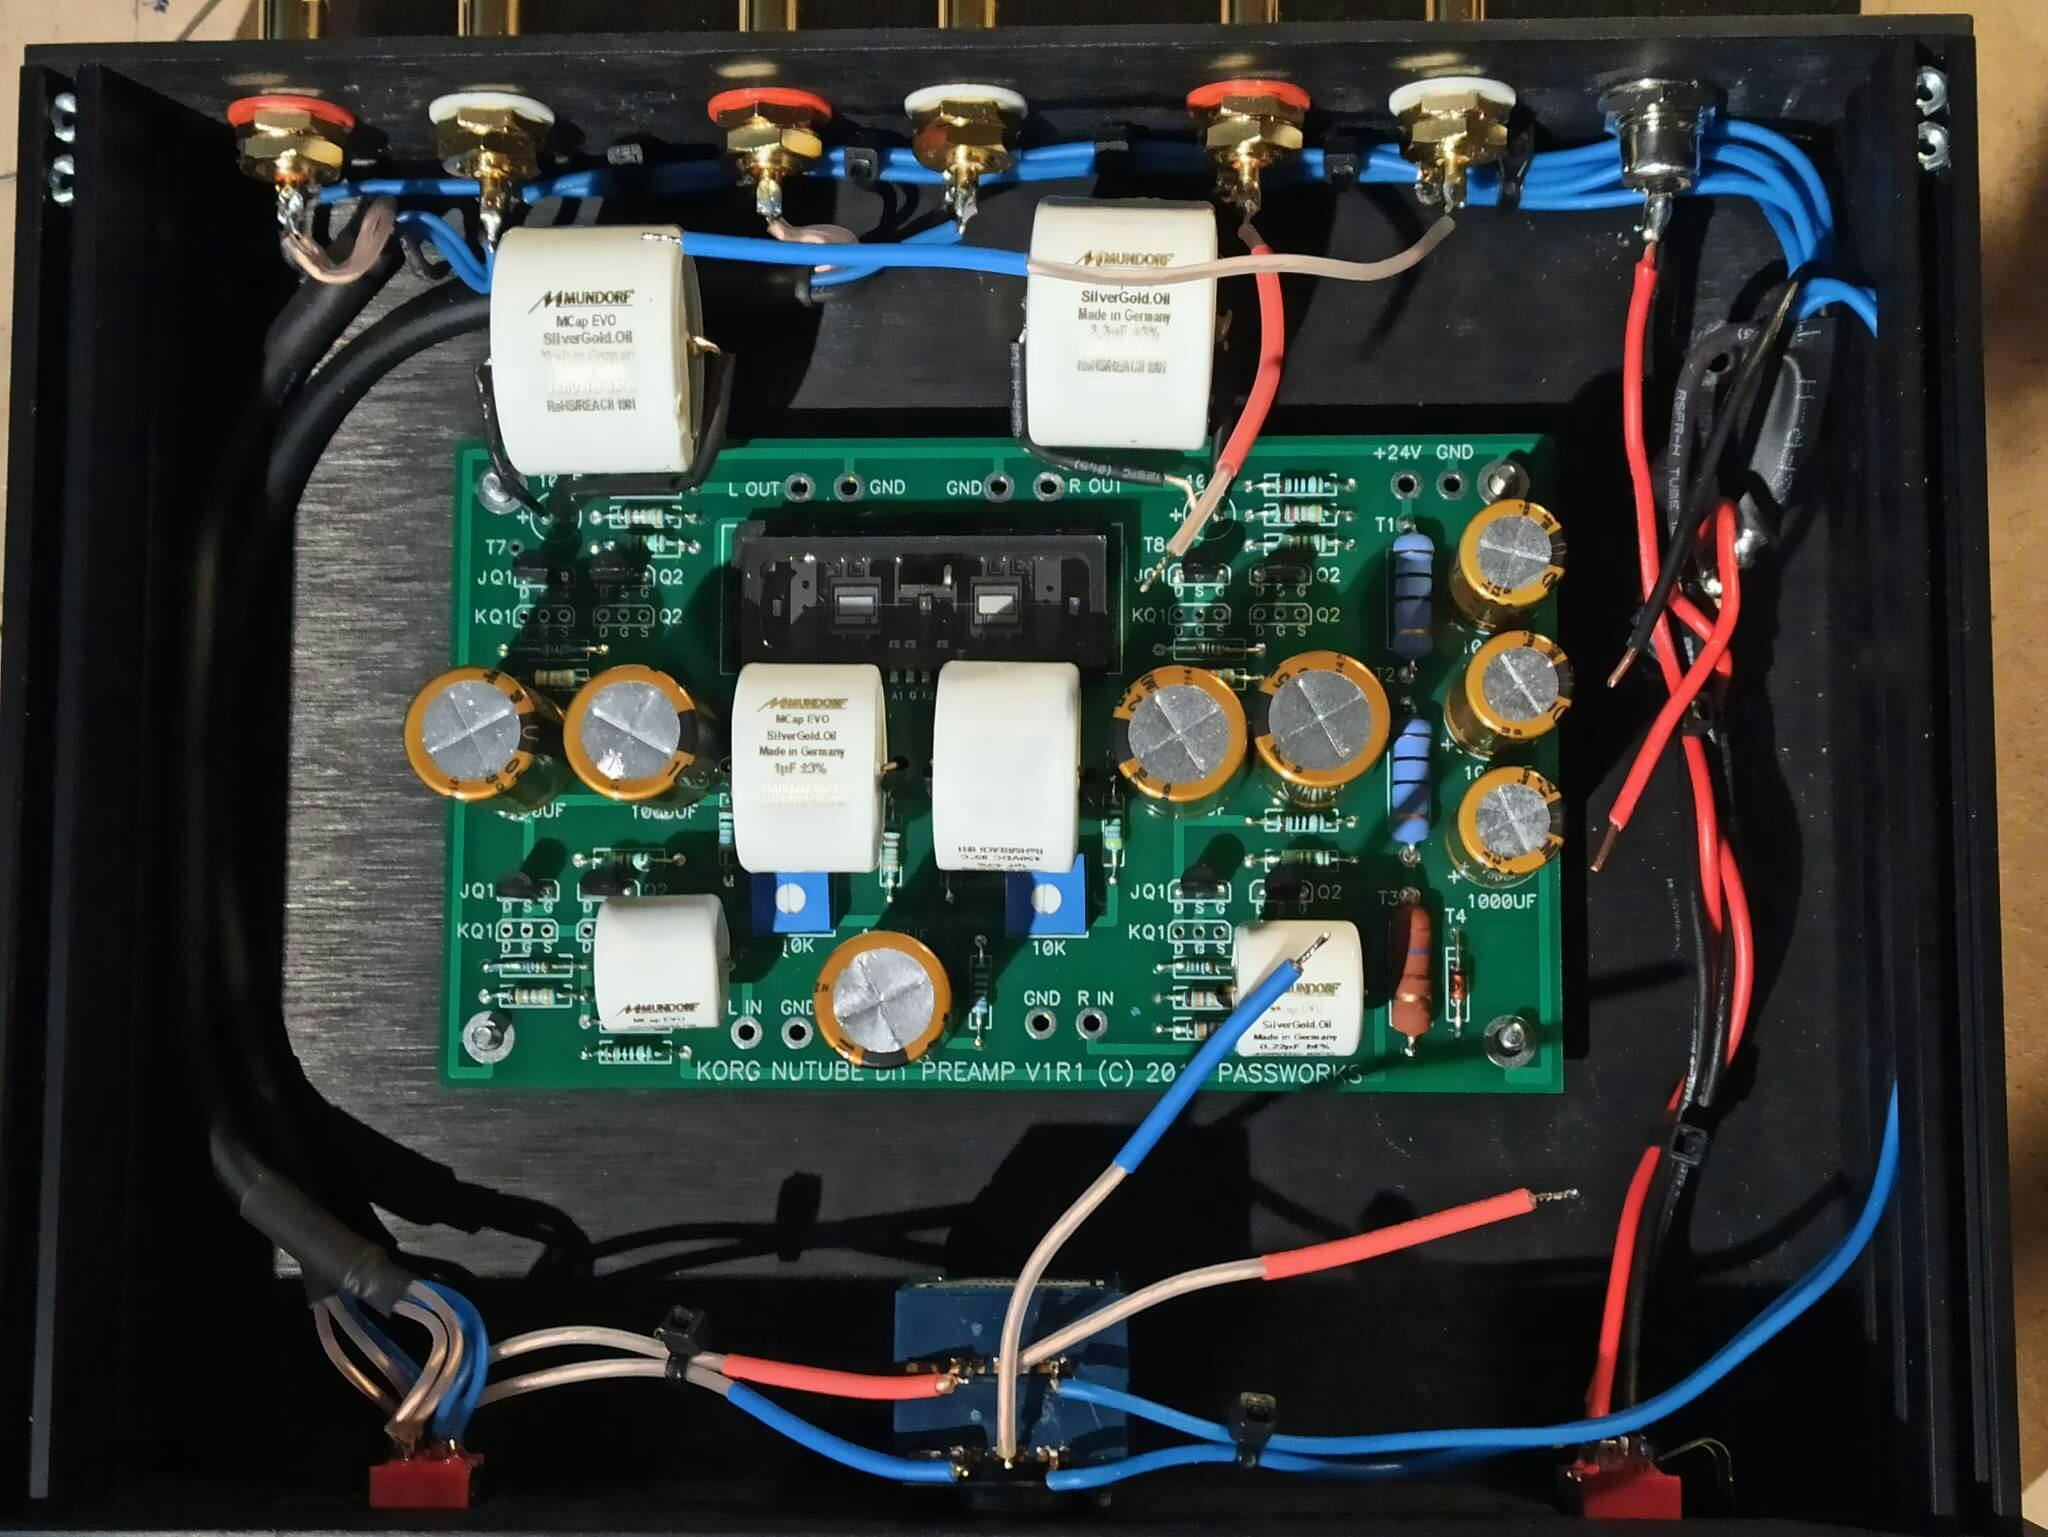
I decided to give it one last chance by replacing all six of the 10 uf capacitors in the signal path with some mid-grade ClarityCap CSA polycaps. They can be had at Madisound for $18 each plus shipping. In addition to being relatively cheap, they are physically small enough to (barely) fit into the stock chassis.

I've read that polycaps make a big difference over electrolytics. The CSA's have a much tighter tolerance at 3% vs 20% for the stock electrolytics but I'm not sure that's relevant for coupling capacitors. So with no real experience in audio signal hardware, I decided to take the plunge and test the theory.

WOW! The CSA's made a HUGE difference. All the detail is back. I set the voltages at T7 & T8 to +10.5 VDC to suit my taste. The soundstage is deeper than the bare DAC but not quite as wide. That's fine. I can really "see" into the music again. Instrument placement is better than the bare DAC. The sonic presentation is just amazing now. Theory proven.

Another theory was also proven - component "burn in" is a real thing, at least for these CSA polycaps. As I giddily listened to all the little details resolving in my favorite tracks, I could hear the sonic presentation changing during the first few hours. It began to widen and "open up". With every few hours of play, the sonic performance just keeps getting better. Another theory proven.

I'm very happy with this preamp. It has a permanent spot in my system now. I HIGHLY recommend replacing the signal path caps with decent poly's. That $150 upgrade made a world of difference.

Cheers!

T
Tomek J.
Great sound

B1K is easy to build great sounding preamplifier.
Better power supply, better MKP caps and star grounding are bringing it to another level.
Thank you so much Mr Pass for making it possible !
:)

C
Christophe G.
Straight forward build

I did build the B1 preamp within 4 hours. The kit is of high quality, likewise the case, and the documentation.
I built an external power supply, which is an VRDN designed by Mark Johnson from the DIYAudio forum.
After the build, I checked the voltages as indicated in Nelson Pass' documentation for the NuTube preamp: T5 showed 0.59V, T6 showed 0.615V; I adjusted T7 to 9.505V and T8 to 9.51V.
Everything looked good.
I connected the preamp where my Quad 66 preamp was connected: between a hifiberry DAC and a QUAD 306 poweramp.
Result: the NuTube preamp has way too much gain (compared to the 66 preamp): totally saturated sound, and way too loud.
Ok, the Quads are known for being sensitive; however, when I restored my 306, I reduced its sensitivity from 500 mV to 1V (for full output power). I guess either the NuTube's input sensitivity id too high, or I must reduce the poweramp's input sensitivity to fit the NuTube's output.
However: it was a fun build.

B
Barry C.
B1K with Amp Camp bridged mono

Built two ACAs, (running them in bridge mode mono), then built the B1K as the pre-amp into the ACAs. Takes 30 to 45 minutes of play to warm up and then sounds super. B1K adds some warmth to the music. Both are great kits to build, it is surprising how good the combination sounds. Adjust voltages carefully on both for best sound - per designer recommendations.

P
Patrick I.
SMPS DC Filter and NuTube Anti-Vibration Mount

This kit is a fun build. I suppose if you're in a hurry, you can complete it in one day, but I took my time and enjoyed the process. Built it just as provided with all the kit parts. Didn't feel any need to substitute designer parts in, as the standard parts all were of excellent quality. Opted to include an SMPS DC Filter P089ZB Kit and Pete Millett's NuTube anti-vibration mount as part of the build. Note only the blue foam on the anti-vibration mount fit. The B1 is paired with a set of ancient Welbourne Laurel tube mono amps with a Raspberry Pi running Moode Audio Player and a JDS Labs ODAC providing the inputs. I'm loving the sound. There's always a surprise in re-listening to music that I've heard many times before, as this combo is revealing details that I'd missed before. Great clarity and channel separation.