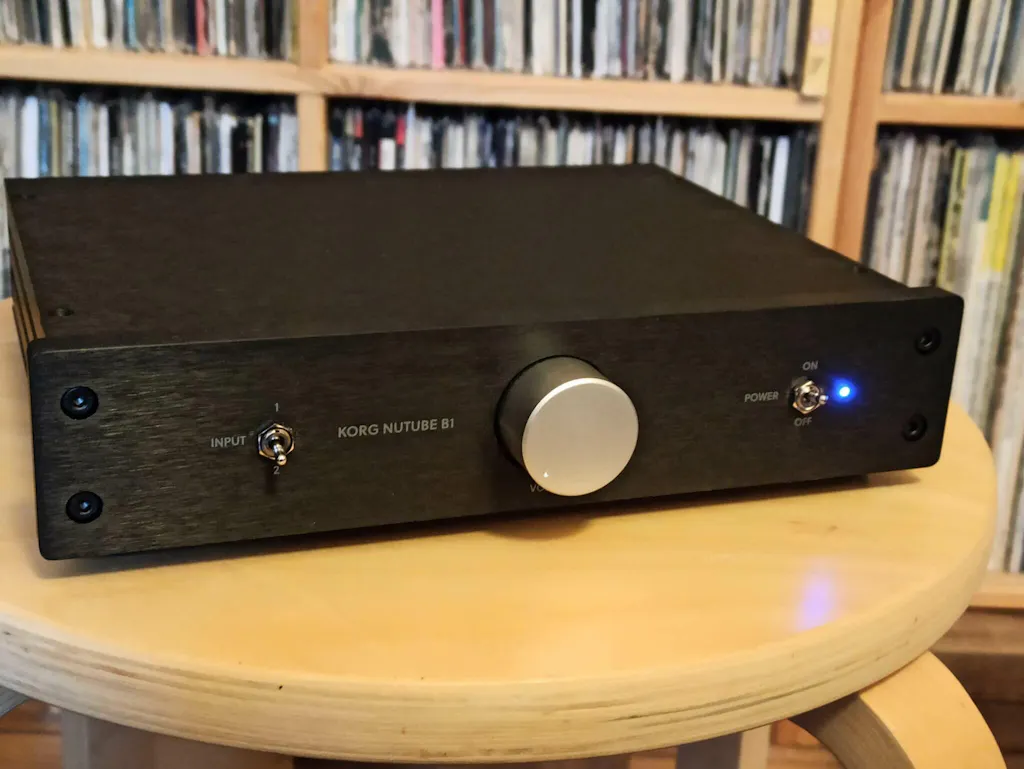
B1K Chassis
1 x B1K Chassis
A chassis to complete the B1 Korg kit.
- 230x170 full aluminum chassis. Black with white printing.
- LED hole ø2mm
- Left switch
- Hole ø6.5mm
- 15mm x 15mm square rear recess, 7mm deep
- Right switch
- Hole ø6.5mm
- 15mm x 24mm rectangular rear recess (allows for switch and LED), 7mm deep
- Potentiometer hole ø10mm, with ø32mm round recess in the front ø8mm deep
- Rear RCA holes ø10mm
- Rear power switch hole ø11mm
At the 2017 Burning Amp Festival (BAF) Nelson Pass presented a pre-amp using the Korg Nutube dual triode. The pre-amp has become a favorite of DIYers everywhere.
Purchase just what you need based on what you have in your stash or get a complete kit including a gorgeous chassis and everything required to build the project down to the last inch of wire. A step-by-step pictorial build guide from 6L6 helps DIYers just getting started complete an exceptional pre-amplifier in a few afternoons.
Key Information
- Preamplifier Project
- Designed by Nelson Pass
- Beginner Difficulty
- Complete Kit Available
- Comprehensive Build Guide
Highlights
- The Korg Nutube is a new and exciting platform
- 'Tube sound' with an interesting circuit and currently available parts
Links, Discussion & Files
Yet another outstanding, high-value piece of kit from the Store. Extremely rewarding, wonderful-sounding, and I simply can't fault it. Following the B1K thread, I swapped out the coupling caps for Jantzen Standard PP, and tried some potentiometer upgrades, settling on a Tocos Cosmos (what an amazing bargain itself). Good luck finding the log taper version - I got a 50k linear and added 5k log-faking resistors.
The end result is part of my best-sounding system ever.
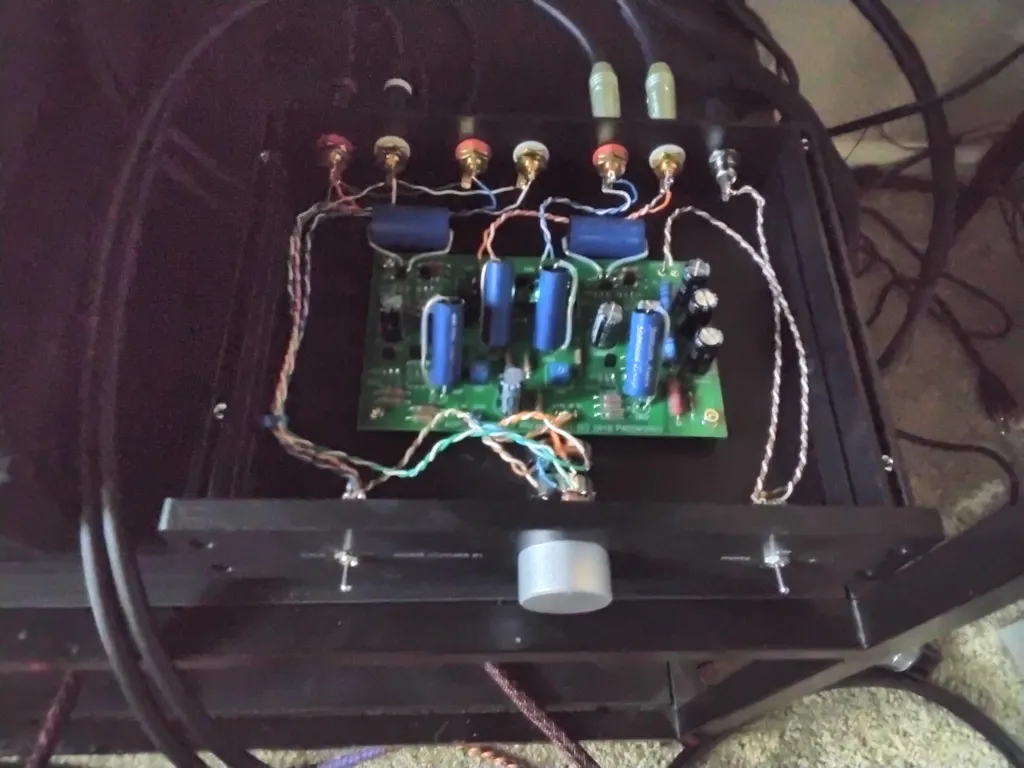
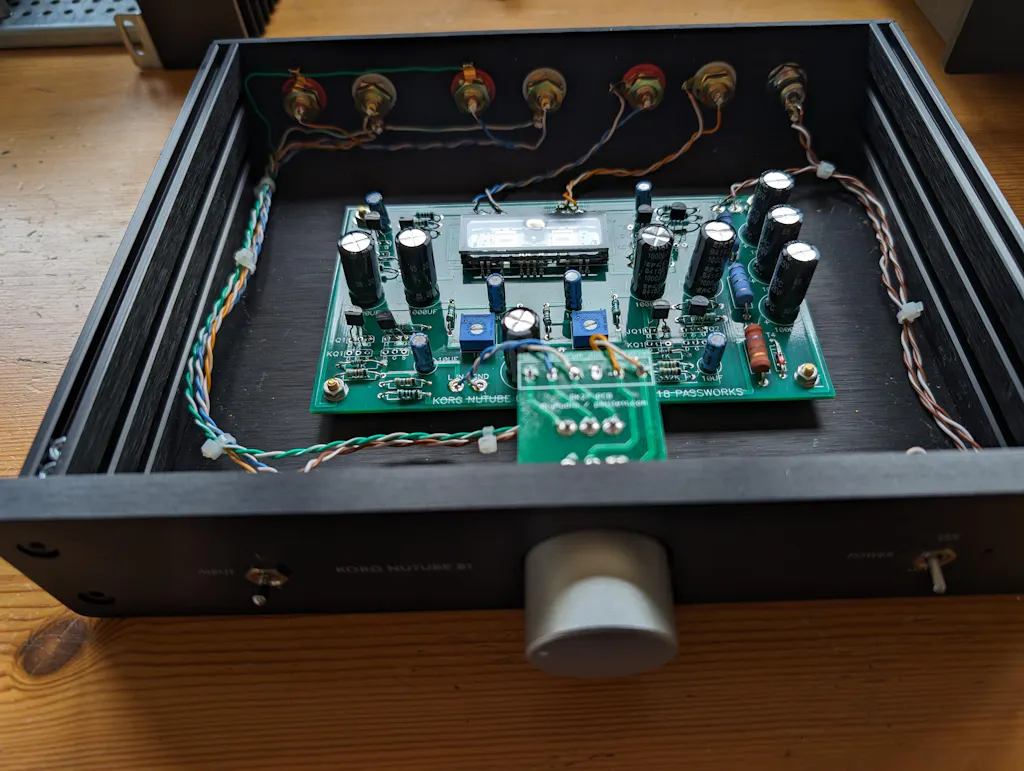
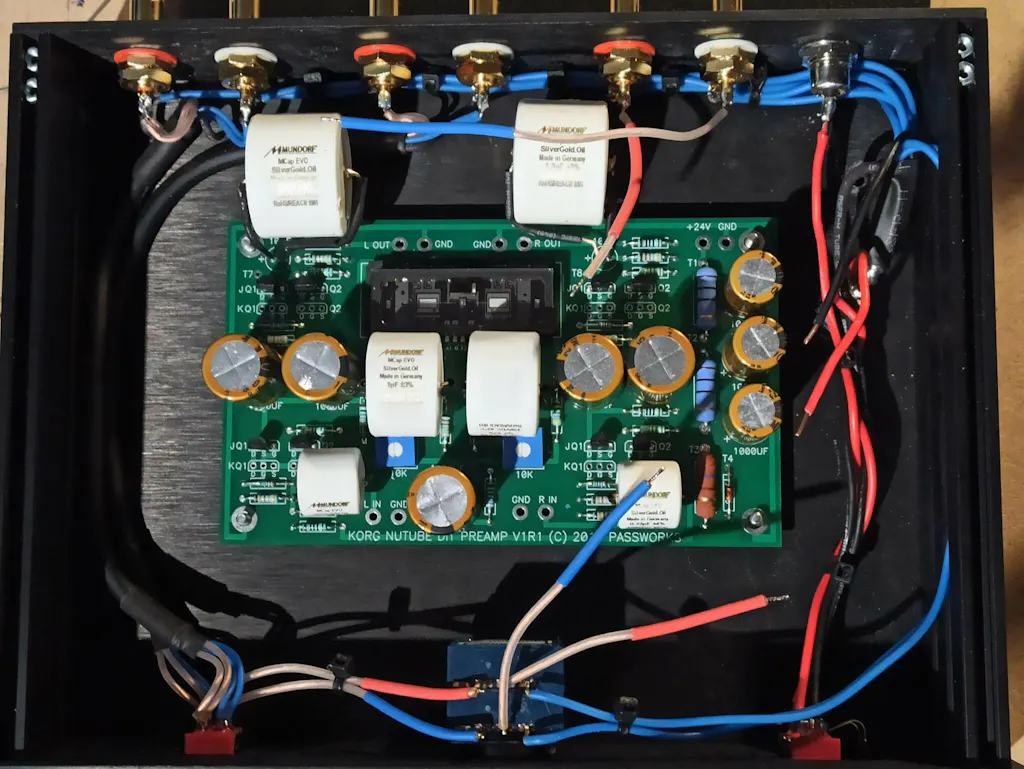
it's just like that. When you find something and fall in love with it. DHT is not new to me, so this did not surprise me. But then after the first one, I built another. And another. Simple build, stunning sound. So this is the last one that I built, but not the last one to be built. This is a shot during the build. Used some very cool stuff like the stacked/mechanical volume control.
Building for the first time a pre amp and it was a great experience! The guide of Jim (very detialed step by step) and also some youtube videos where very helpfull. Thanks so much also Jim for the after sales! Did no upgrades so far, first going to try it on the F6 (still in build phase).
Tip: i used the pass guide for the last adjustments.

DIY noob. I built the stock kit over a weekend. As an old Navy Electronics Technician it was pretty easy, although I haven't soldered a PCB in 30 years. The build guide is very good.
I really wanted to like this preamp. Nelson Pass is a legend and the reviews are almost universally glowing. Unfortunately, the stock build was a bit of a disappointment for me. There was a significant loss of detail in the music compared to straight out of my DAC. The soundstage was flat as well. Multiple settings on the bias pots had some effect, but no real improvement in resolution. While it's certainly possible that I screwed something up, a thorough inspection revealed no errors.
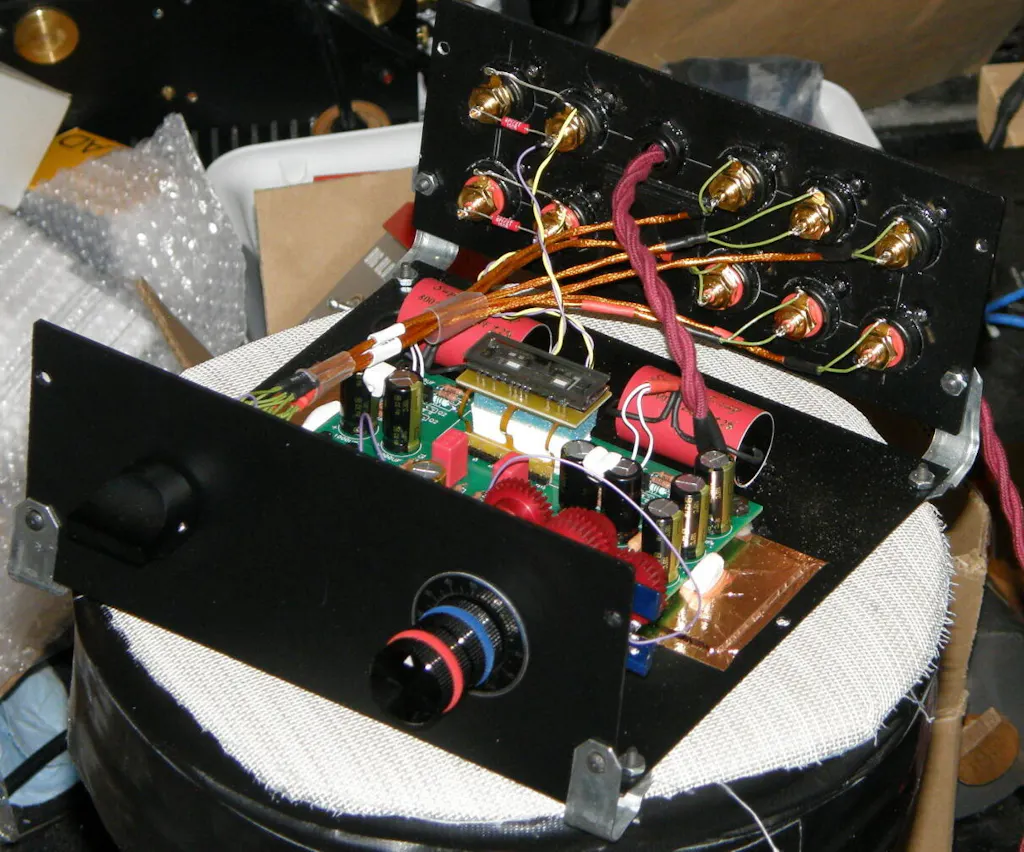
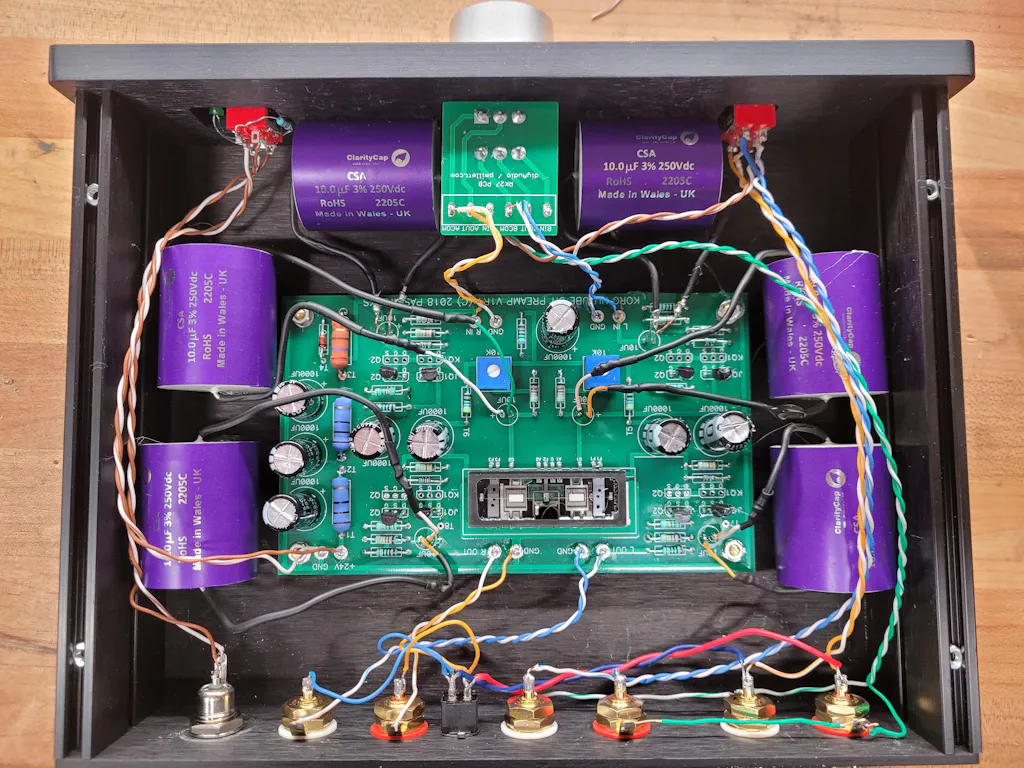
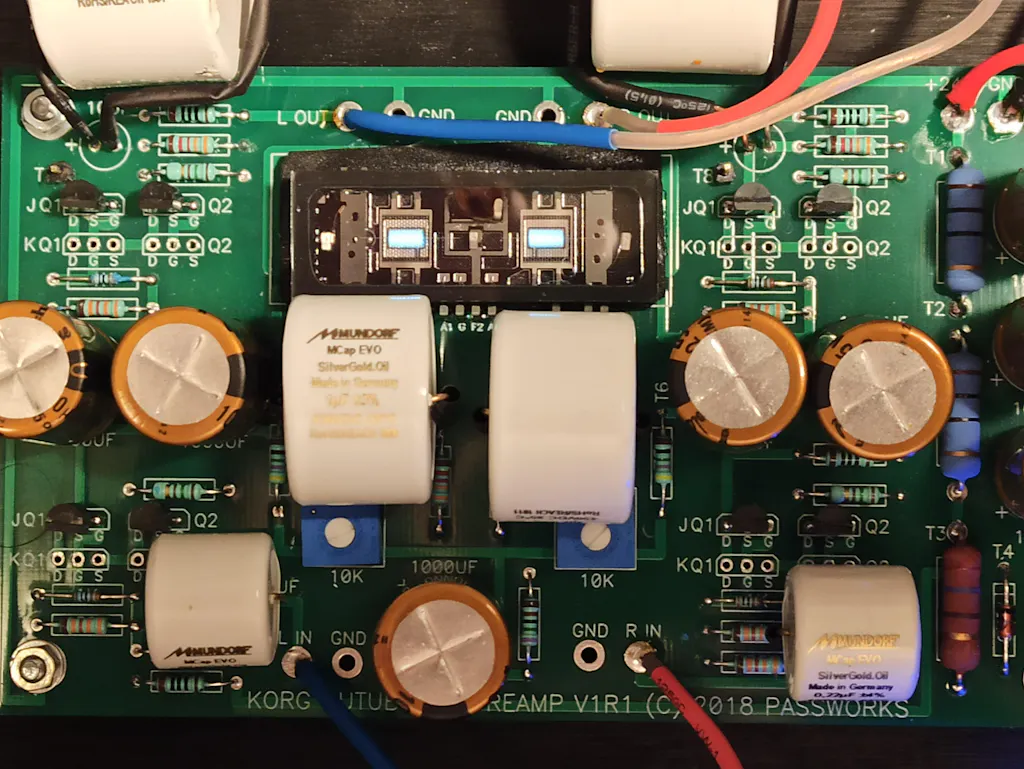
I decided to give it one last chance by replacing all six of the 10 uf capacitors in the signal path with some mid-grade ClarityCap CSA polycaps. They can be had at Madisound for $18 each plus shipping. In addition to being relatively cheap, they are physically small enough to (barely) fit into the stock chassis.
I've read that polycaps make a big difference over electrolytics. The CSA's have a much tighter tolerance at 3% vs 20% for the stock electrolytics but I'm not sure that's relevant for coupling capacitors. So with no real experience in audio signal hardware, I decided to take the plunge and test the theory.
WOW! The CSA's made a HUGE difference. All the detail is back. I set the voltages at T7 & T8 to +10.5 VDC to suit my taste. The soundstage is deeper than the bare DAC but not quite as wide. That's fine. I can really "see" into the music again. Instrument placement is better than the bare DAC. The sonic presentation is just amazing now. Theory proven.
Another theory was also proven - component "burn in" is a real thing, at least for these CSA polycaps. As I giddily listened to all the little details resolving in my favorite tracks, I could hear the sonic presentation changing during the first few hours. It began to widen and "open up". With every few hours of play, the sonic performance just keeps getting better. Another theory proven.
I'm very happy with this preamp. It has a permanent spot in my system now. I HIGHLY recommend replacing the signal path caps with decent poly's. That $150 upgrade made a world of difference.
Cheers!
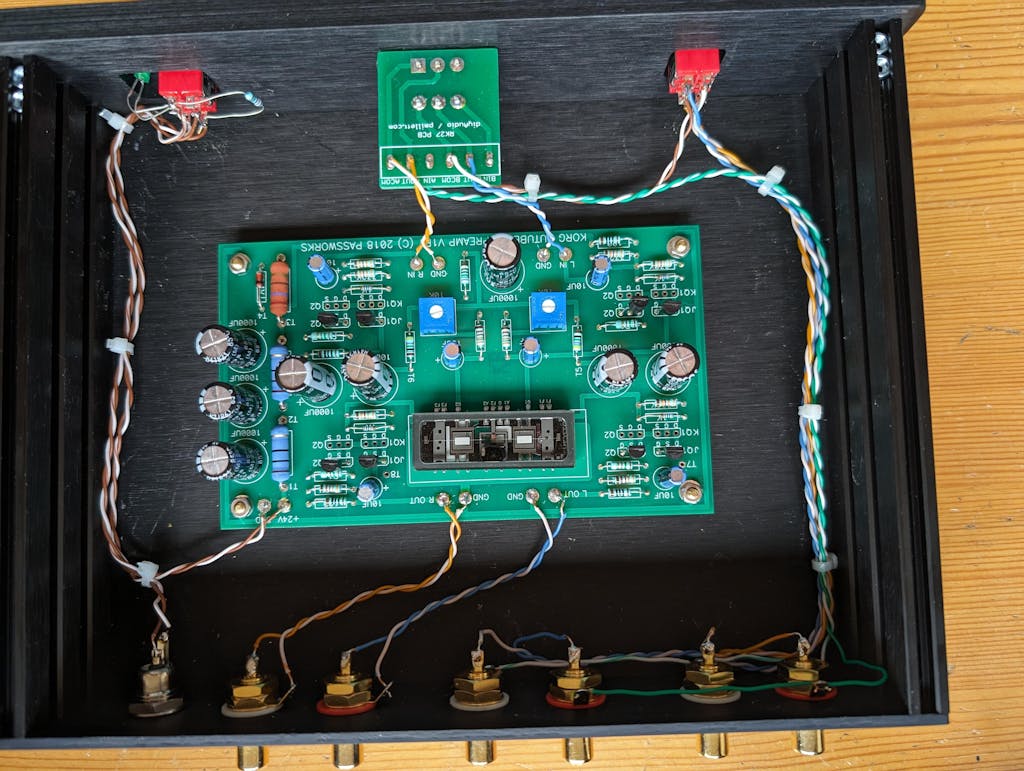
B1K is easy to build great sounding preamplifier.
Better power supply, better MKP caps and star grounding are bringing it to another level.
Thank you so much Mr Pass for making it possible !
:)
I did build the B1 preamp within 4 hours. The kit is of high quality, likewise the case, and the documentation.
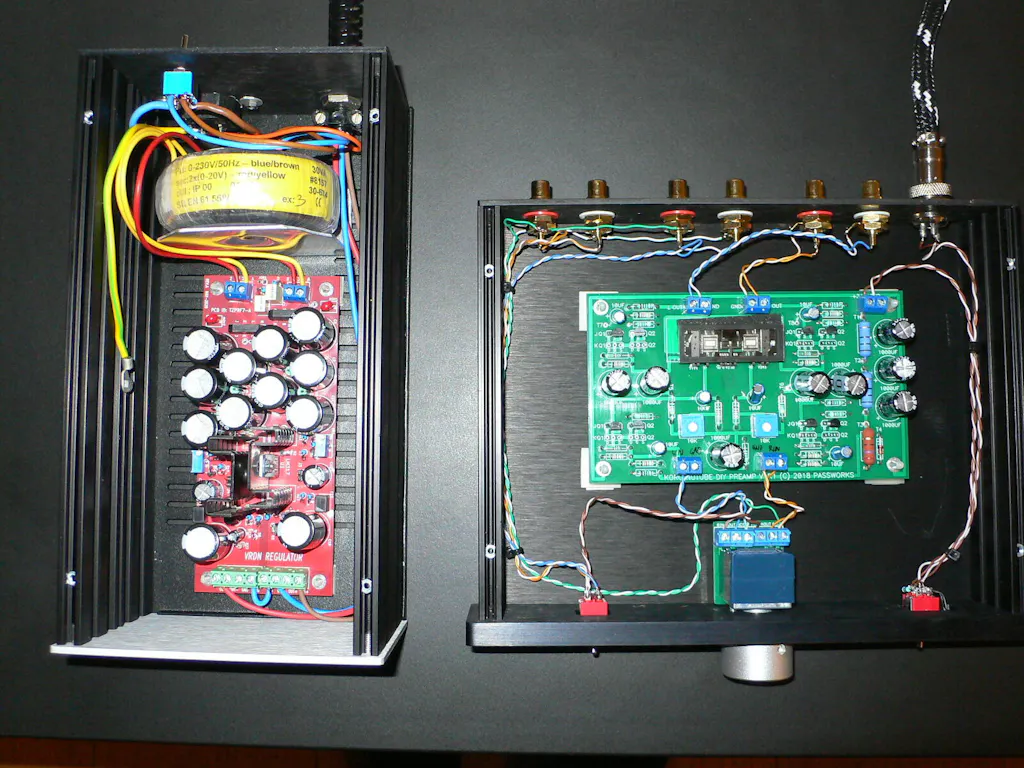
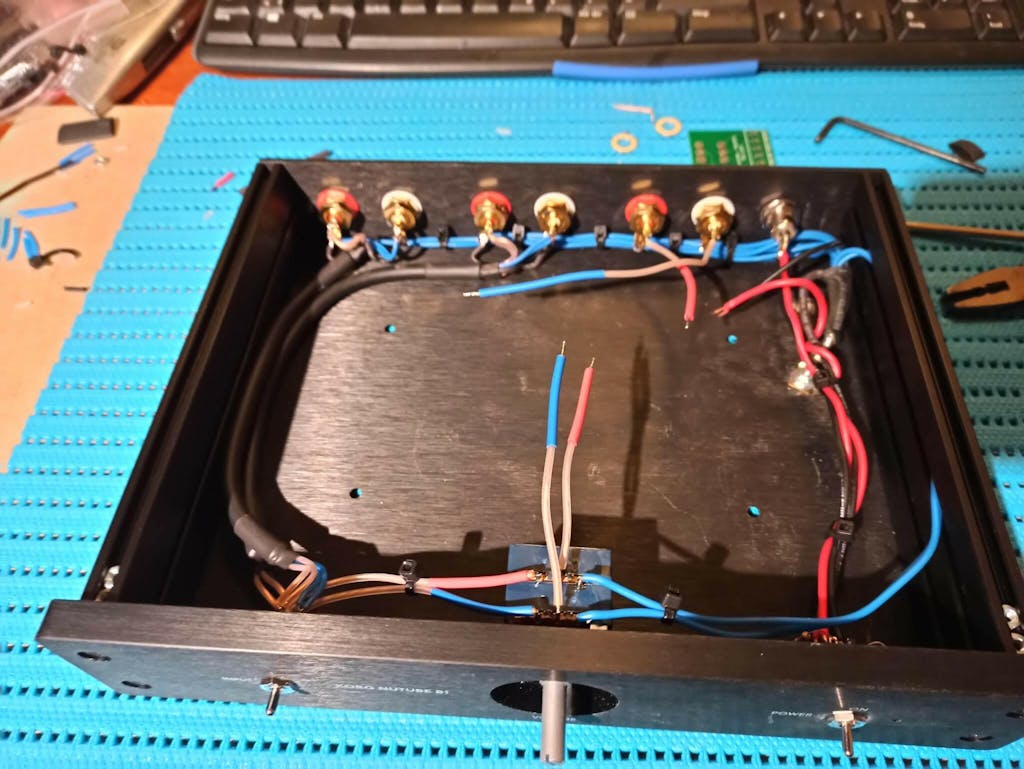
I built an external power supply, which is an VRDN designed by Mark Johnson from the DIYAudio forum.
After the build, I checked the voltages as indicated in Nelson Pass' documentation for the NuTube preamp: T5 showed 0.59V, T6 showed 0.615V; I adjusted T7 to 9.505V and T8 to 9.51V.
Everything looked good.
I connected the preamp where my Quad 66 preamp was connected: between a hifiberry DAC and a QUAD 306 poweramp.
Result: the NuTube preamp has way too much gain (compared to the 66 preamp): totally saturated sound, and way too loud.
Ok, the Quads are known for being sensitive; however, when I restored my 306, I reduced its sensitivity from 500 mV to 1V (for full output power). I guess either the NuTube's input sensitivity id too high, or I must reduce the poweramp's input sensitivity to fit the NuTube's output.
However: it was a fun build.