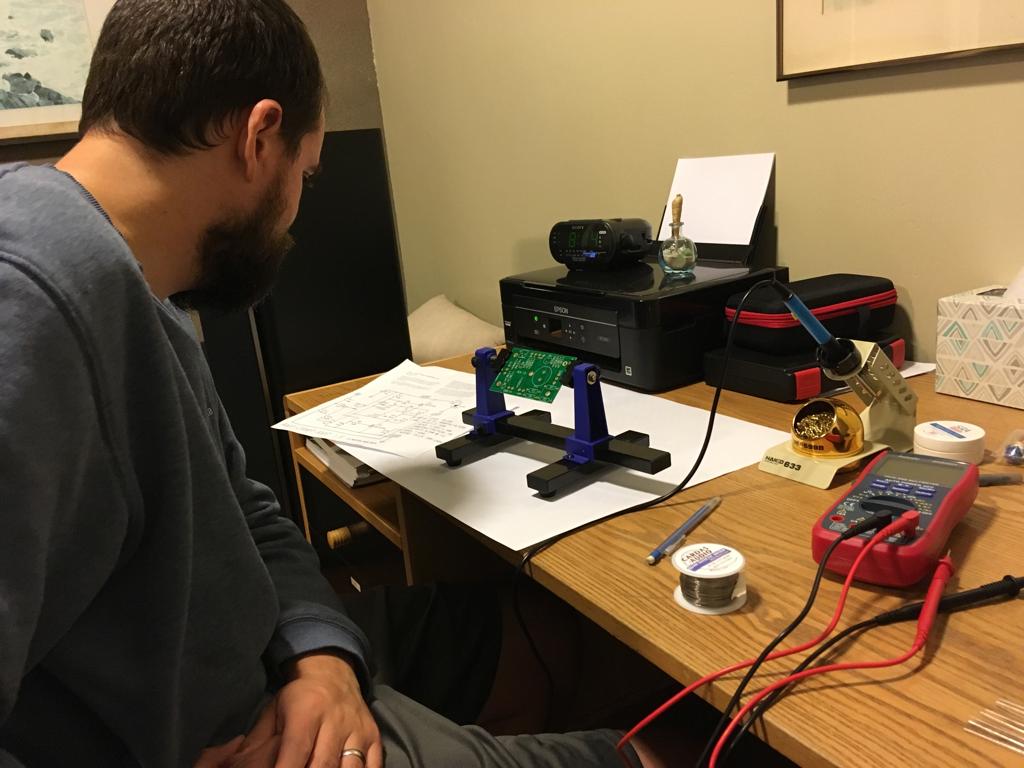
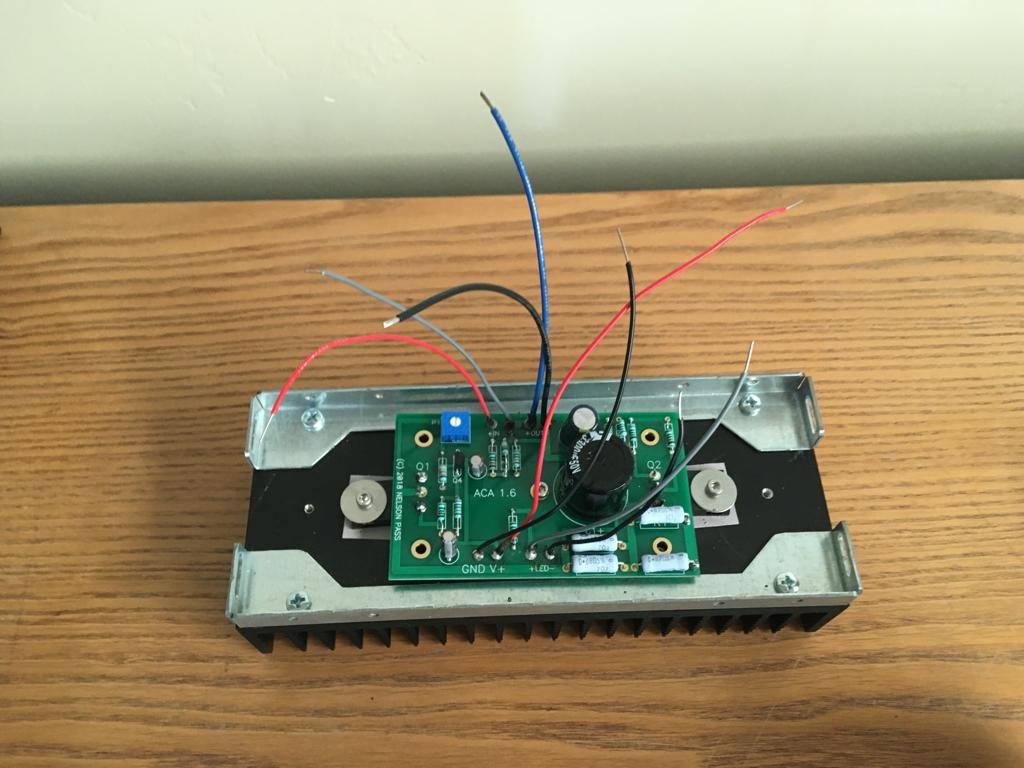
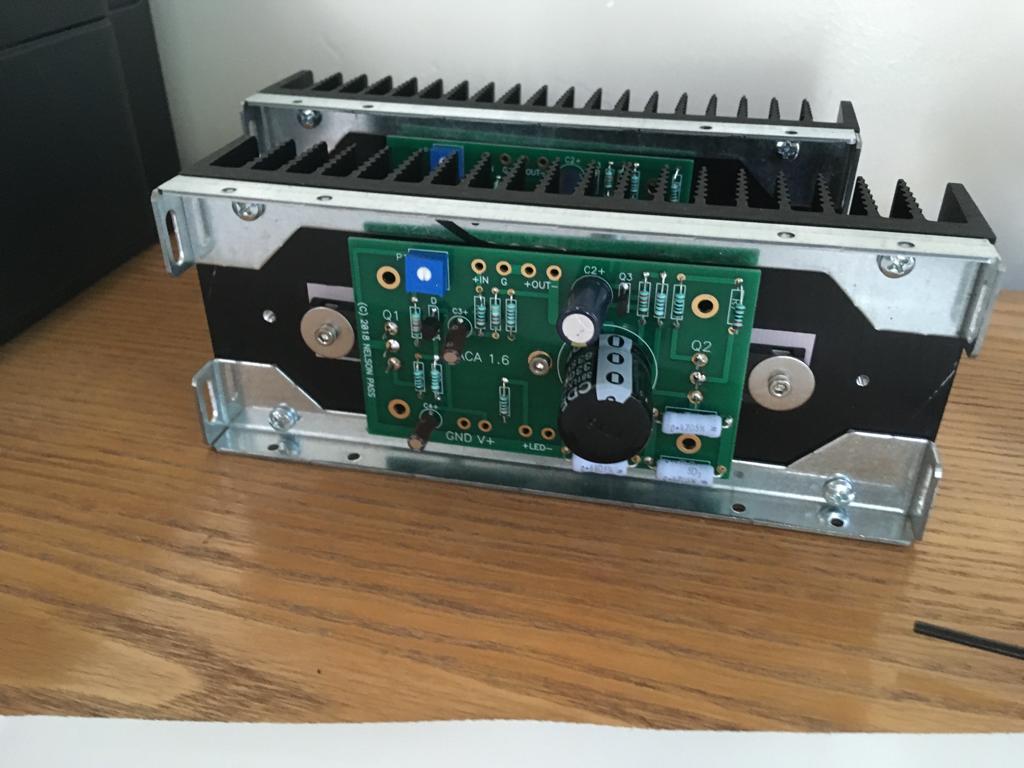
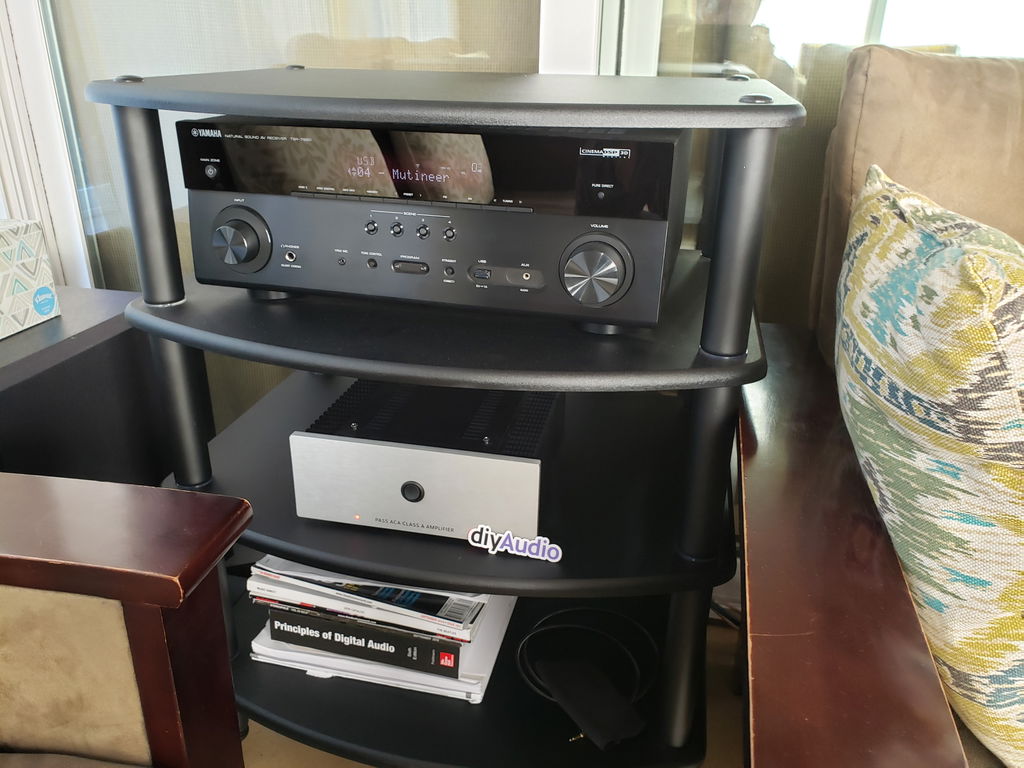
I taught myself basic electronics and soldering for the express purpose of building this amp and I'm glad I did. The project was fun, taught me how the otherwise mysterious insides of these magical boxes work and resulted in such a great sound that I bought a second to set up a mono block system. These will be driving a pair of Klipsch Forte 1 speakers and I am amped to get them running (get it? amped? I kill me!).
I had a minor issue (right channel input on the PCB was backwards) which I posted on the forum and received an immediate response that helped me sort it out. If you are trying to decide if you should buy the kit, stop reading this and just add it to your cart.
To DIYAudio, do your customers a favor and have a technical writer put the online instructions together. There are too many paths between version iterations which can drive the reader to the wrong set of instructions. The documents that were included in the first amp kit were not included in the second and unfortunately I did not keep them for reference. That didn't stop the build but did create some extra work.

So happy with these amps ( got two). Using them as mono blocks with the schiit freya + tube preamp. Great sound. Sounds cleaner than my 80w/ch class AB and 150w/ch AV receiver. Using my Elac unifi UB5 bookshelf units with it :)
Enjoyed the build. Remember my father when he built his heathkit tuner and wharfedale full range enclosures in the 60’s. Thank you DIYaudio !


The chassis included all required hardware. The front panel is understated and elegant. The back panel has clear markings for each of the connections. For the top and bottom panels, there is a difference in finish for one side vs. the other. The only things I would change would be to include a 2mm hex wrench for the top and bottom fasteners and to break the sharp edges on the heatsinks. Those edges are only an issue while assembling; they are recessed once assembled. Overall, I am very happy with this purchase.
This was a first build for my niece (12) and nephew (14) and they are quite proud of what they built. Recommended!


This is the first DIY amp I’ve built with not needing tubes costing more than the base build!
A small confession – I just couldn't help but build it with some upgraded Mundorf and Sprague Atom caps and for good measure, Duelund cable.
Paired with an Elekit preamp and some Omega stand mounts the sound really does brings a smile to my face. As a bonus, it heats the room quite nicely.
No wild claims about it being better than my bigger (and far more expensive) EL34/KT88 and 300B amps but it more than holds my attention and has kept the office EL34/KT88 Elekit power amp gathering dust the last few weeks.
No way that I could ever own a piece of Nelson’s best in NZ and so I’m very happy to have spent and afternoon with soldering iron in hand.
Out of interest, I've ordered a linear power supply and a matching case. I t will intersting to see wht a change it brings. Guess I may need to put a blue LED into the pre........


I had a blast and learned SO much building these ACA amps. I had never built an amp before and had very limited soldering experience as well, so this was a perfect first project to tackle. The instructions/photos are top notch and super helpful. I would highly recommend to anyone, just take your time and you'll knock it out in no time. The best part however... these amps sound amazing!! The warmth of these class A amps is sooooo nice! Give them a try, you won't be disappointed.


Thoroughly enjoyed the build process, which as a novice, took me about 1 day for each amp. Chassis is well made, and the amps sound terrific! Been using daily, and I’m hooked on DIY! Great kits!!

Super easy to build, and just delicious juicy sound.
Love it!
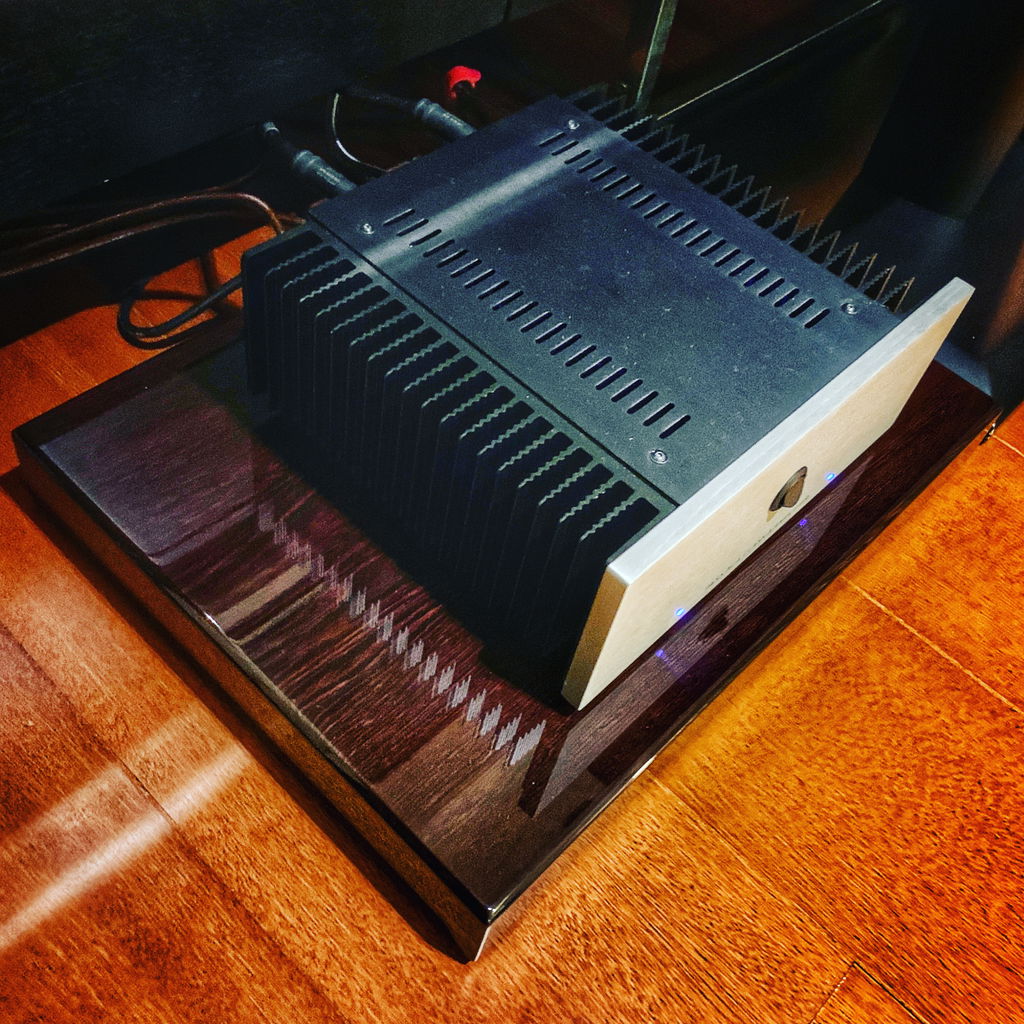
I have some experience with soldering and building things but never an electronics product. The ampcamp amp sounded so good, I put in my main system and got a second for the dual mono lock operation. The online instructions were good but would have preferred one link with the 1.8 version from start to finish rather than switching from 1.6 to 1.8 versions. The materials are excellent quality and the final product is good looking!
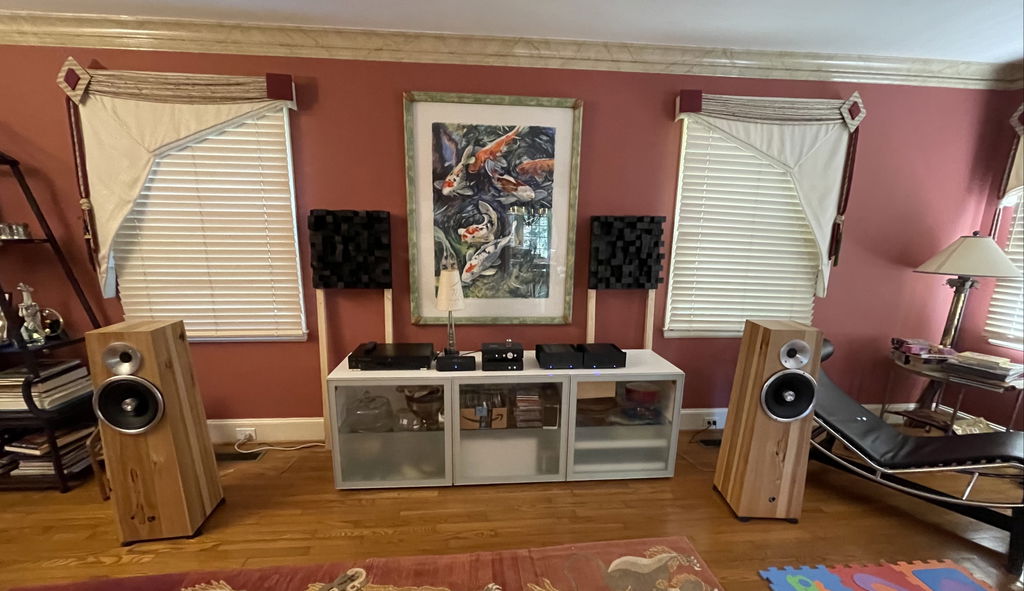
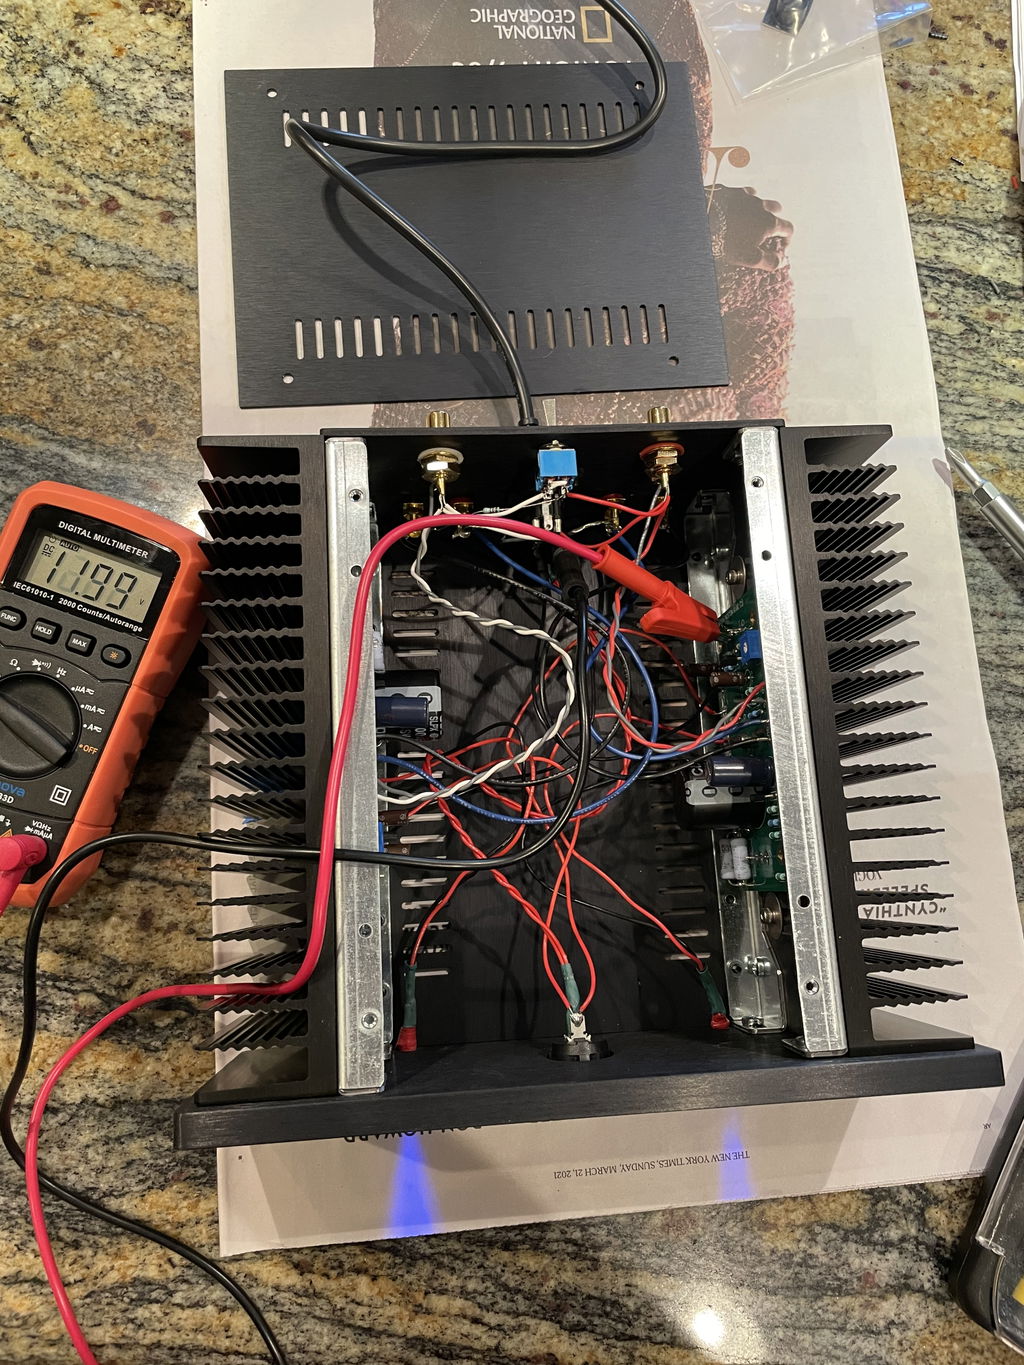
Built and using to drive my 16ohm altec Valencia's horns. Perfection!!
Easy build and great diy community!
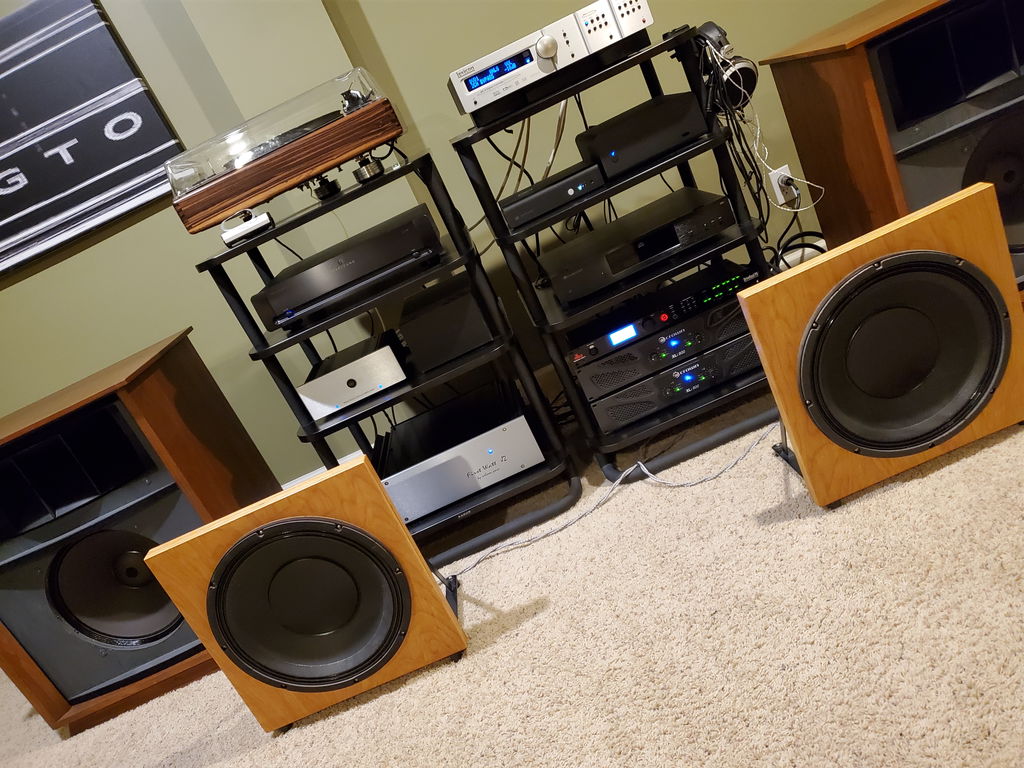
Really enjoyed the build. Got a little confused measuring the low ohm resisters but that had more to do with the quality of my volt meter.
Currently using a Schitt DAC to generate sound thru it and it sounds pretty nice.
In hind sight I would have mounted one of the channel amp boards the other way (top vs bottom) so the calibration would have been a little easier. Found some aligator clips which made it much easier to measure. Got them both dialed in pretty close.
Ultimately stripped one of the screws in the bottom of the case so at some point that will need to be drilled out but for now I'll just enjoy the unit. I can hardly wait for my next adventure building a pre amp to go with it. My wiring is not very pretty but the amp worked the first time I turned it on and that was a very satisfying feeling.
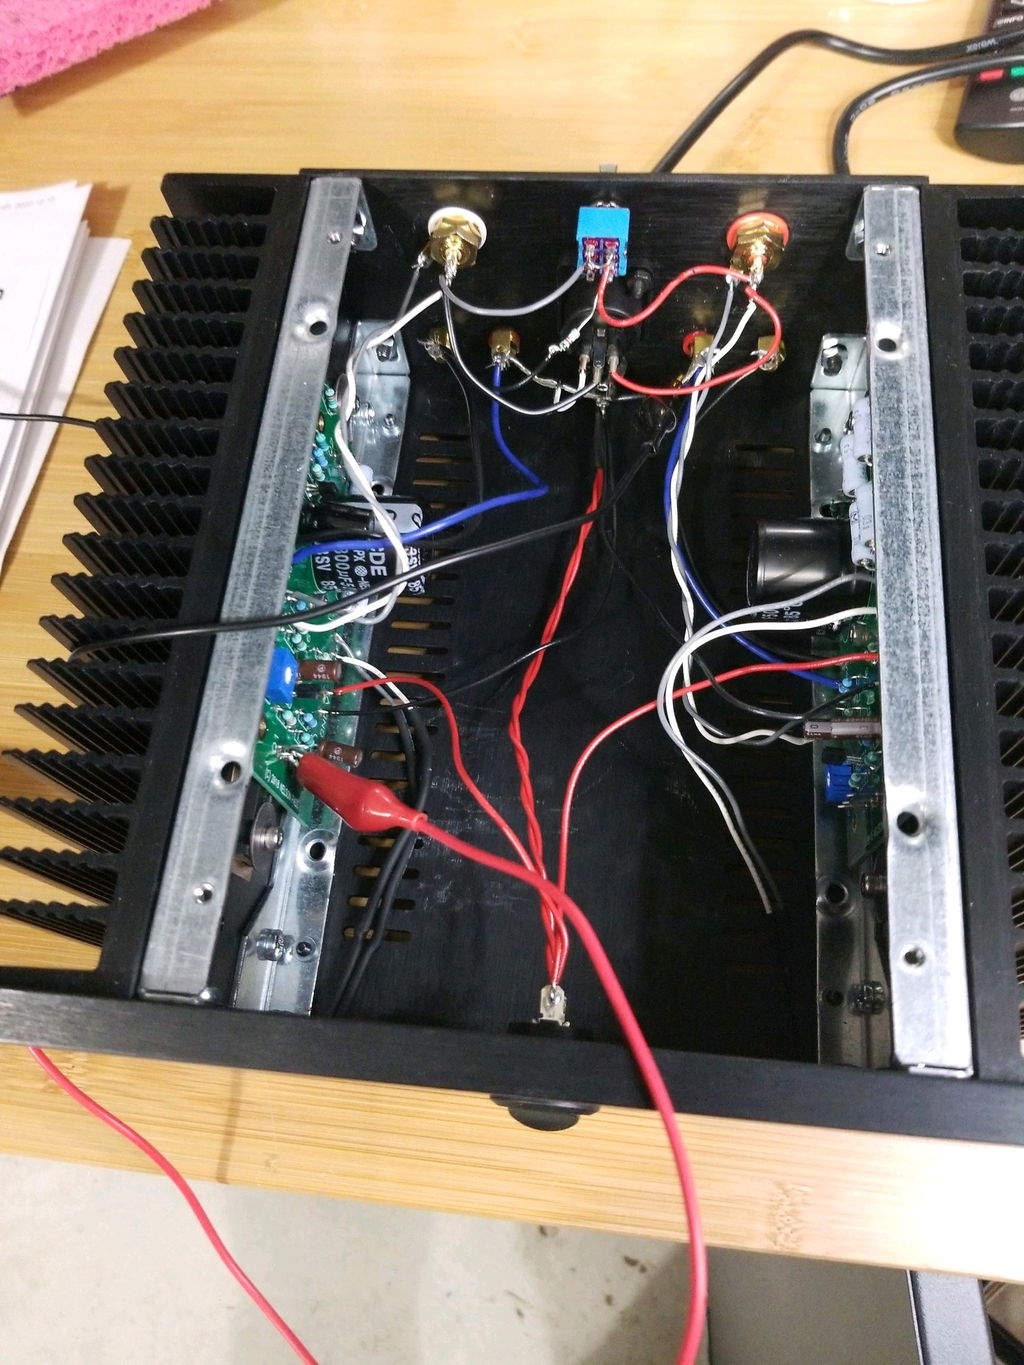
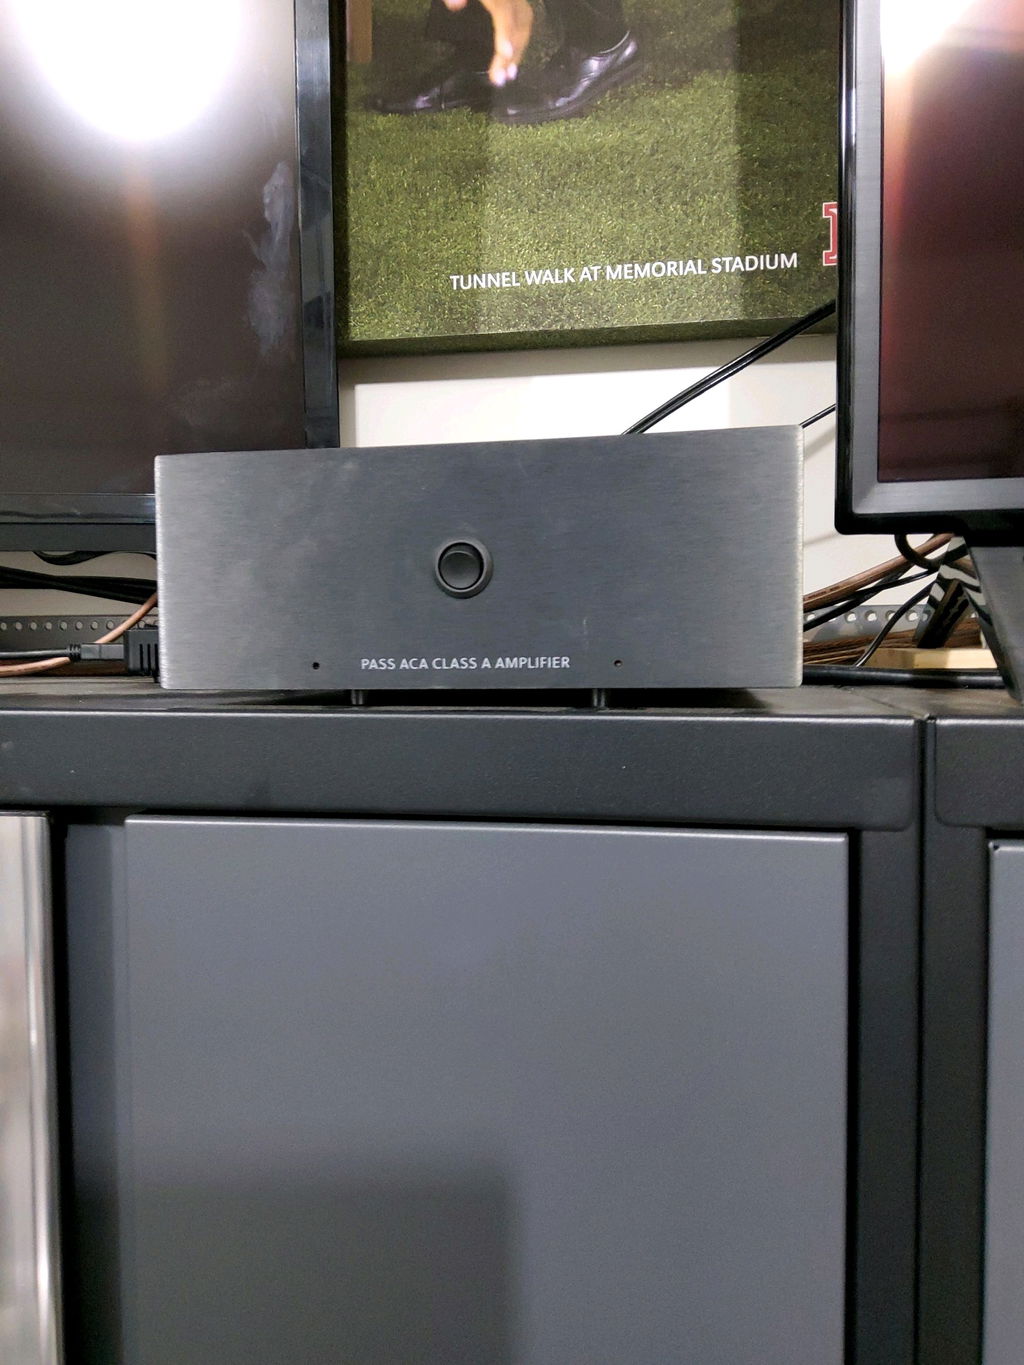
This was my first project of this nature and I’m extremely pleased with the way it turned out and the sound quality of the amps (I built two to use a monoblocks). The instructions were easy to follow and I never really got stymied, but I can’t help but think there’s an opportunity to “teach” that got partially missed here. Take me for example: I have a basic understanding of electronic devices. I know what a resistor does, a capacitor, diode, transistor... but I would have LOVED to know how they related to the circuit as I was building it. A link with annotations explaining what was happening with the components I was placing at each appropriate stage of the build would have really knocked it out of the park for me. Part of the magic is having something that works and sounds great when you’re done, another part is the pride in knowing you built it. But the part I’m missing is the understanding of the completed project, that would really have added to my experience.
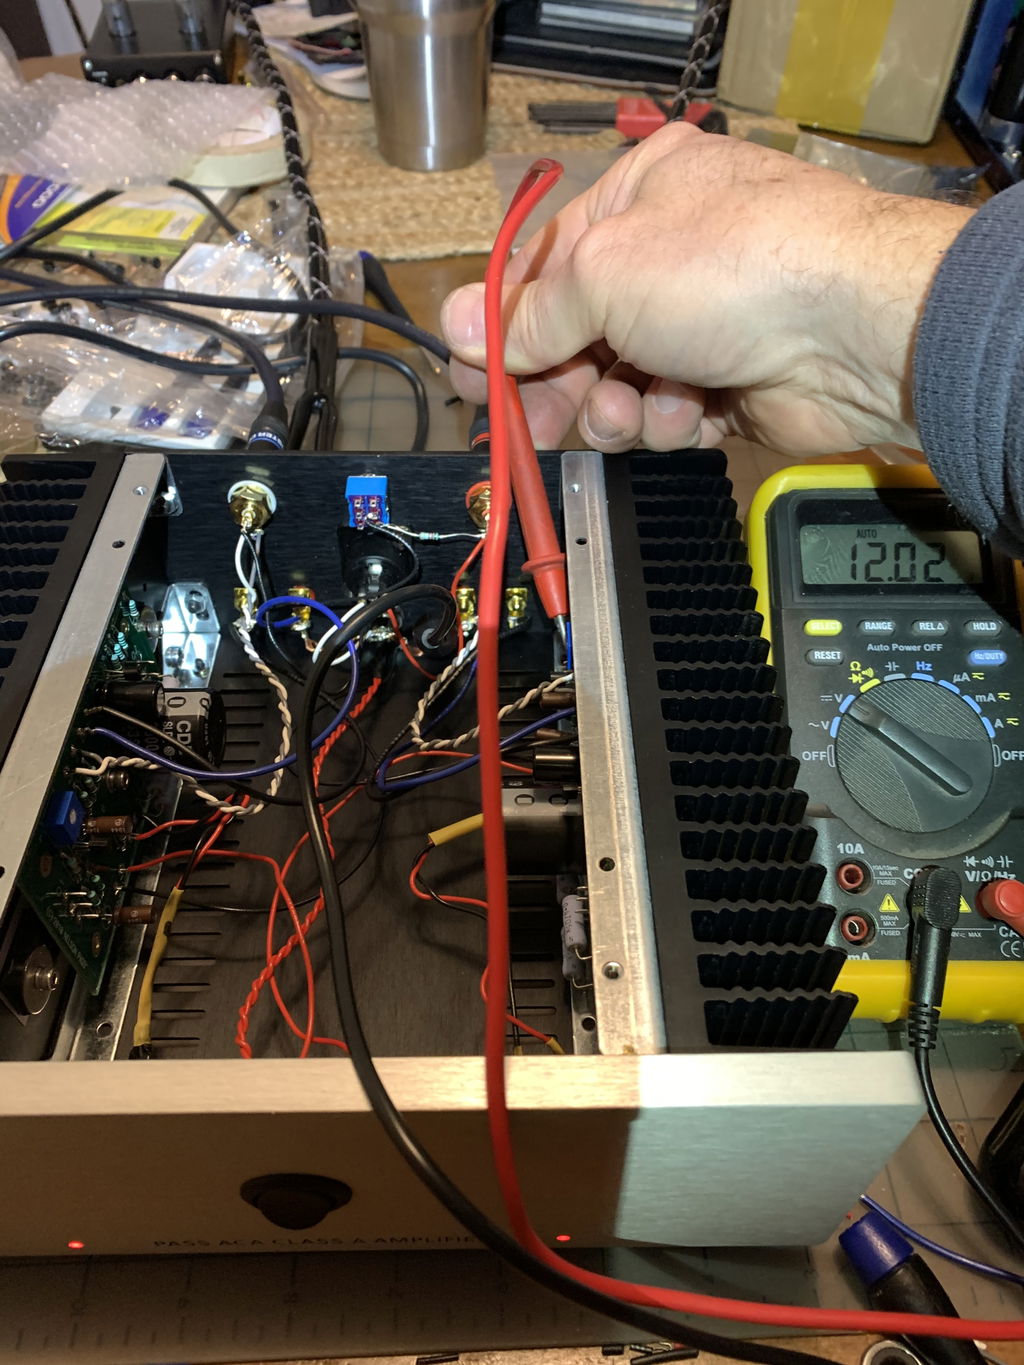
I very much enjoyed assembling the Amp camp kit. Instructions were perfect and easy to follow. My grandson helped me and it was a great way to spend time learning and enjoying the challenge. But the best part was reaping the benefits of completion and testing. Listened to Dave Rawlings Machine, Nashville Obsolete on vinyl and it sounded absolutely stunning and clear. I am very much looking forward to our next project. When available we will be ordering the Korg Nutube B1 Preamp kit. cannot wait!
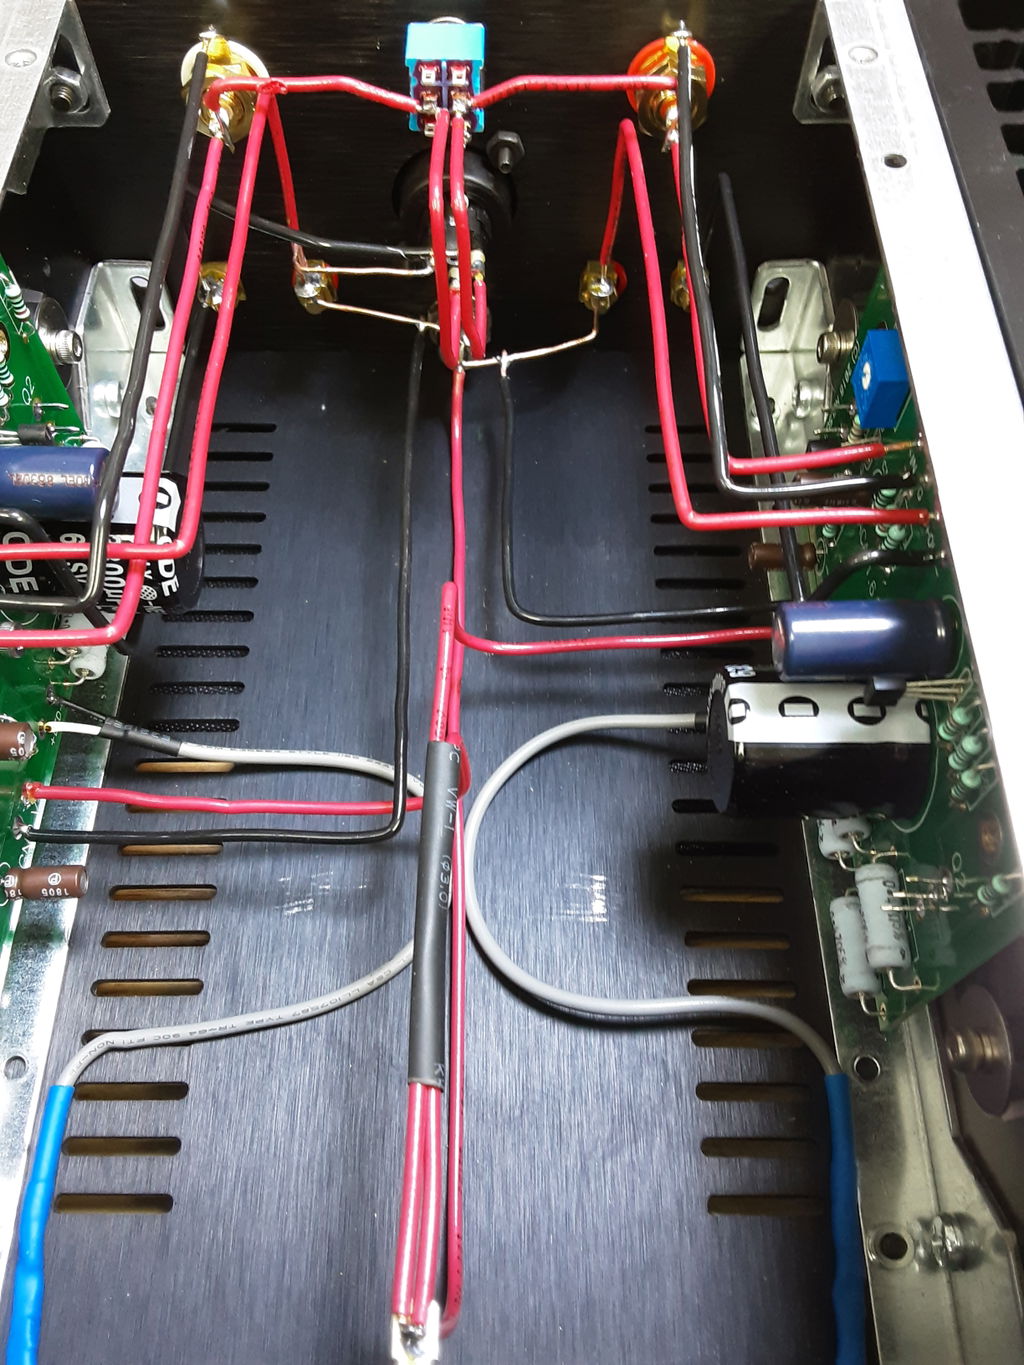
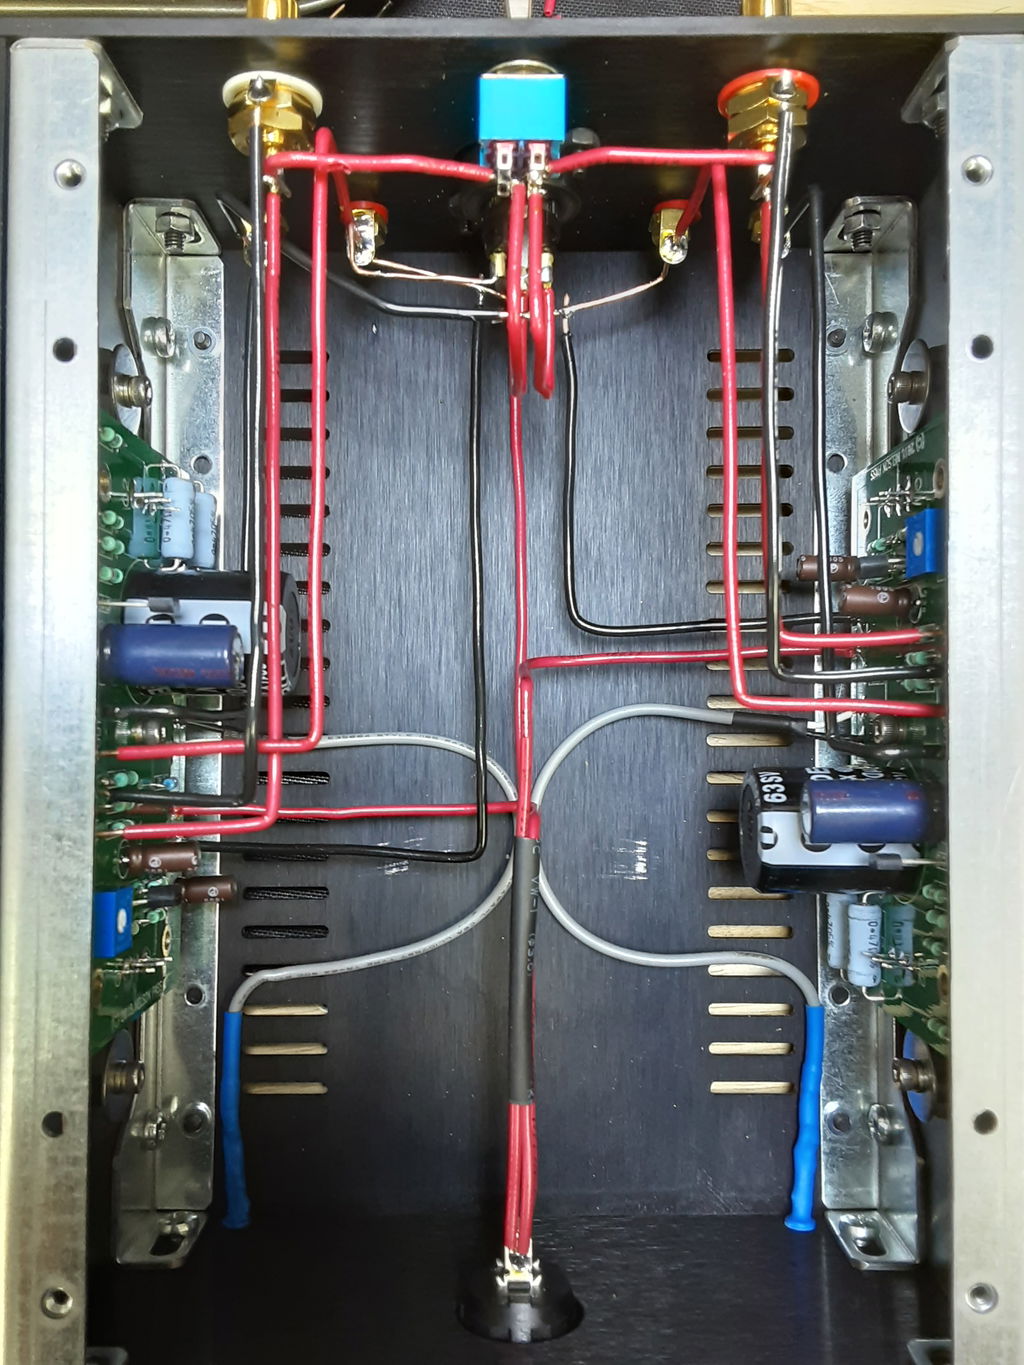
Complete noob; just finished a pair of ACA 1.8 in two days (with breaks to uncross eyes). Excellent quality; excellent instructions; excellent result. Highly recommended; thanks DIYaudio and Nelson Pass.
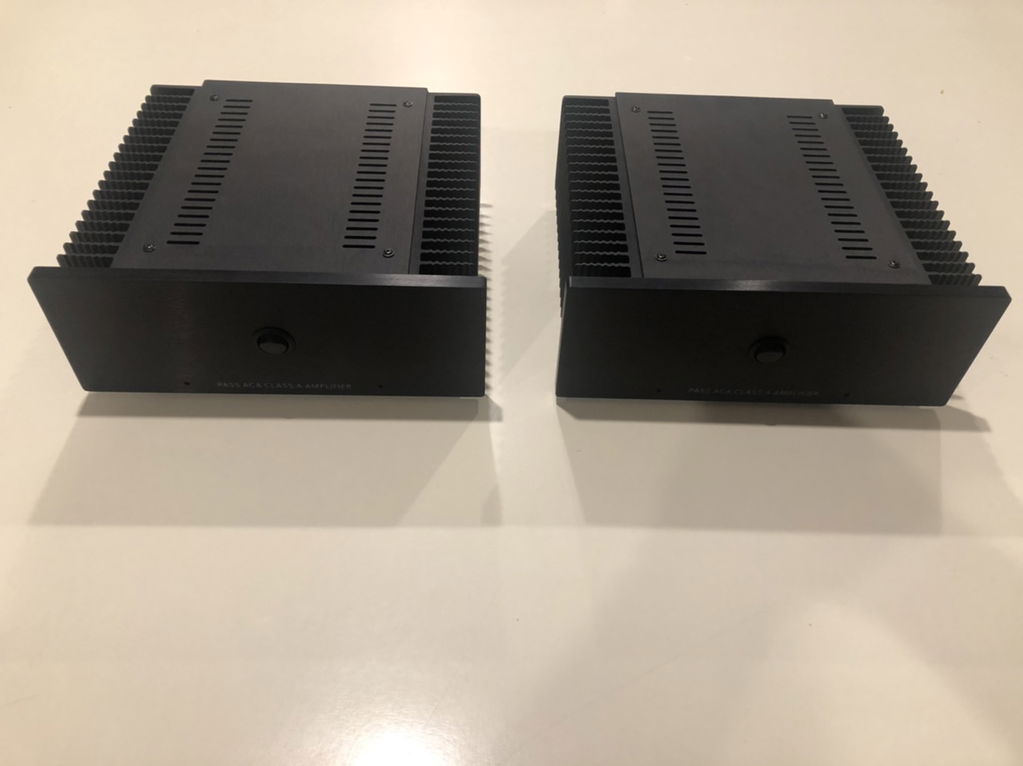
Good sounding with my AE1 classic bookshelf speaker. May DIY one linear power supply for the ACA.
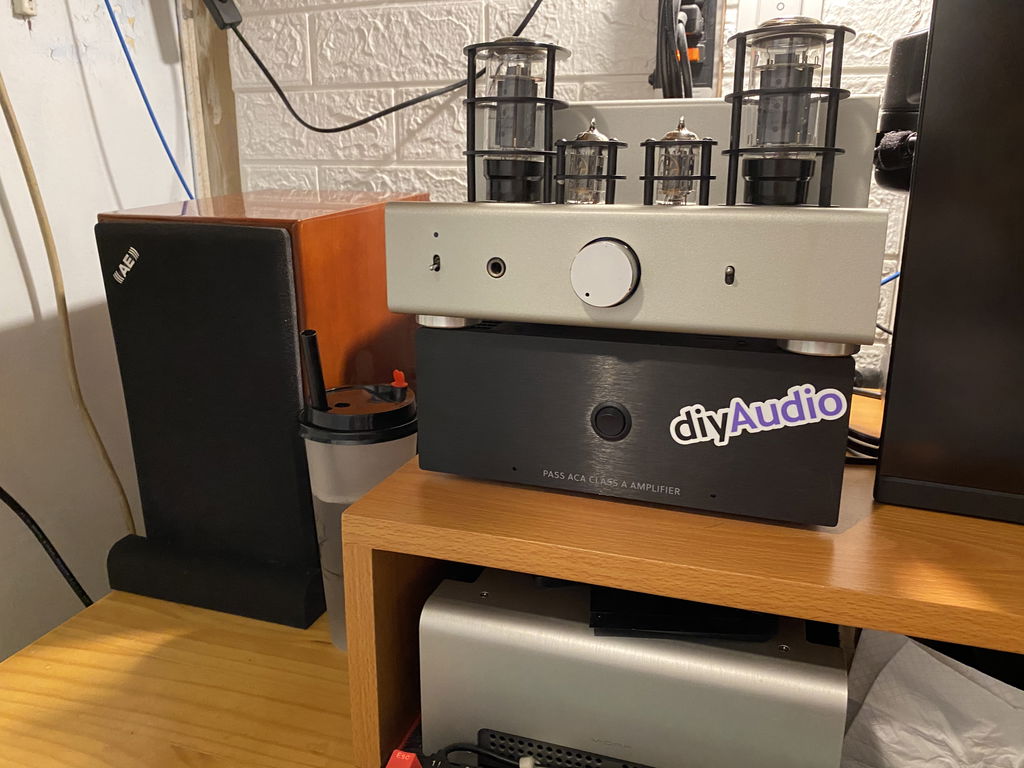
Was an enjoyable and a rewarding experience building this kit.. I wasn’t expecting it to sound so good ! I thought the kit was more about learning and more of a “novelty” than a actual fine sounding amplifier.. I paired the amp with some NHT Super one speakers rated at 86db sensitivity thinking it wasn’t going to be “enough” power to be useful... I was pleased to hear these speakers come to Life and sound so natural and smooth .. Nice job once again Nelson and crew...
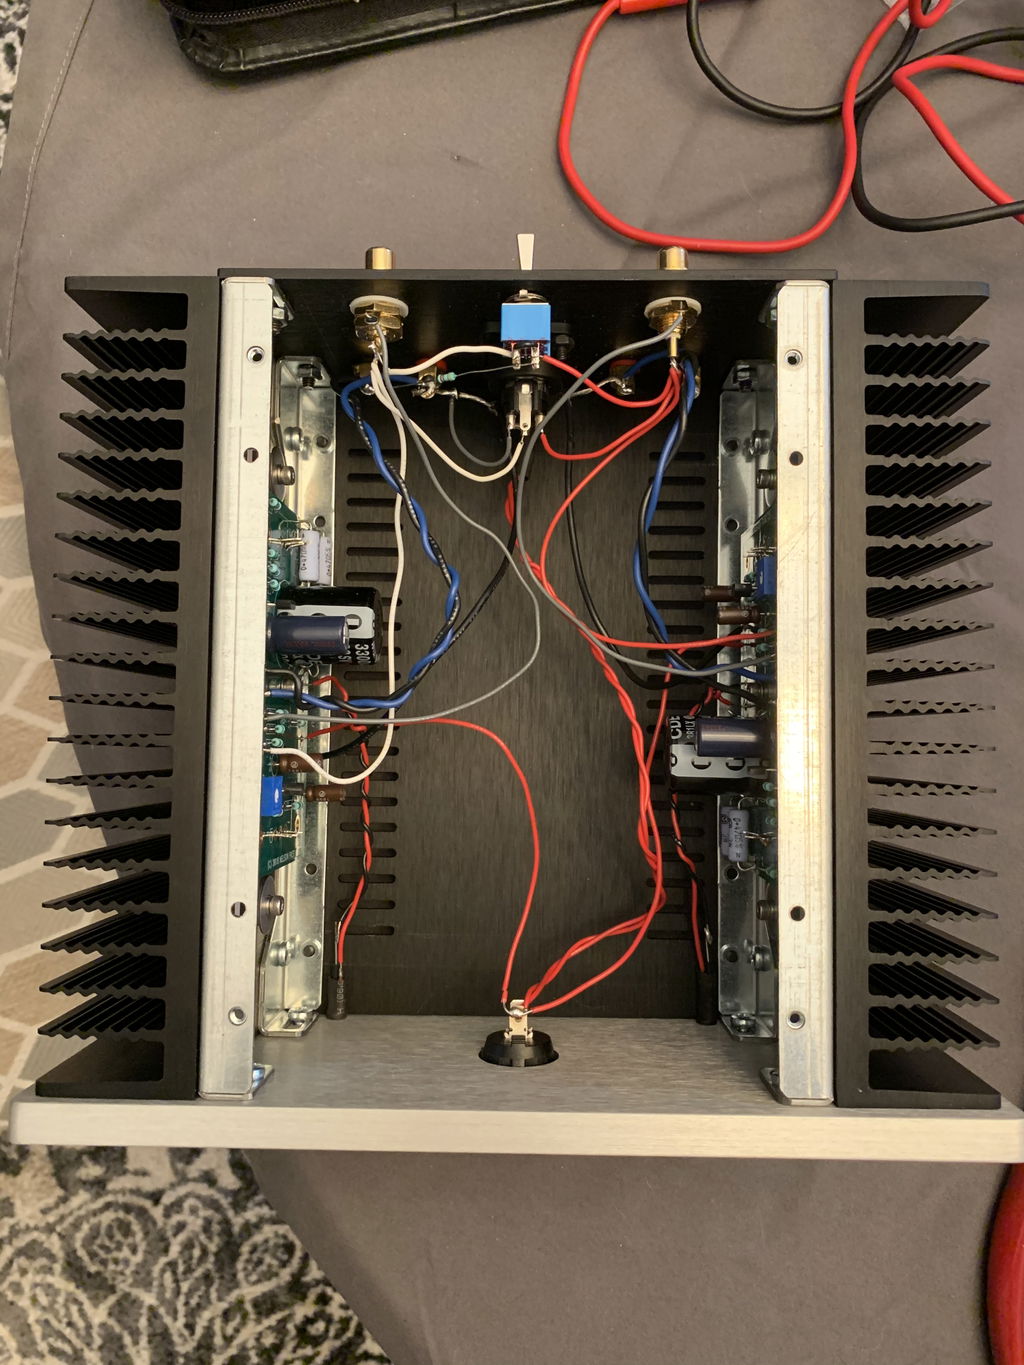
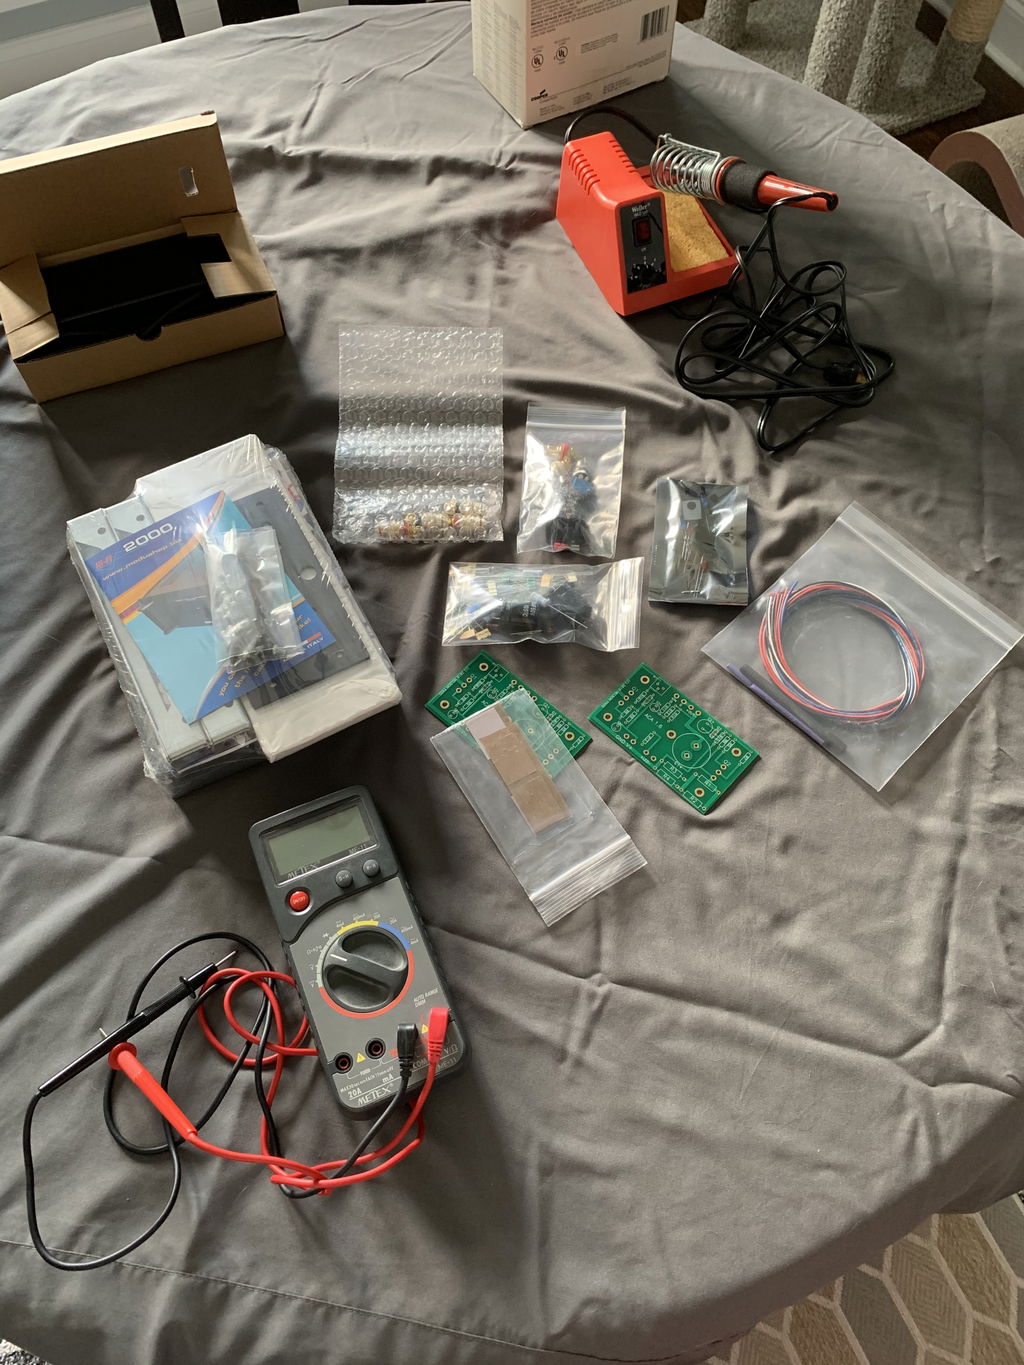
I was floored upon hearing the amp just after biasing both channels. Never thought I can get this kind of sound from a diy kit. It was Sonic purity at its simplest!
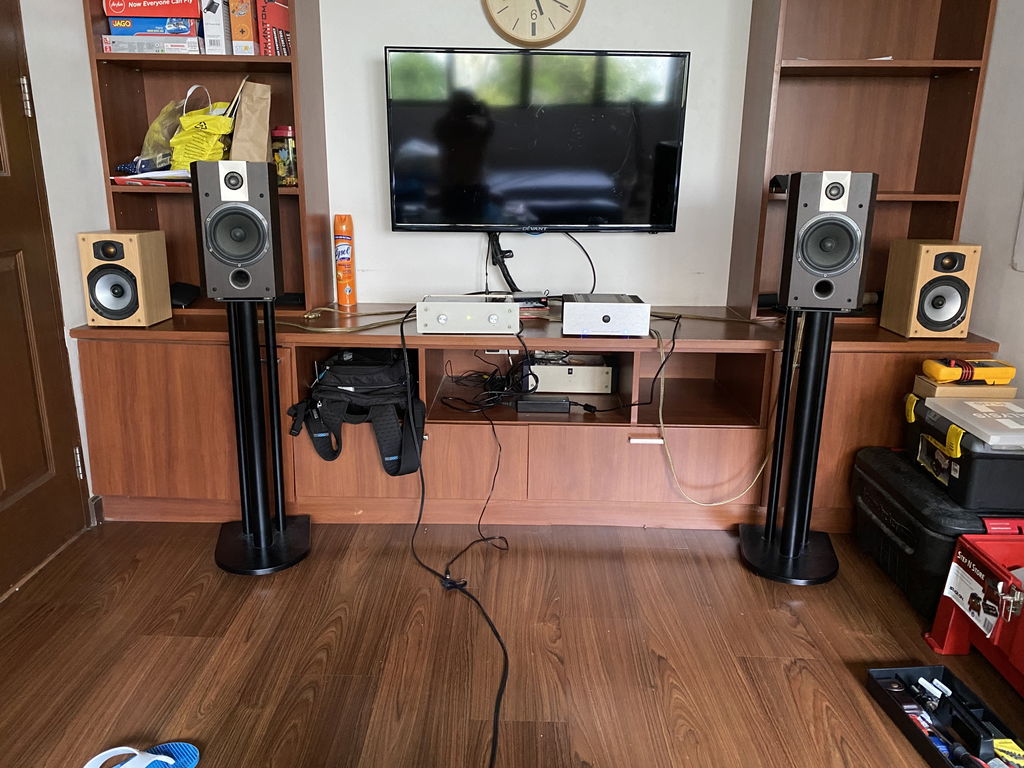
I bought the kit toward the end of summer 2019, built it during the fall. Building the amp was great fun. The instructions were easy to follow. Sounds great with an inexpensive passive preamp (Bellari) and a PAS-3 as my phono preamp. My only reservation is power consumption. I was surprised to see it drawing 90 watts for just 8 watts/channel of output. I suppose that's the nature of Class-A design. And 90 watts is much better than the 190 my old amp was using.
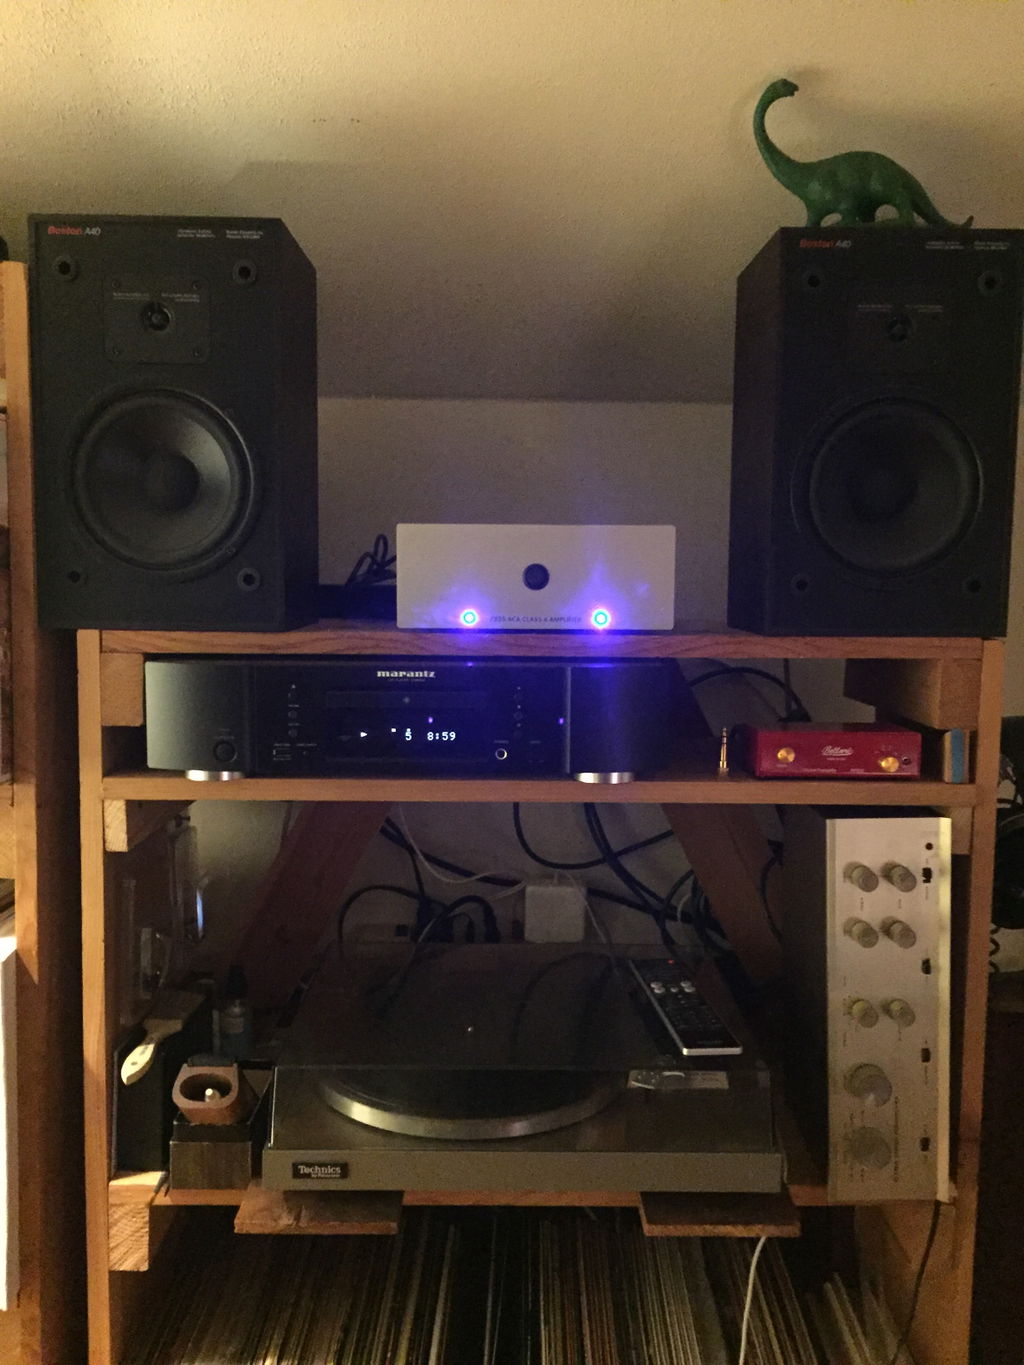
This project was my first amp kit. It went really well. All parts were there and working. Online instructions were easy to follow with ample photos and explanation. Just need some tools aside from the kit. Everything came pretty quickly, even the case from Italy. The amp actually works, and sounds good!