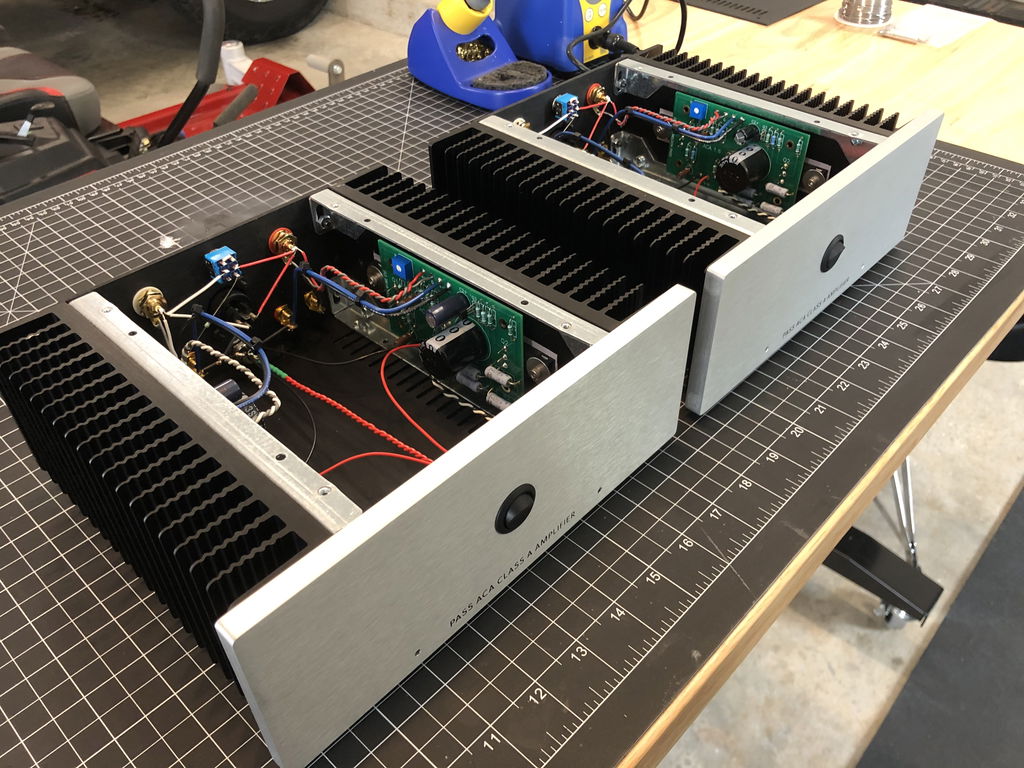
Amp Camp Amp Chassis
- 1 x Amp Camp Amp Chassis (Silver)
The Amp Camp Amp V1.8 chassis is custom made for the Amp Camp Amp V1.8. If you have a previous version of the ACA and have questions about compatibility, please e-mail contact@diyaudiostore.com.
The Amp Camp Amp was created by Nelson Pass for a special event called "Amp Camp" in which 20 people built their very first amplifier from start to finish in one afternoon. The event was held outdoors on a lovely sunny day in California and all attendees walked away with a fully functioning amplifier and a smile on their dials.
Naturally, other people wanted share that same amazing experience of successfully building their first amplifier so diyAudio has created the three essential ingredients you need for that same journey - the parts, the instructions, and the community.
Read more in the Amp Camp Amp article hosted on diyAudio.
How does it sound?
Once you build the Amp Camp Amp you'll never look at power and distortion figures the same way again.
Each channel is just 8 watts, but they're very good watts. In fact Nelson's DIY endeavors are called "First Watt" because in his own words "The first watt is the most important watt". The amp has enough power for medium to high efficiency speakers at normal listening levels. They sound even better bi-amped with an active crossover.
A step-by-step build guide and forum pit crew standing by to help to get to the finish line
The Amp Camp Amp Build Guide lets you follow step-by-step on your phone or tablet while you're actually building the amp or printed the guide as a PDF - it's never been easier to complete your Amp Camp Amp in one sitting!
If you need more help, there's hundreds of diyAudio members who consider it their mission to help any ACA builder get their first amplifier build completed. No question is a stupid question in the ACA thread, so join in the discussion and meet other first time and veteran builders in the Amp Camp Amp discussion thread.
Simulation
Our friends at Qorvo have created a simulation in QSpice for the ACA. QSpice is free and easy to use. You can download QSpice using the link below.
QSpice Download Page
There is a QSpice community forum specifically for ACA discussion.
ACA QSpice Forum
Key Information
- Power Amplifier Project
- Designed by Nelson Pass
- Beginner Difficulty
- Complete Kit Available
- Comprehensive Build Guide
Highlights
- Class A amplifier built by 1,000s
- Suitable for DIYers of all levels
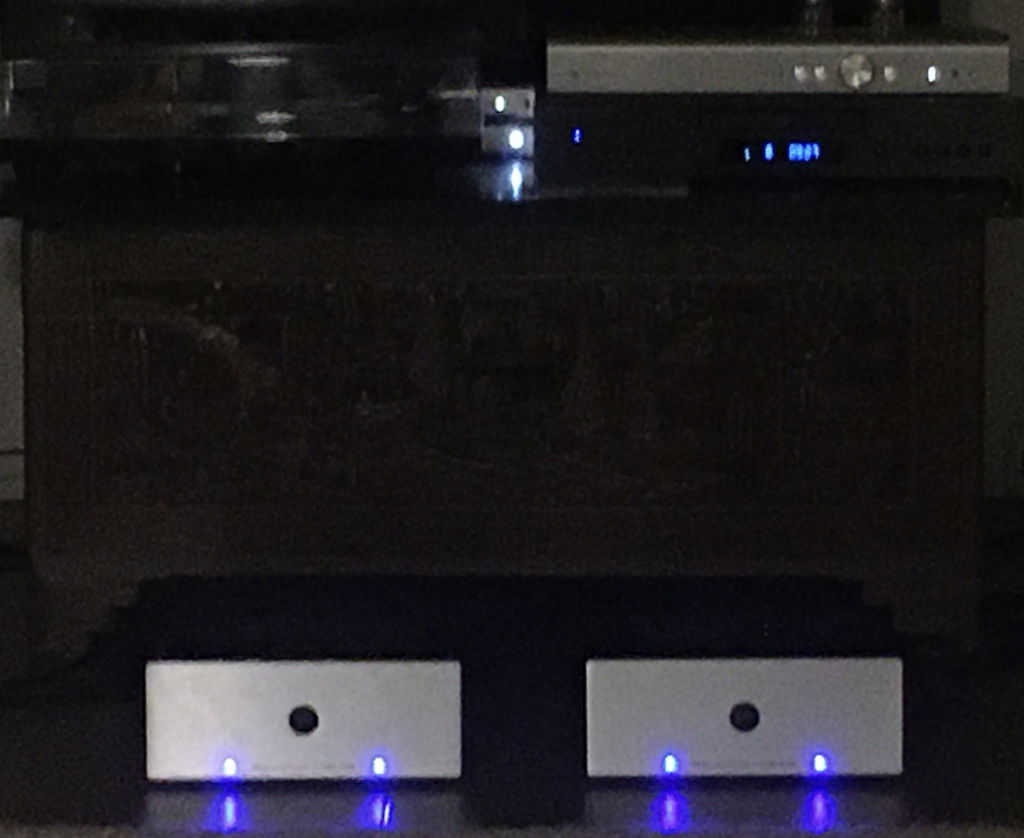
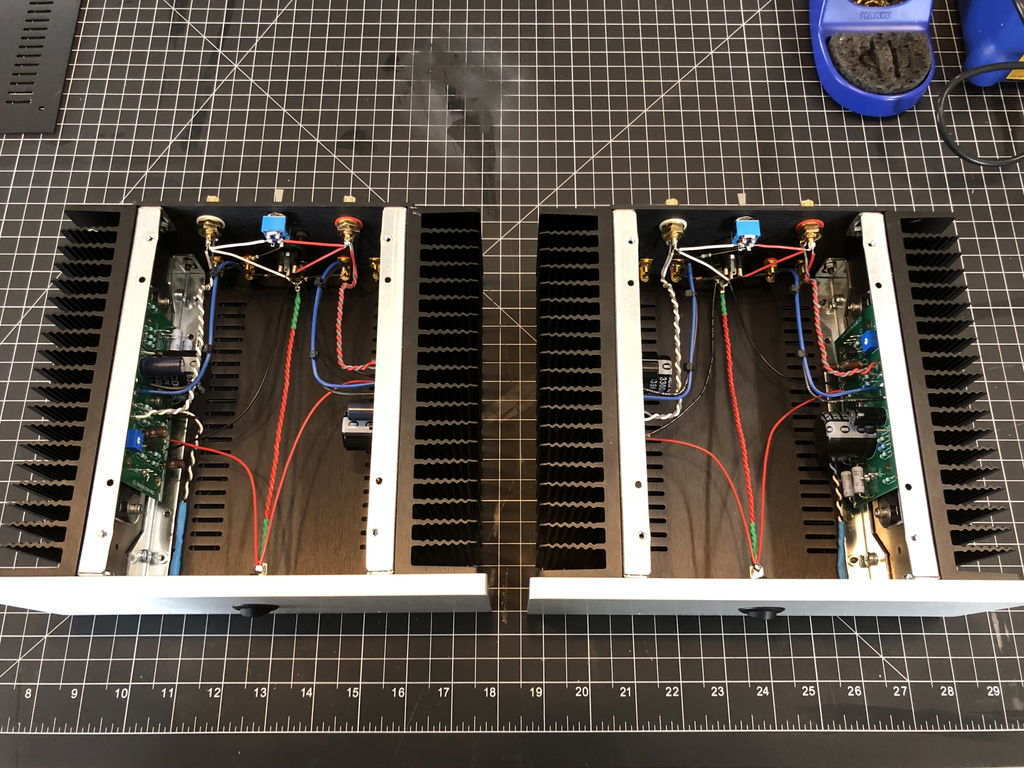
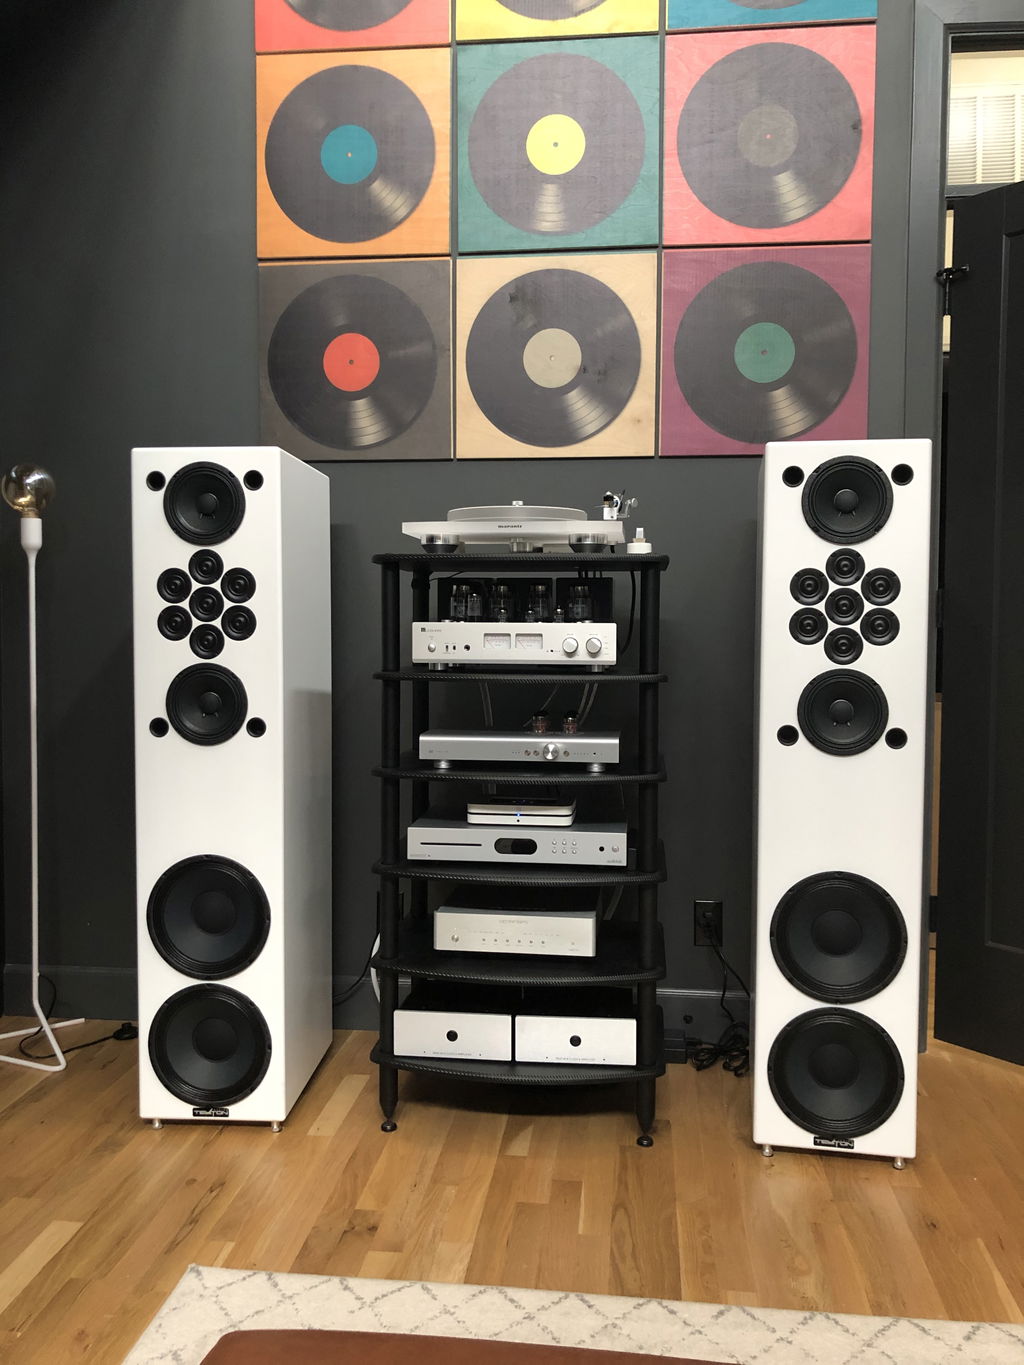
- Buy two for a set of monoblocks that work with a huge variety of speakers
Links, Discussion & Files
Watch TekThing build the ACA
TekThing is an awesome video blog for technology geeks. In this 30 minute video Patrick Norton talks about the history of the Amp Camp Amp, and then builds a channel from start to finish!
Heatsinks
- Height, 2U
- Depth, 200mm
- Drilling Pattern, UMS
Covers
- Material, 3mm Aluminum
- Color, Black
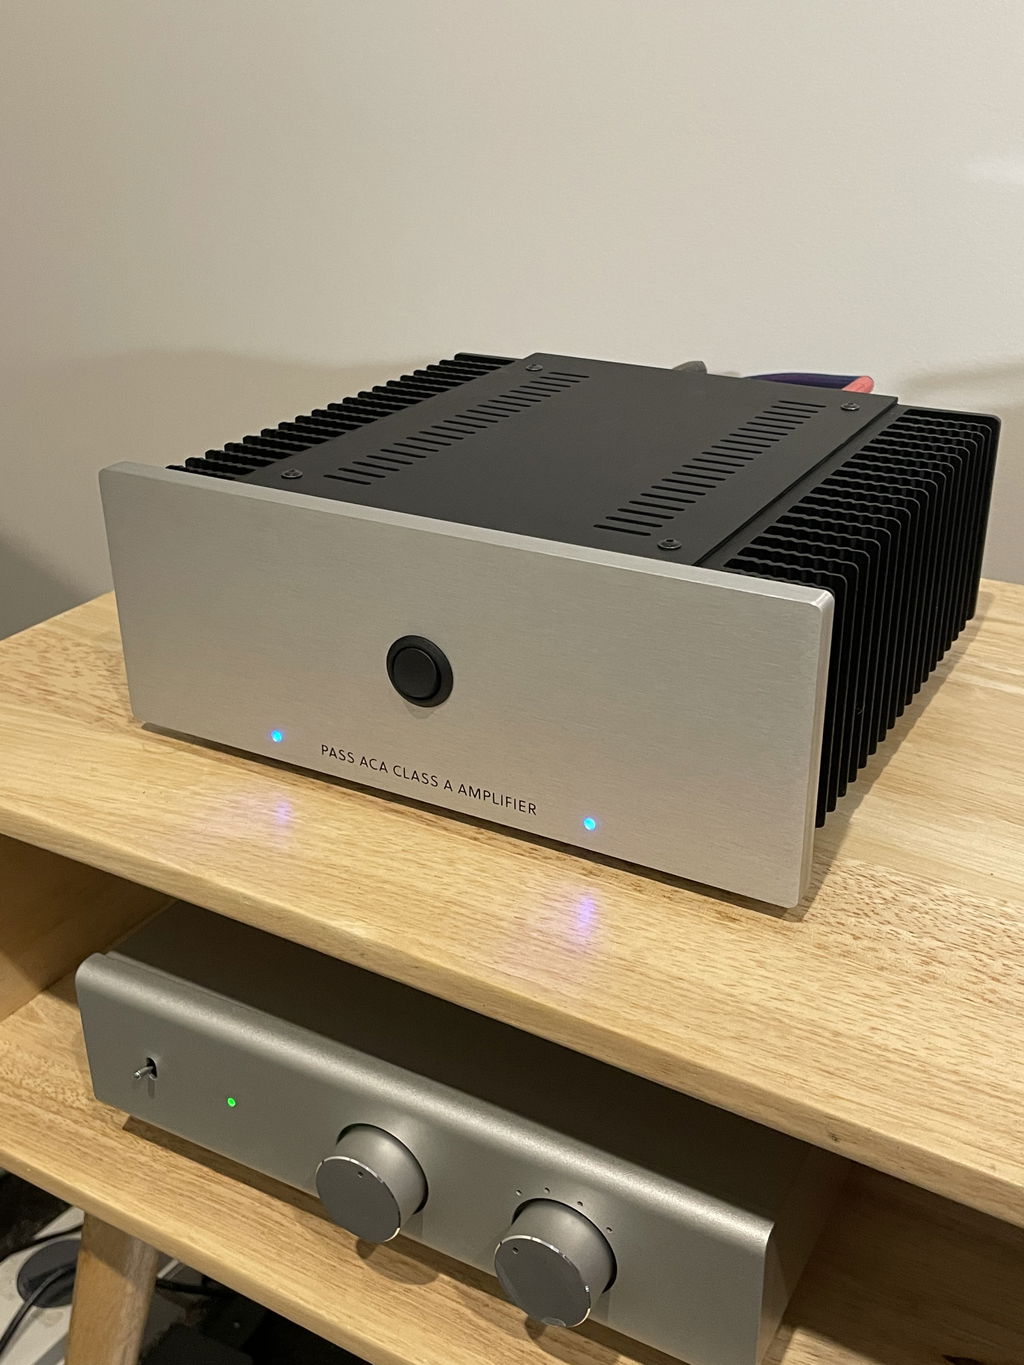
Front panel
- Material, 10mm Aluminum
- Color, Silver or Black, with:
- LED Holes, 2 (3mm with a 6mm recess)
Front power switch hole
- Diameter, 20mm
- Blind Recess, 22mm
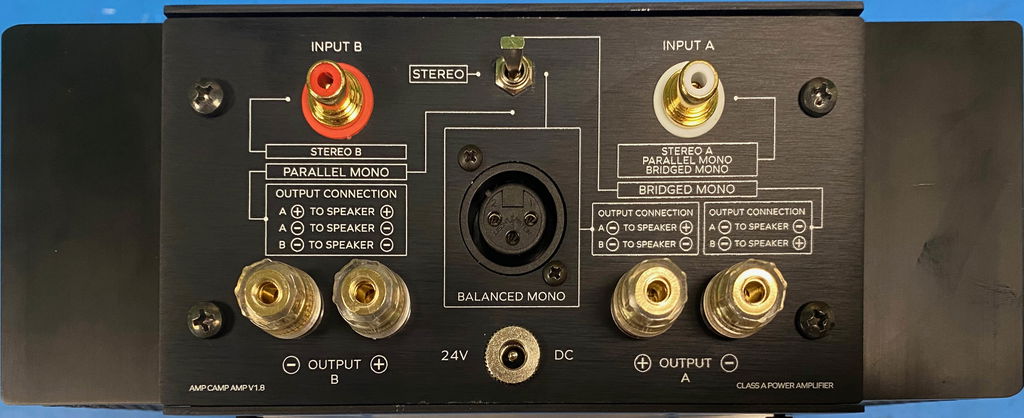
Rear panel
- Material, 3mm Aluminum
- Color, Black
- RCAs, 2
- Binding Posts, 2
- Neutrik D-Series, 2
Rear Panel Cutouts
- DC Input Hole, 11mm
- Power/Option Switch Hole, 6.4mm
Extra Information: The front power switch hole is compatible with 19mm "anti-vandal" switches
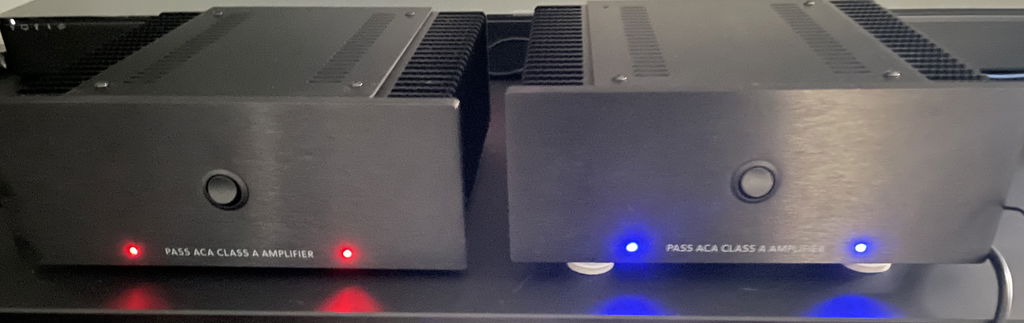
I taught myself basic electronics and soldering for the express purpose of building this amp and I'm glad I did. The project was fun, taught me how the otherwise mysterious insides of these magical boxes work and resulted in such a great sound that I bought a second to set up a mono block system. These will be driving a pair of Klipsch Forte 1 speakers and I am amped to get them running (get it? amped? I kill me!).
I had a minor issue (right channel input on the PCB was backwards) which I posted on the forum and received an immediate response that helped me sort it out. If you are trying to decide if you should buy the kit, stop reading this and just add it to your cart.
To DIYAudio, do your customers a favor and have a technical writer put the online instructions together. There are too many paths between version iterations which can drive the reader to the wrong set of instructions. The documents that were included in the first amp kit were not included in the second and unfortunately I did not keep them for reference. That didn't stop the build but did create some extra work.
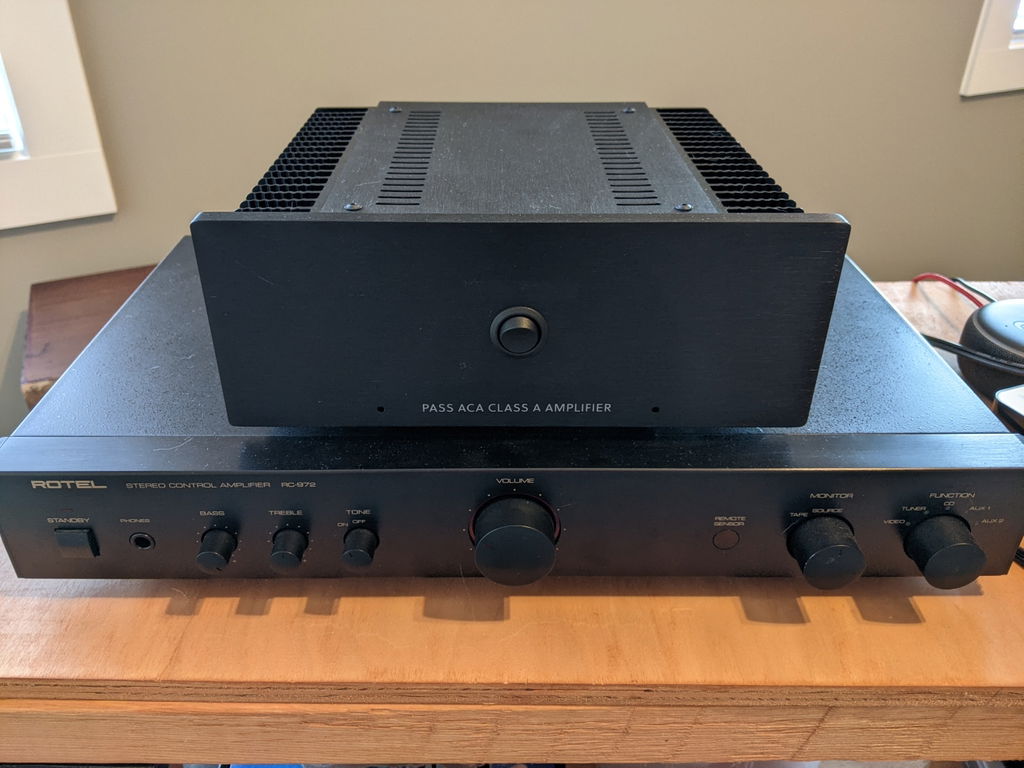
So happy with these amps ( got two). Using them as mono blocks with the schiit freya + tube preamp. Great sound. Sounds cleaner than my 80w/ch class AB and 150w/ch AV receiver. Using my Elac unifi UB5 bookshelf units with it :)
Enjoyed the build. Remember my father when he built his heathkit tuner and wharfedale full range enclosures in the 60’s. Thank you DIYaudio !

The chassis included all required hardware. The front panel is understated and elegant. The back panel has clear markings for each of the connections. For the top and bottom panels, there is a difference in finish for one side vs. the other. The only things I would change would be to include a 2mm hex wrench for the top and bottom fasteners and to break the sharp edges on the heatsinks. Those edges are only an issue while assembling; they are recessed once assembled. Overall, I am very happy with this purchase.
This was a first build for my niece (12) and nephew (14) and they are quite proud of what they built. Recommended!

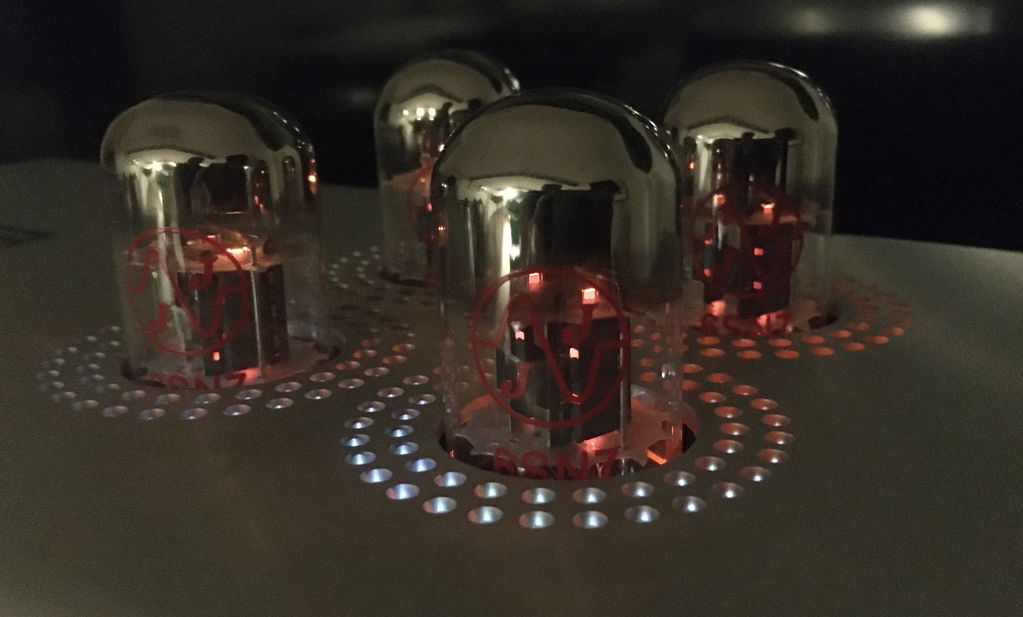
This is the first DIY amp I’ve built with not needing tubes costing more than the base build!
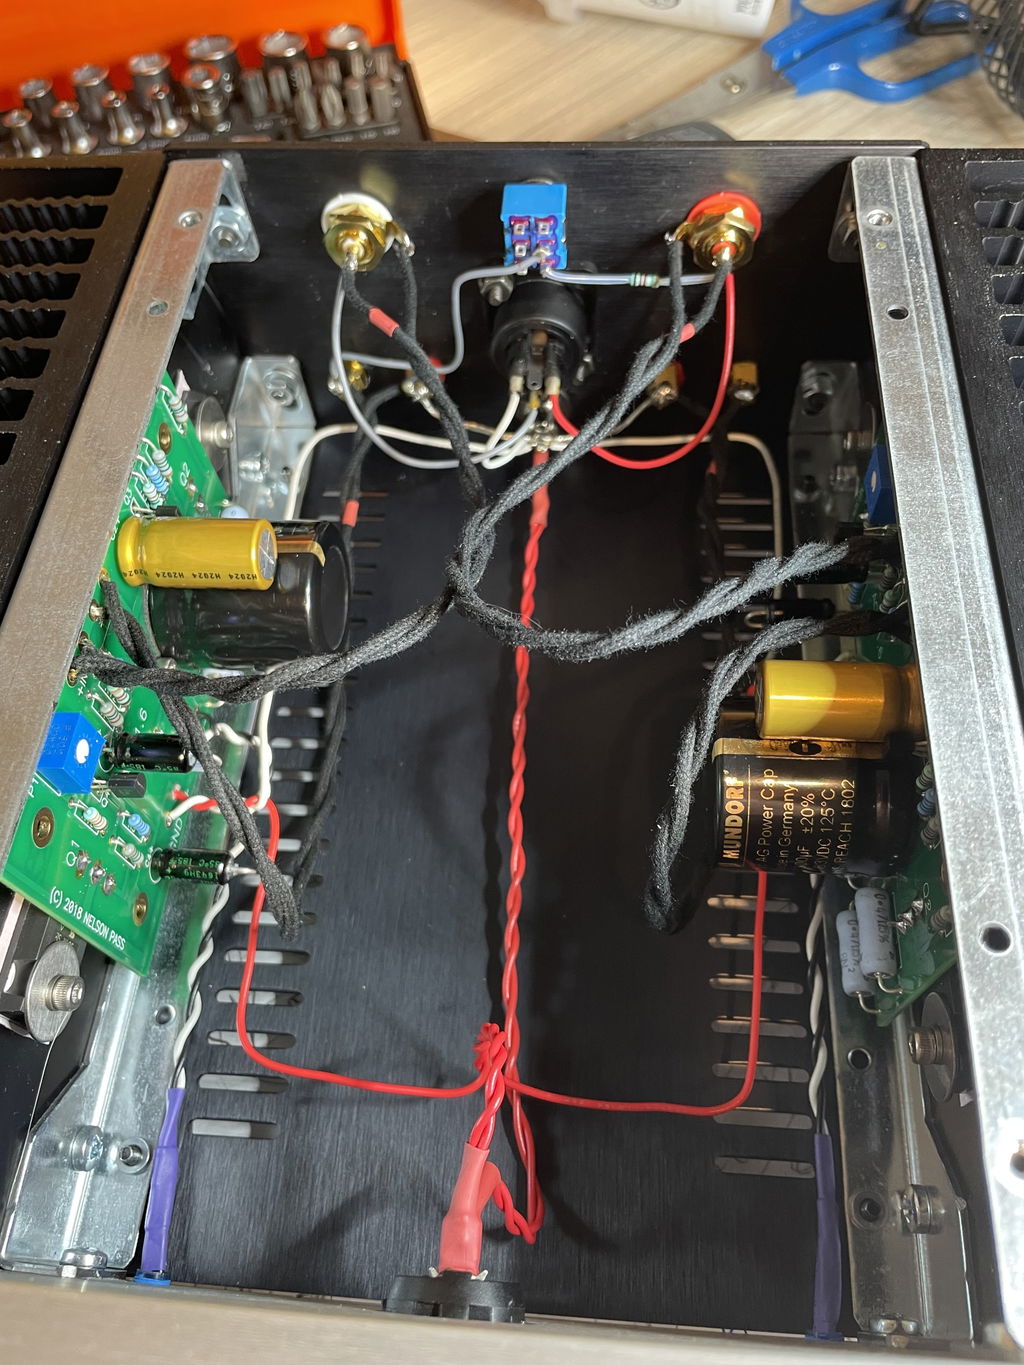
A small confession – I just couldn't help but build it with some upgraded Mundorf and Sprague Atom caps and for good measure, Duelund cable.
Paired with an Elekit preamp and some Omega stand mounts the sound really does brings a smile to my face. As a bonus, it heats the room quite nicely.
No wild claims about it being better than my bigger (and far more expensive) EL34/KT88 and 300B amps but it more than holds my attention and has kept the office EL34/KT88 Elekit power amp gathering dust the last few weeks.
No way that I could ever own a piece of Nelson’s best in NZ and so I’m very happy to have spent and afternoon with soldering iron in hand.
Out of interest, I've ordered a linear power supply and a matching case. I t will intersting to see wht a change it brings. Guess I may need to put a blue LED into the pre........
I had a blast and learned SO much building these ACA amps. I had never built an amp before and had very limited soldering experience as well, so this was a perfect first project to tackle. The instructions/photos are top notch and super helpful. I would highly recommend to anyone, just take your time and you'll knock it out in no time. The best part however... these amps sound amazing!! The warmth of these class A amps is sooooo nice! Give them a try, you won't be disappointed.
Thoroughly enjoyed the build process, which as a novice, took me about 1 day for each amp. Chassis is well made, and the amps sound terrific! Been using daily, and I’m hooked on DIY! Great kits!!