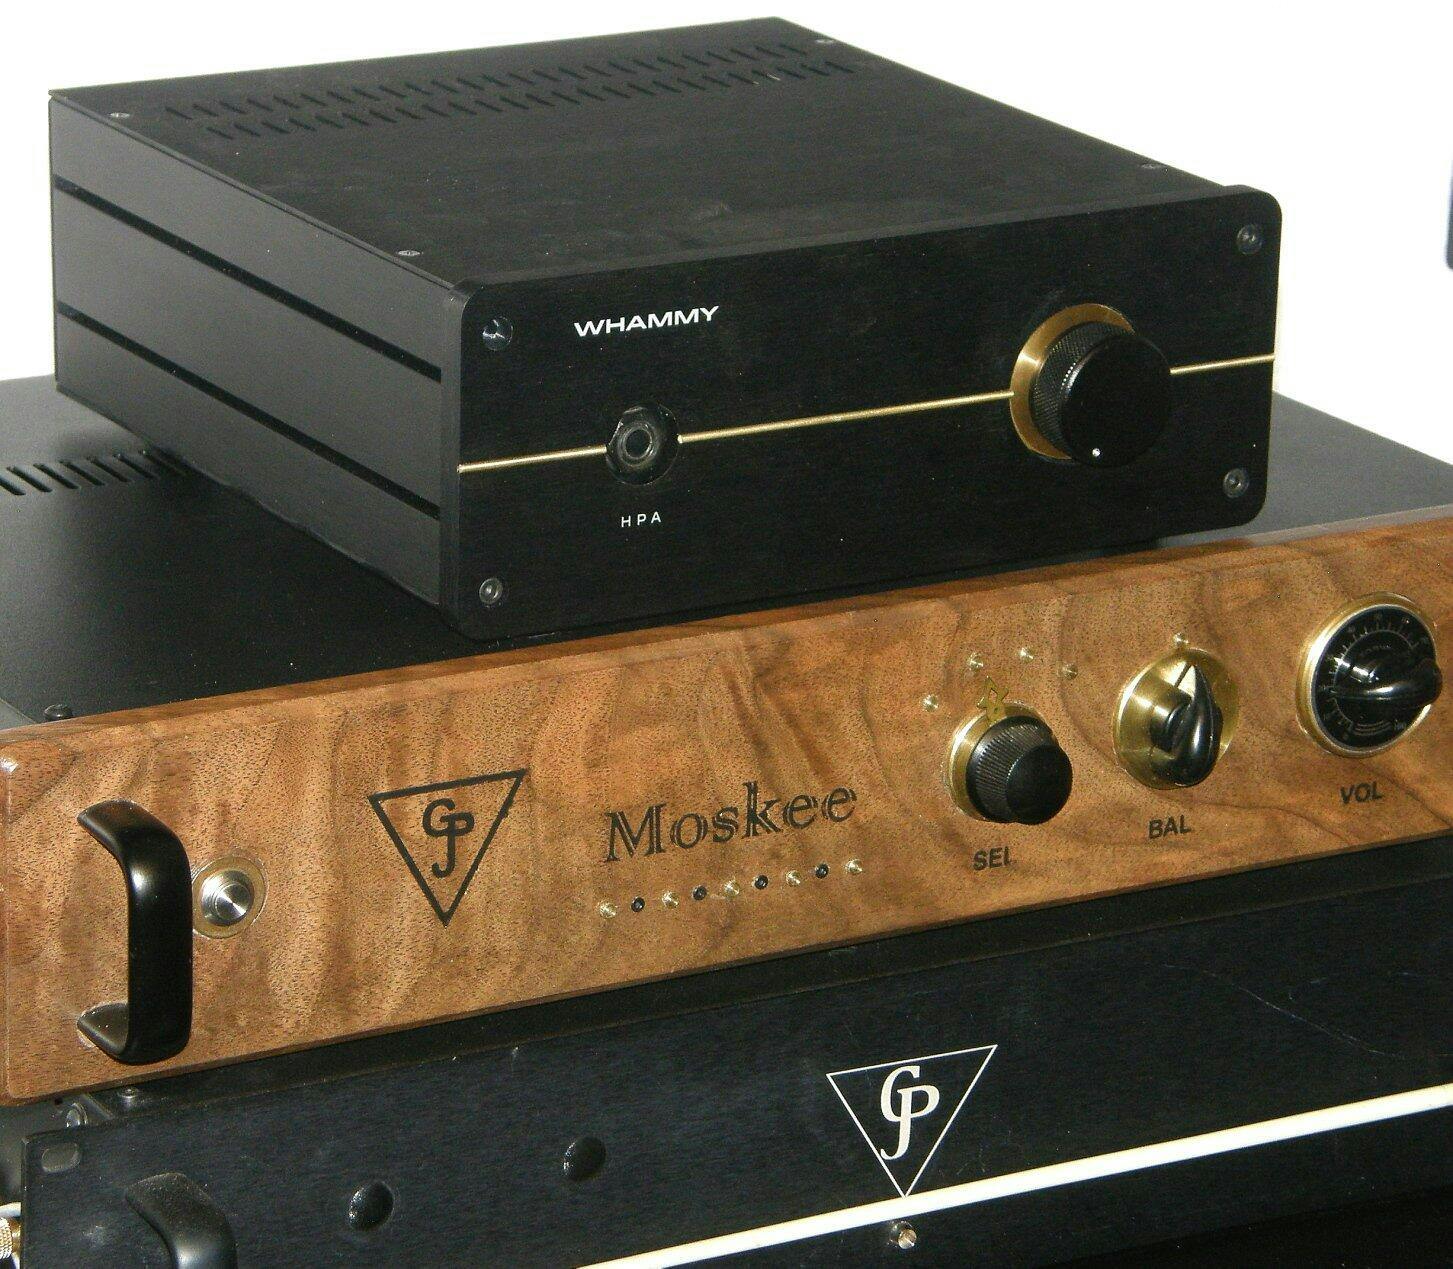
WHAMMY Completion Kit
- Description
- Project Info
- Links
All the parts you need to complete the WHAMMY. It does not include the WHAMMY PCB or the WHAMMY Chassis.
Please note: We have not yet produced a build guide using these exact parts and the new chassis. However you can follow the original WHAMMY build guide and with some help from the forum to answer any questions you might have, you should be able to complete the build without too much trouble.
Completion Kit Details
The kit includes everything to make the amp except the WHAMMY PCB and WHAMMY Chassis. All components are of the highest quality.
- Dale RN55 milspec resistors
- Panasonic FE, FR, RC series capacitors
- Elna SILMIC II capacitors
- Nichicon capacitors
- Solid aluminum anodized volume knob
- Alps "Blue Velvet" potentiometer
- Talema 70064K 115V/230V transformer
- Neutrik RCA connectors
- Schurter filtered power entry module with spare fuse
- TRS Headphone Jack with black and red nuts
- IRF610/9610 Power MOSFETs
- New Japan Radio NJM4580DD op-amp
- Silicone insulated high strand OFC for I/O connections
- Mogami mic cable
- All nuts, bolts and standoffs to attach external connectors and the PCB to a chassis
- Op-amp socket
- Grounding bolt, nut, lock washers
Note - Photos include parts available at the time of publishing. Individual components are subject to change based on availability.
WHAMMY Project
- Headphone Amplifier
- Designed by Wayne Colburn
- Beginner to Intermediate Difficulty
- Comprehensive Build Guide
- Complete Kit Available
Contributors
Visit the WHAMMY project page for more information about this project.
Note - Photos include parts available at the time of publishing. Individual components are subject to change based on availability.
Customer Reviews
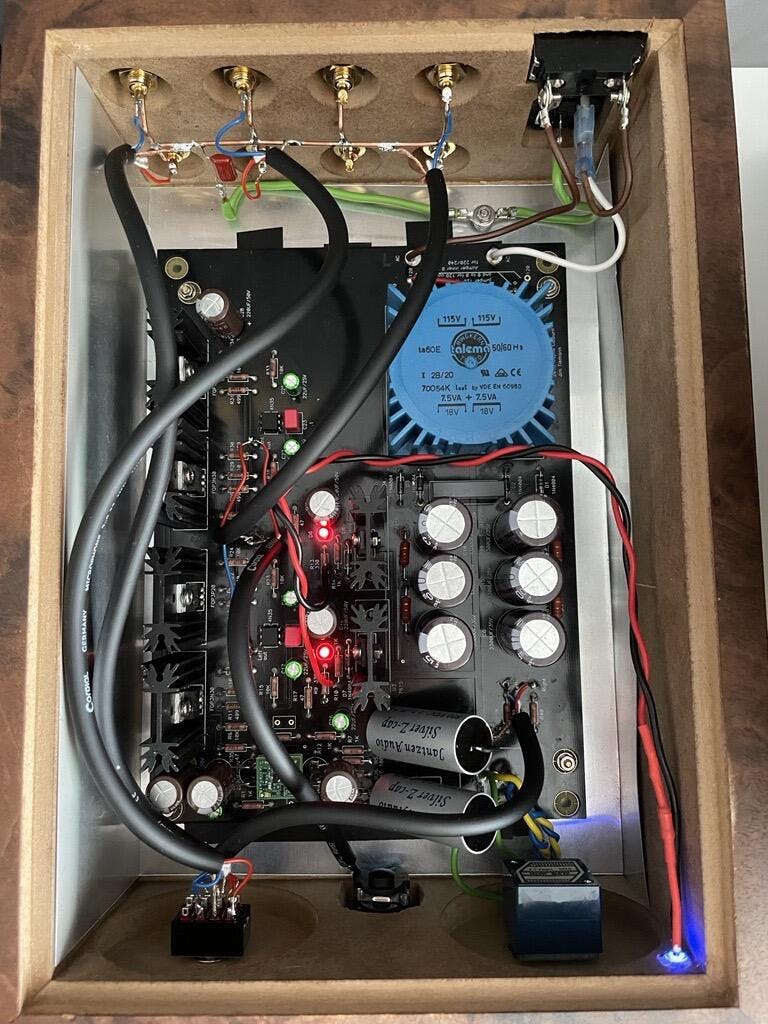
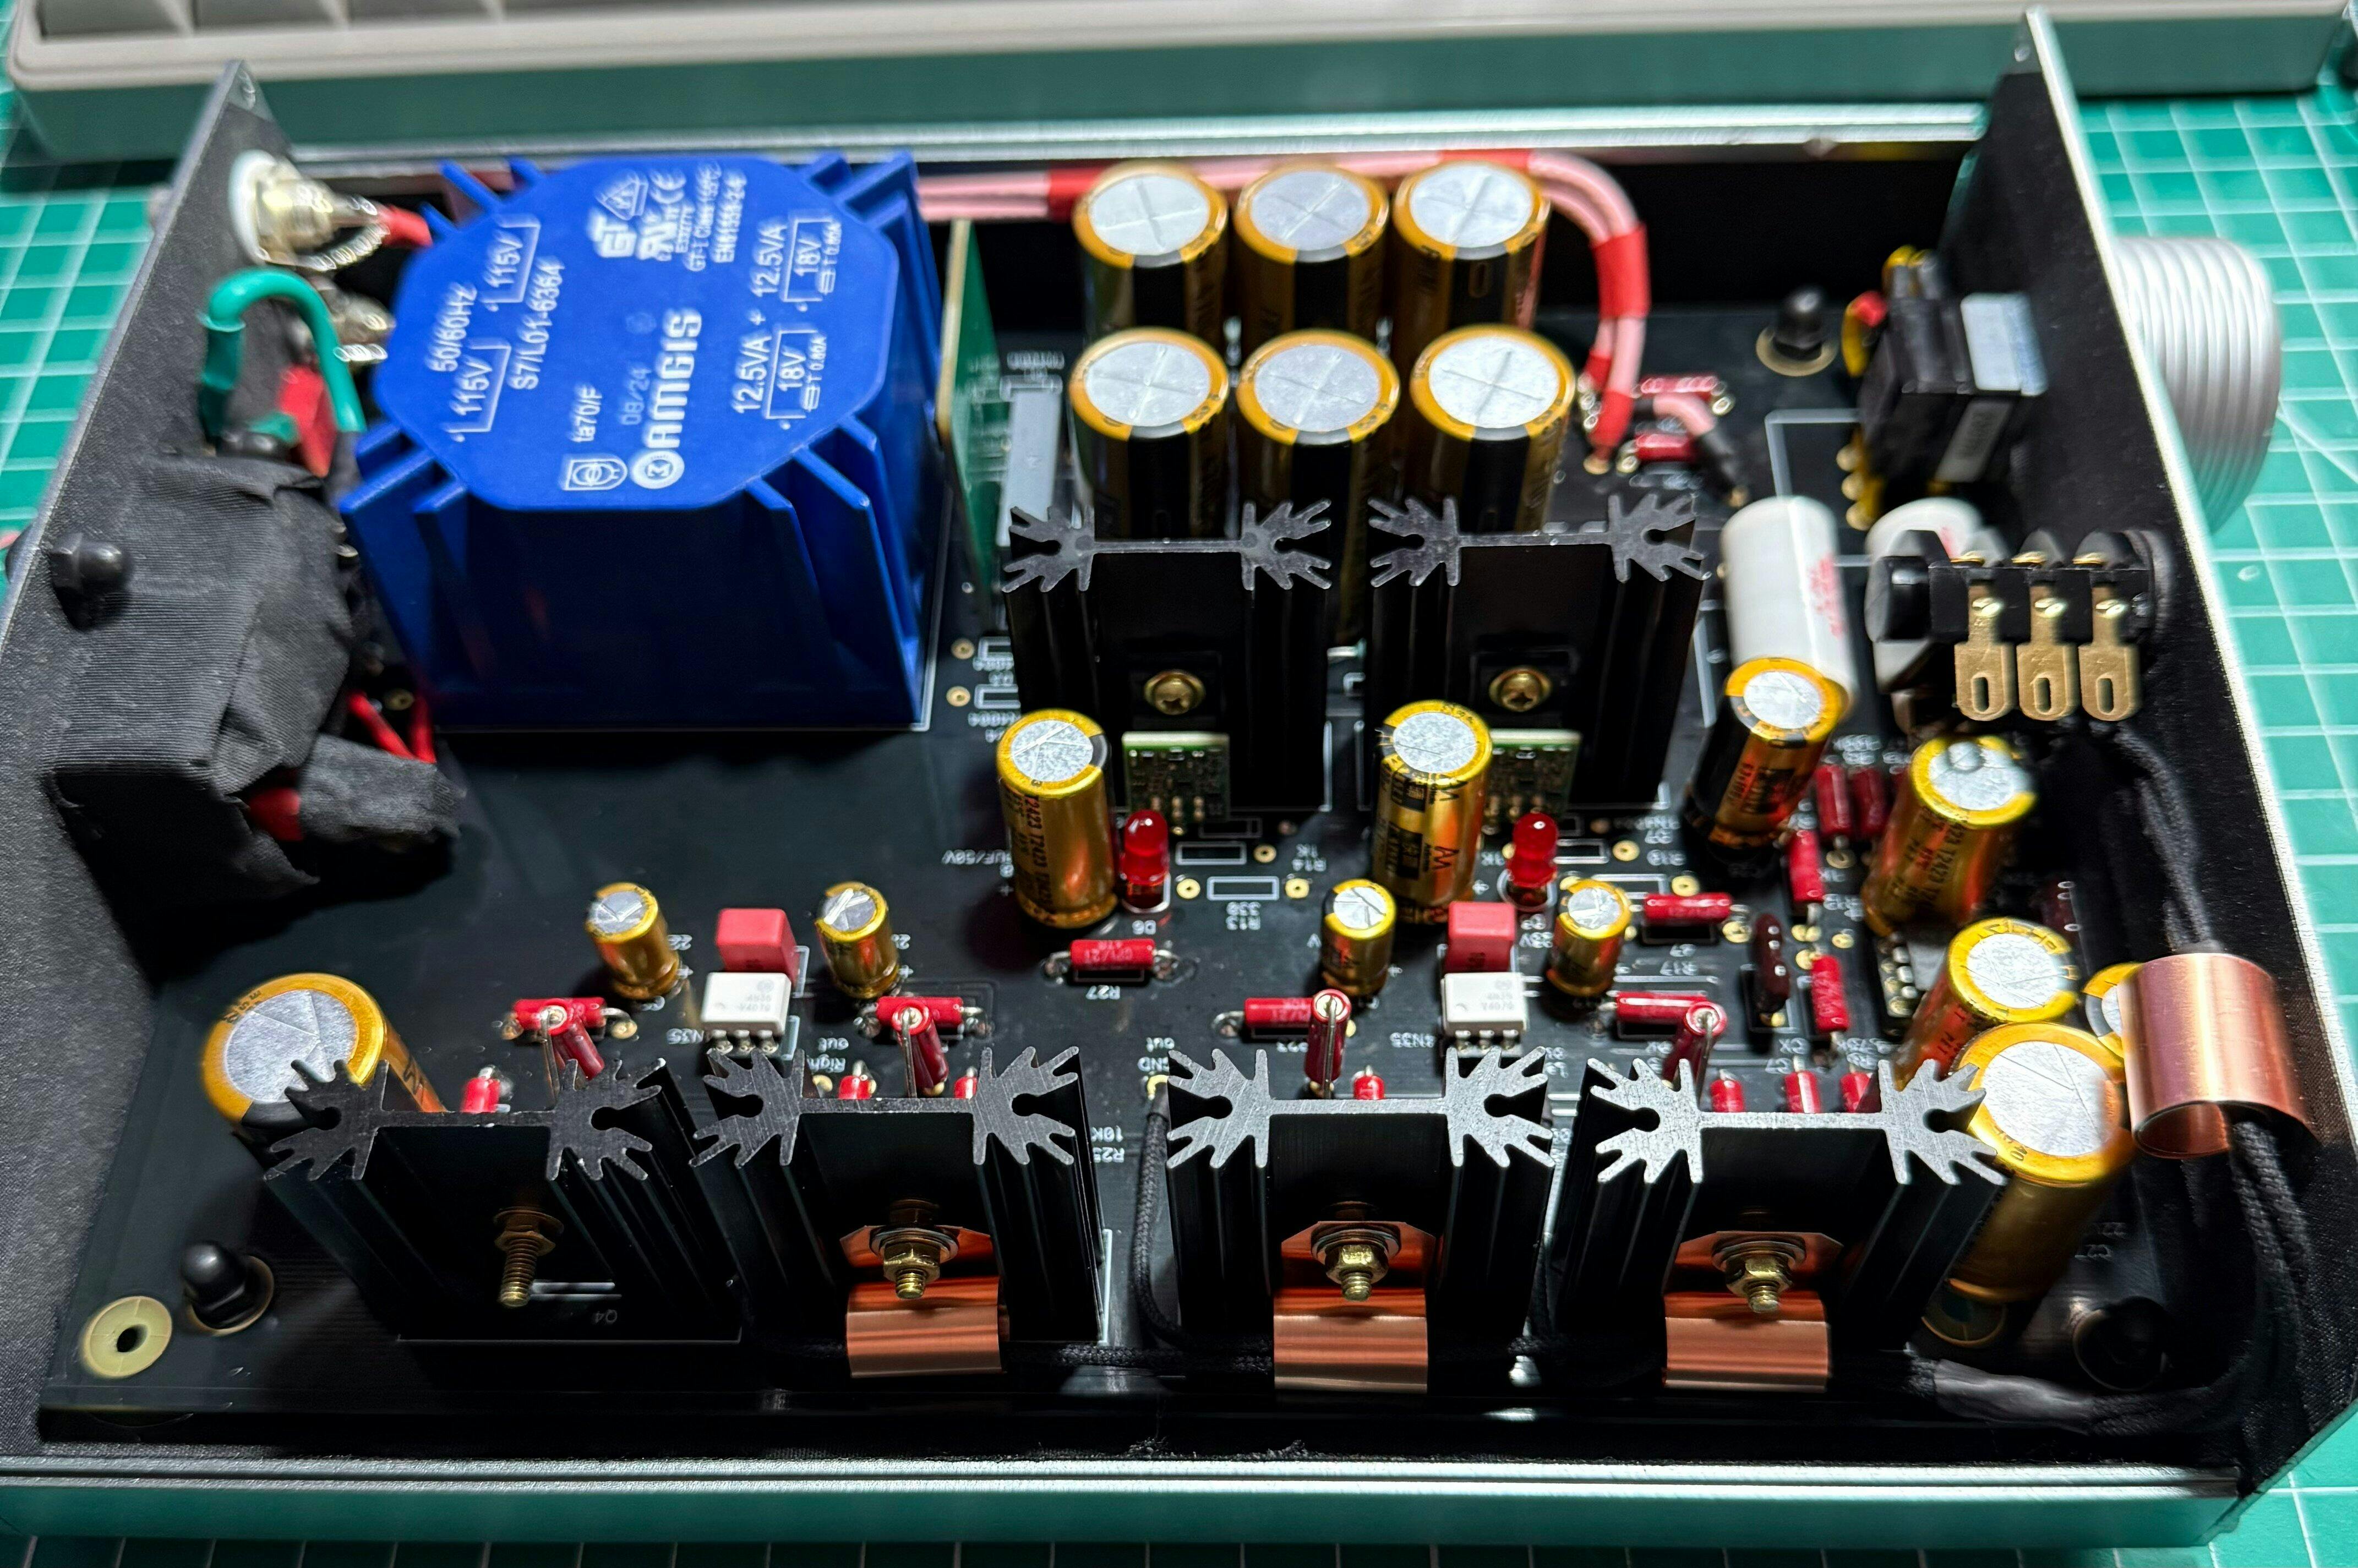
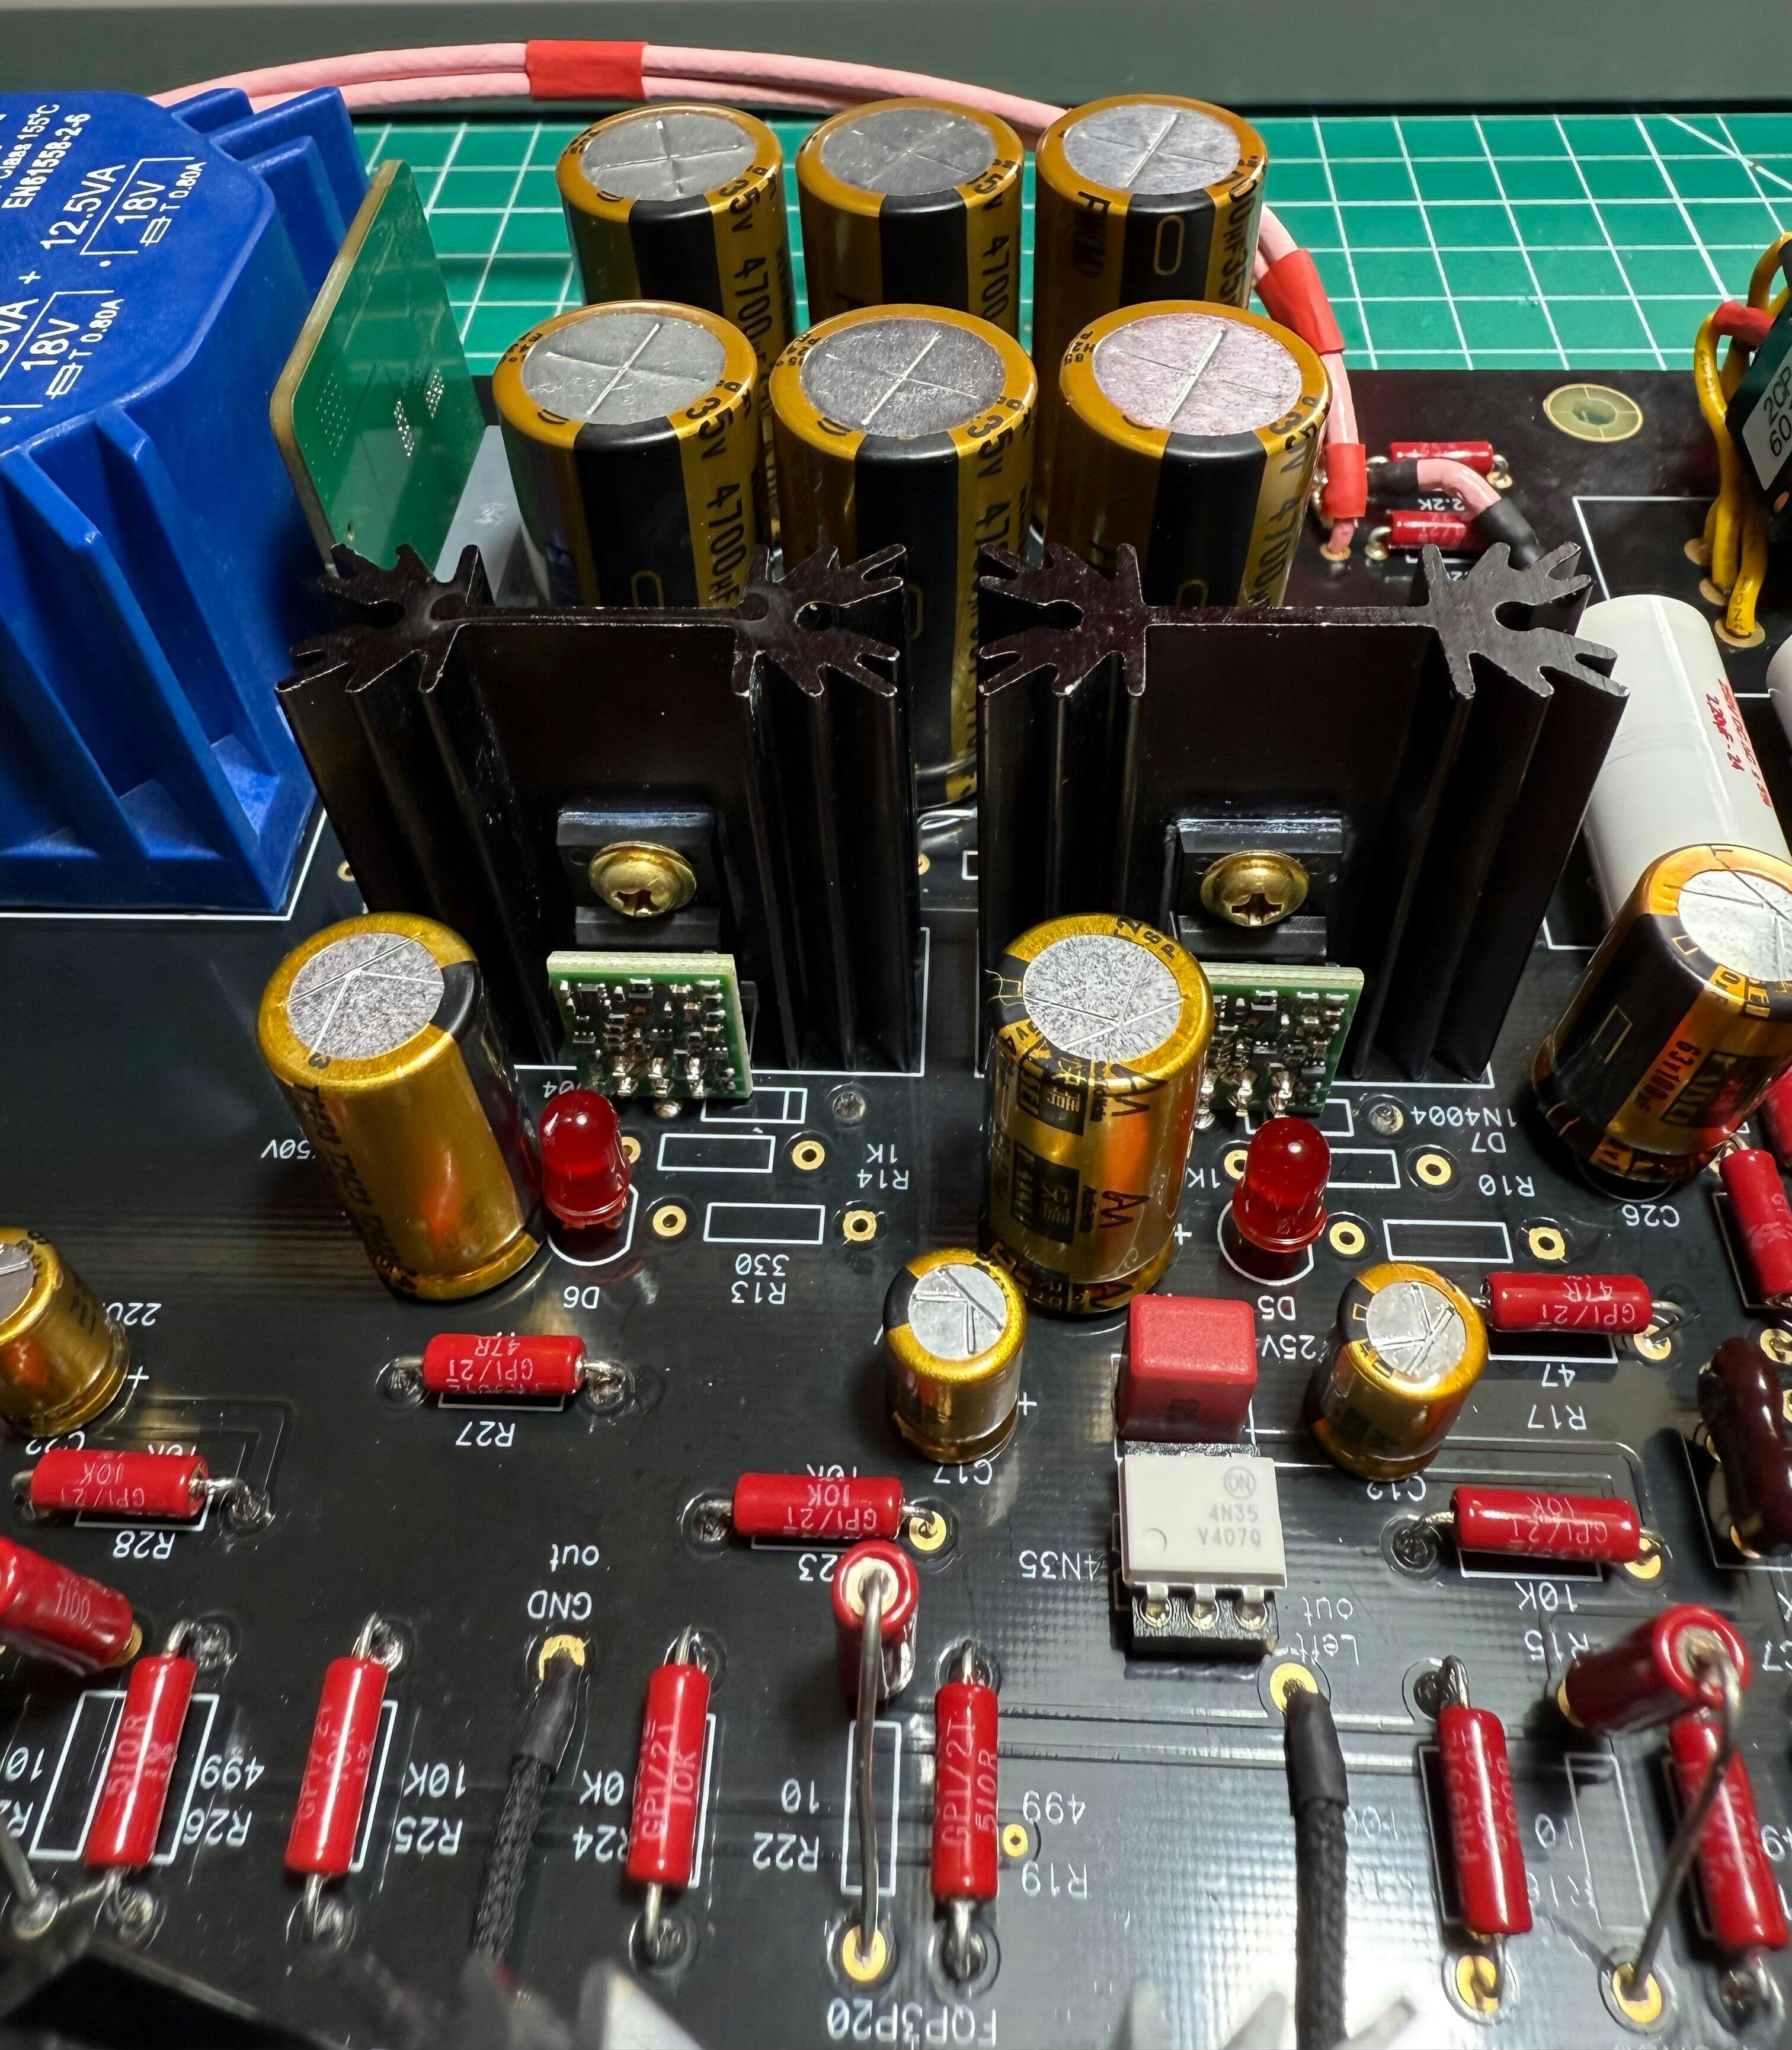
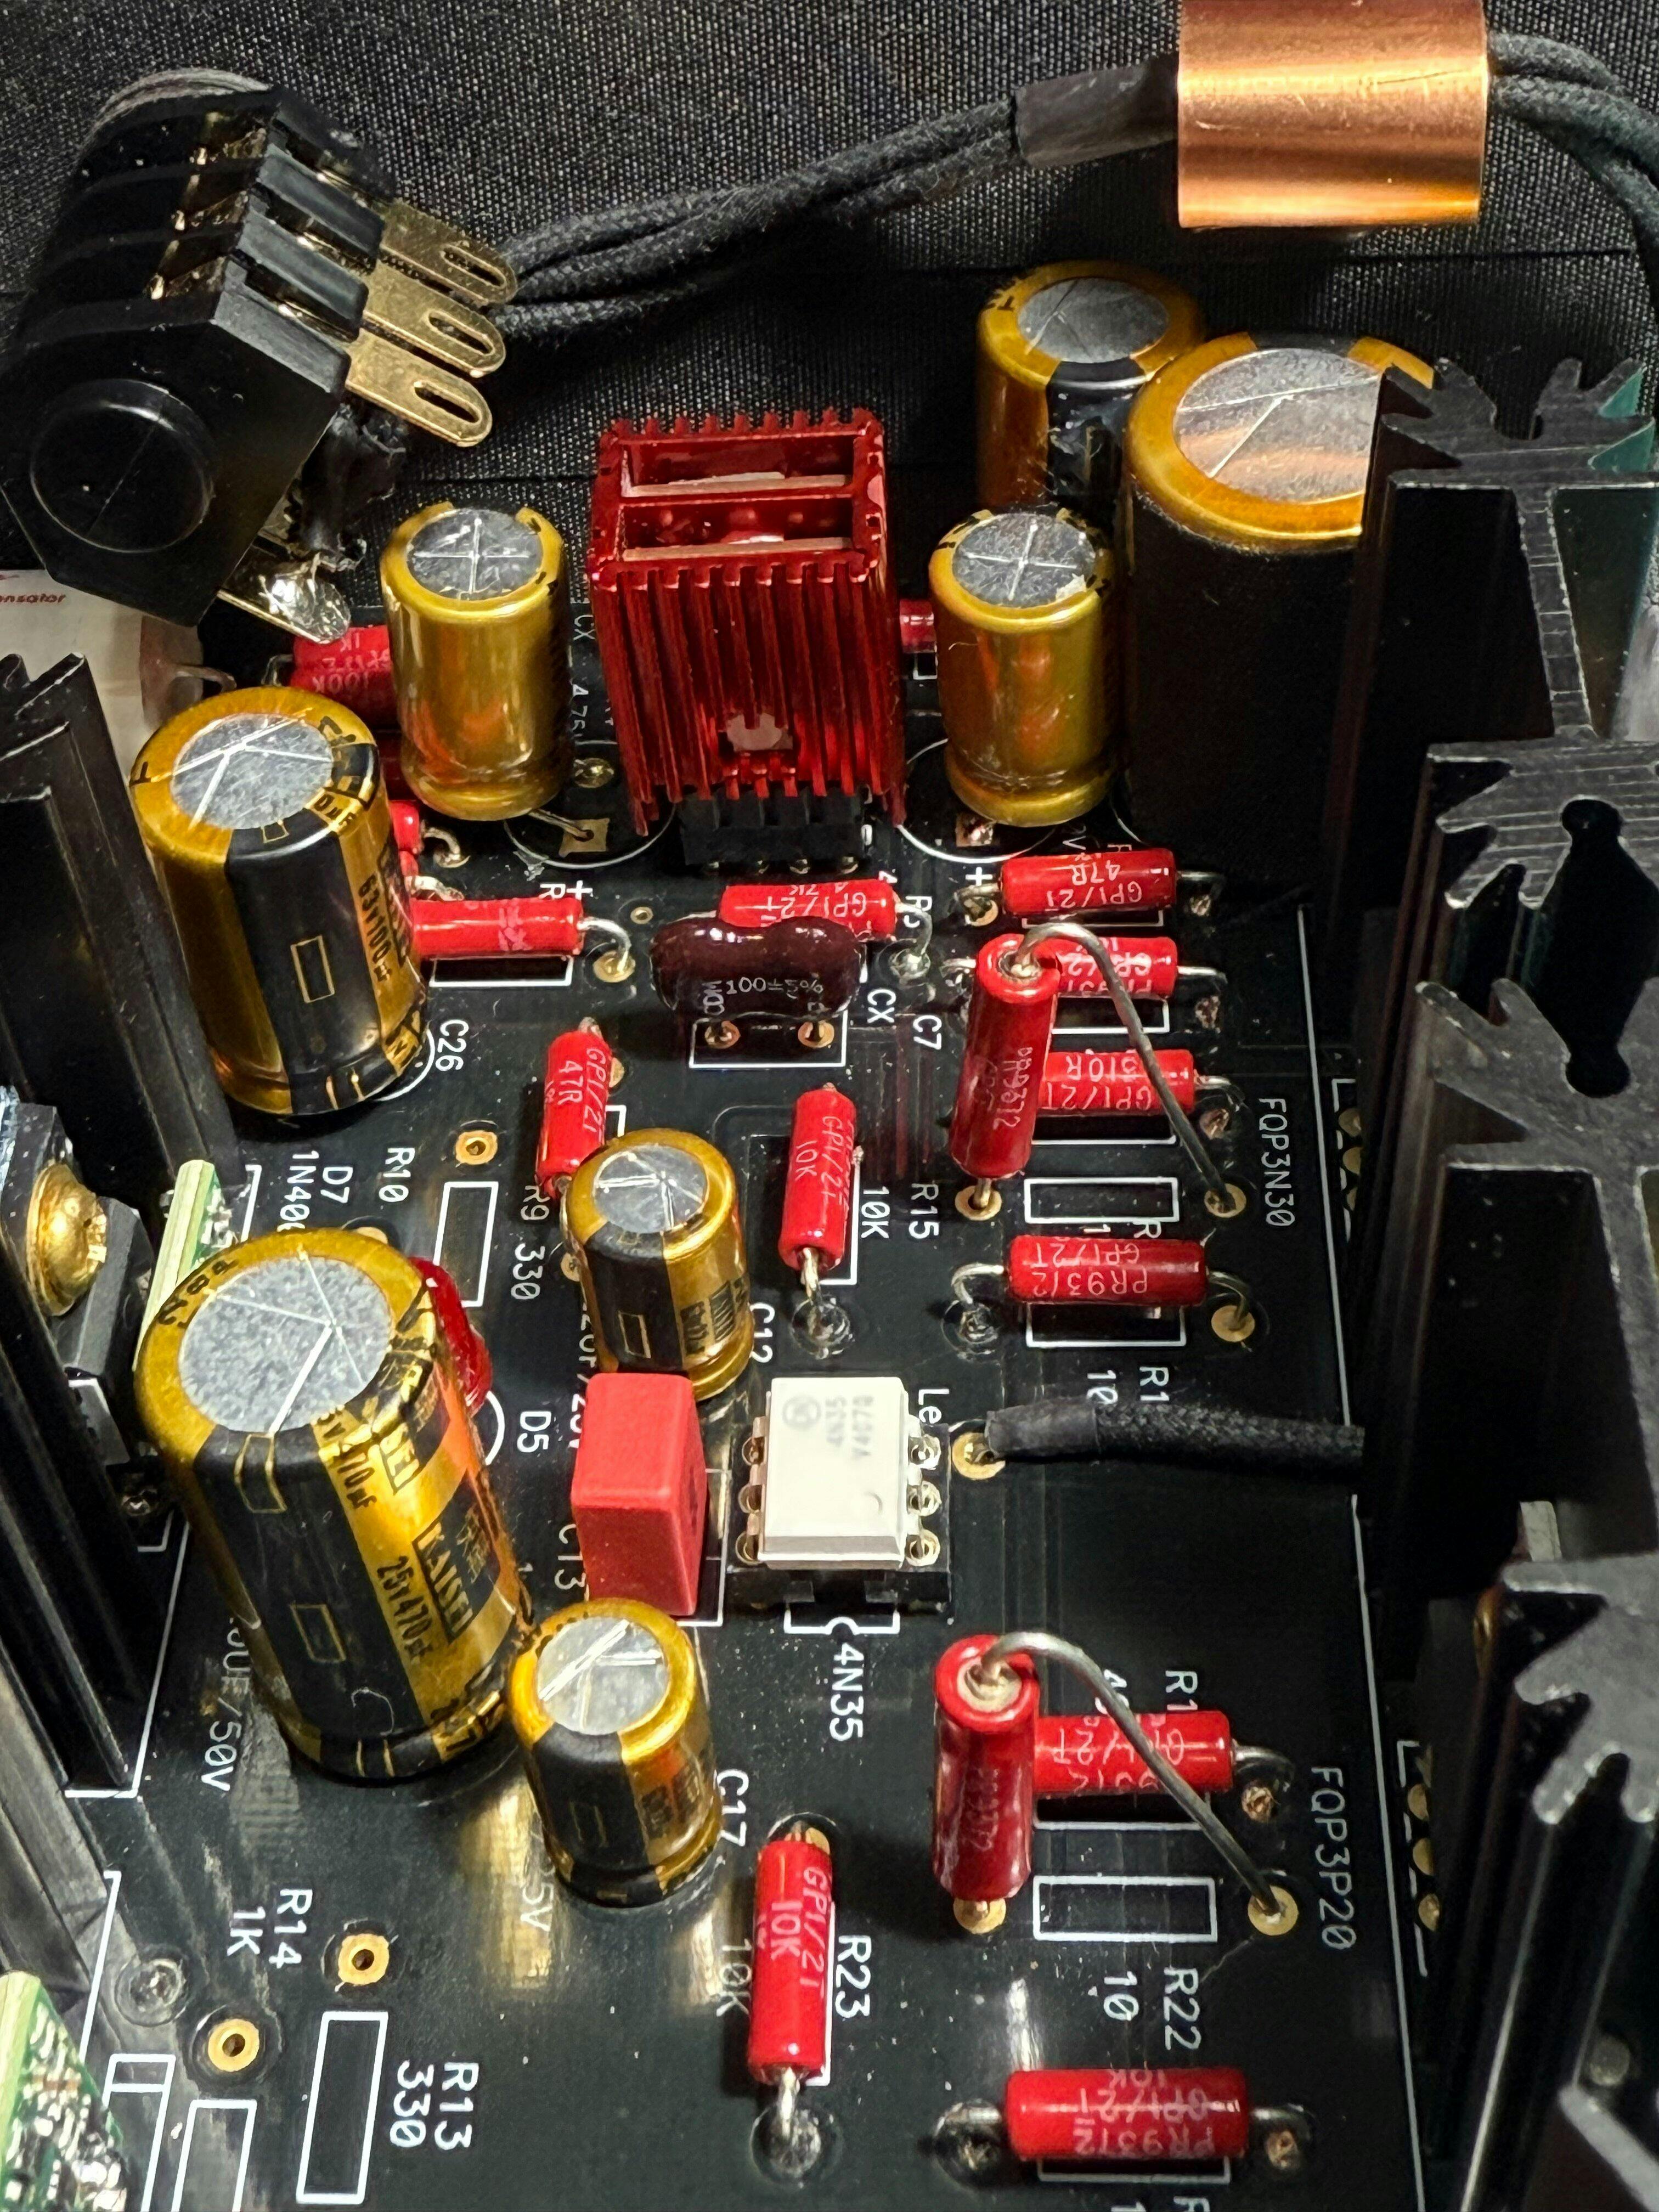
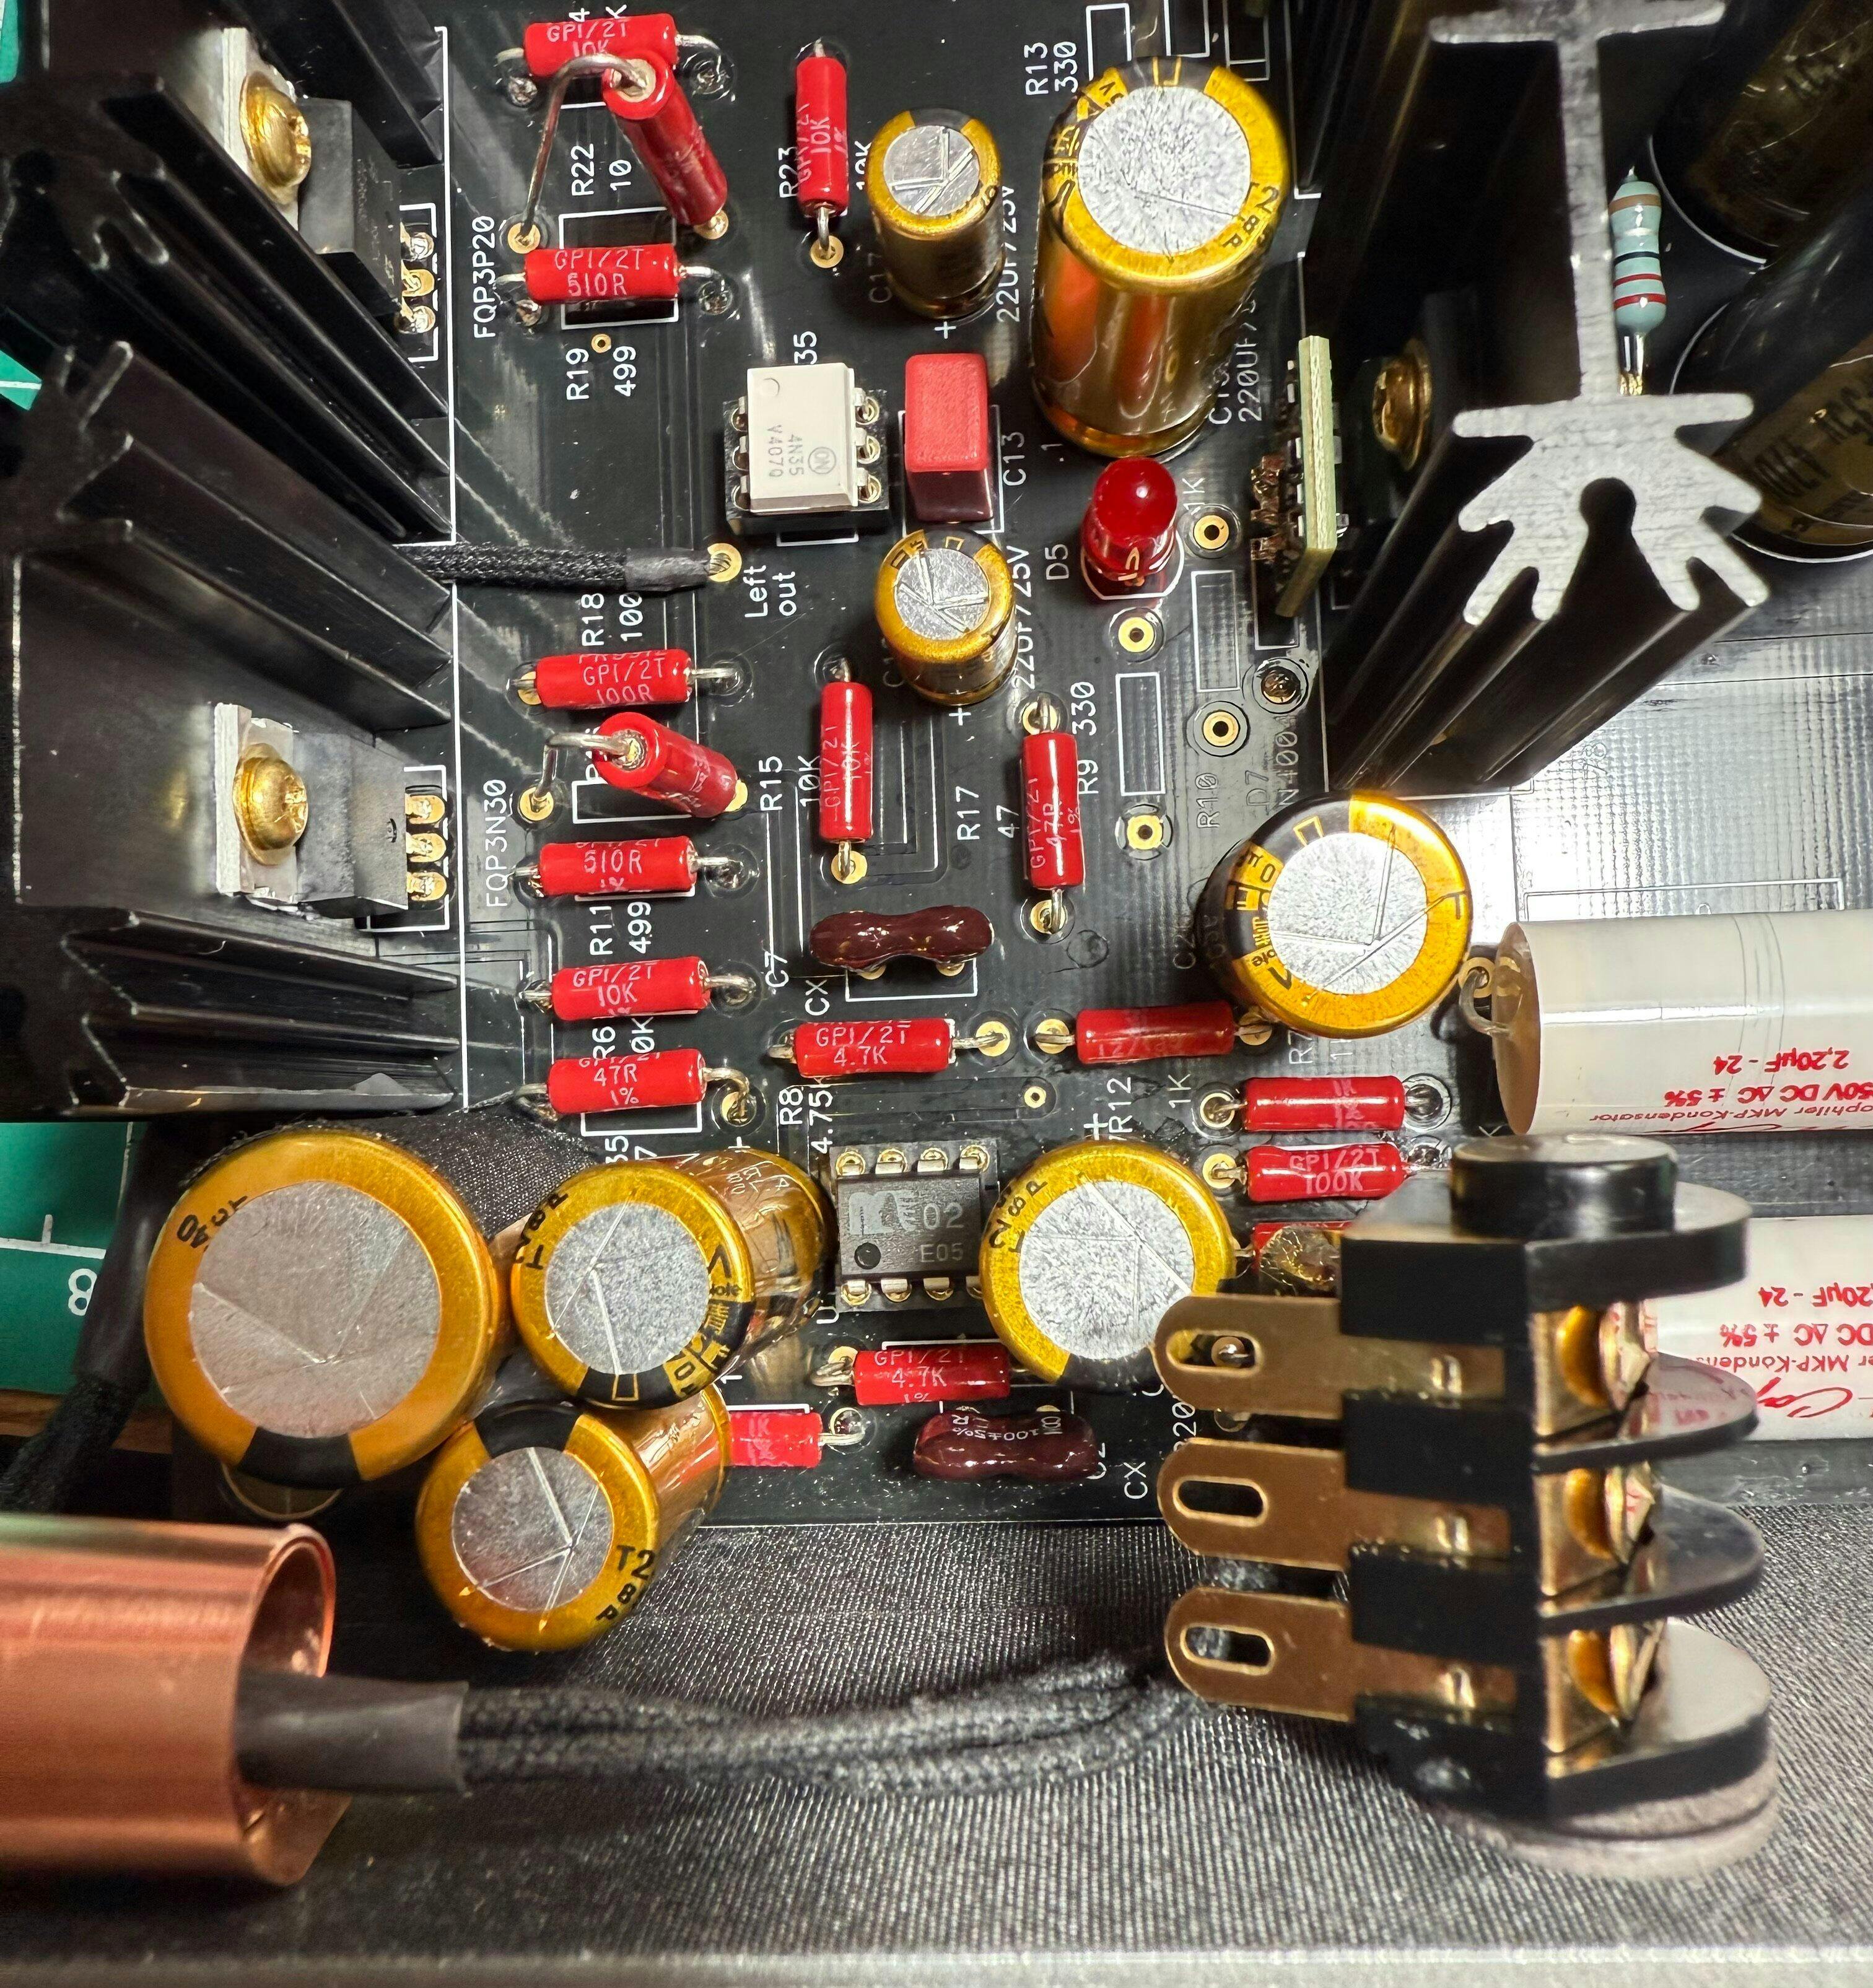
I initially bought a used Whammy from eBay that a seller had built using odd spare parts. It didn't sound terrible but not what I was expecting. So I set about modifying it. It soon became clear that I wanted to change everything so I bought a new PCB and started from scratch, re-using just the case and the heatsinks.
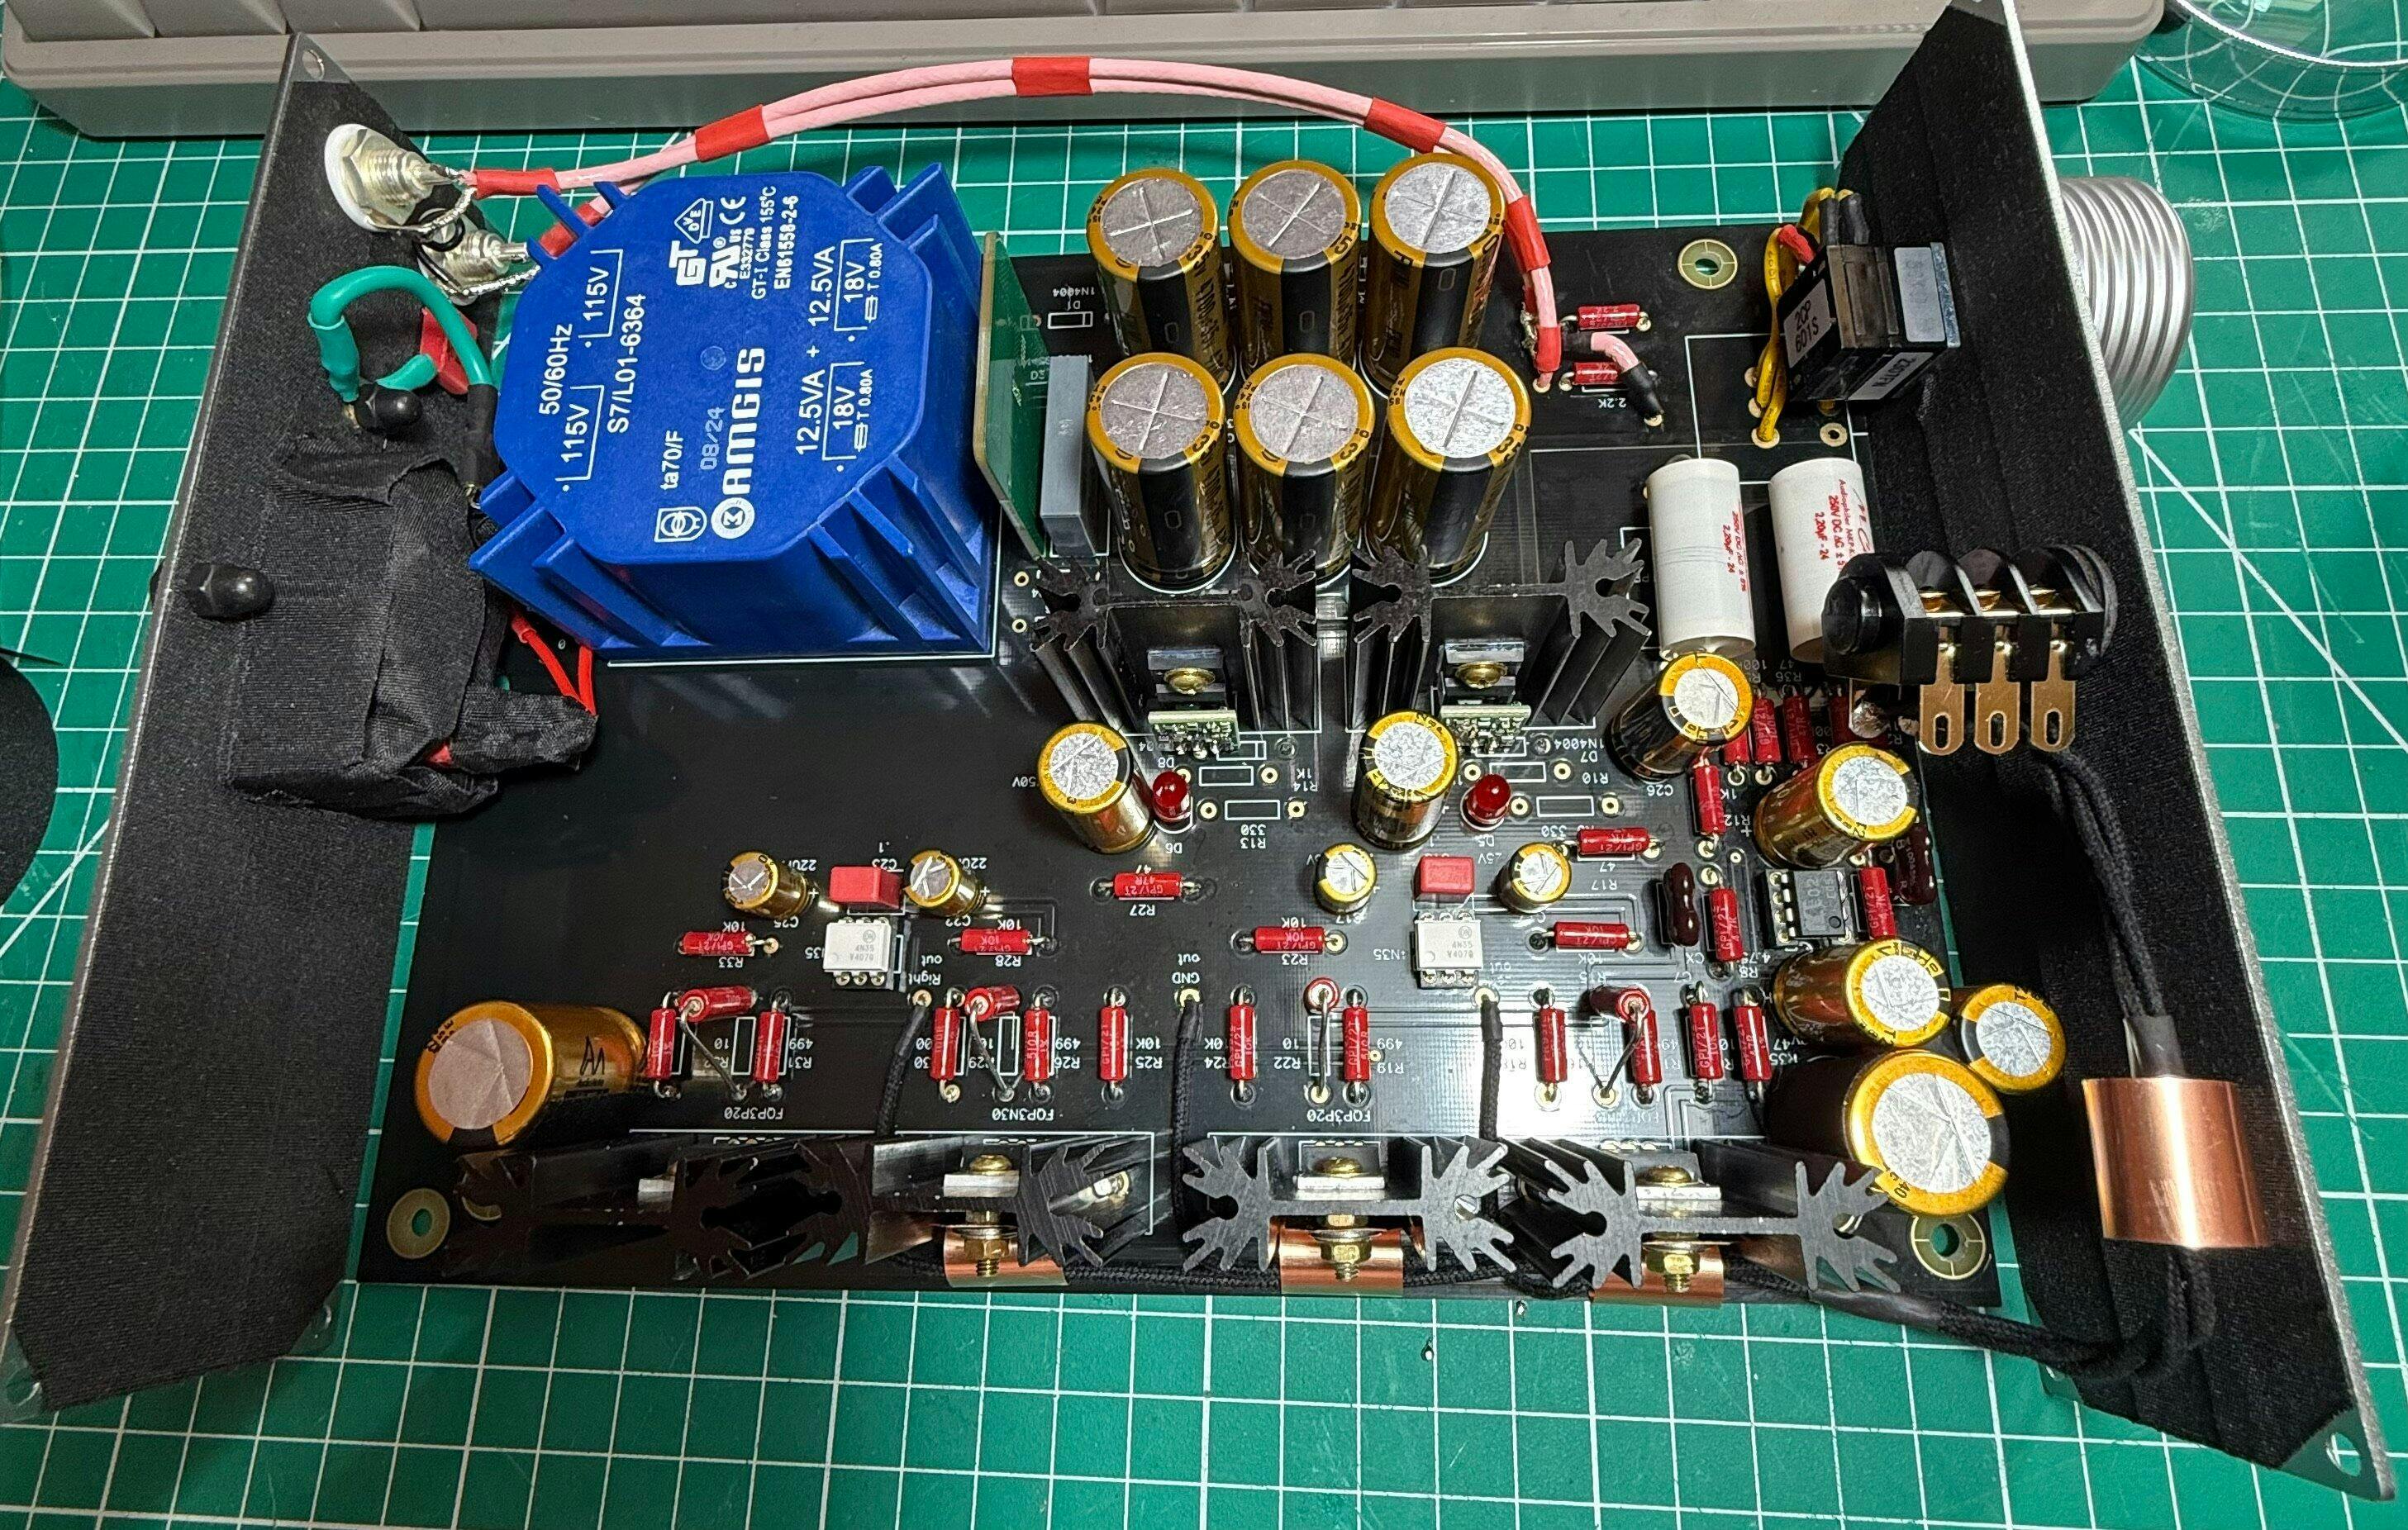
The parts I used that are non-standard are Sparkos discrete voltage regulators, PRP PR9372 non-magnetic 1% resisters, Nichicon FW power supply capacitors and Audio Note Kaisei capacitors and Audio Note silver plated RCA connectors. A Saligny Universal discrete synchronous rectifier instead of diodes from https://evotronix.eu/product/saligny-universal/ Transformer from Digikey and other components from Farnell. I tried various op amps from Digikey and Farnell.
Screened input cable is BICC silver, single core screened, in pink because I bought it on World Trans visibility day and my cousin is a Trans woman, the output cable is DueLund copper in cotton and oil insulation - because why not ? DIY Audio is about making interesting decisions and trying something new like oderous cable and the Salingy rectifier :)
I tried various op amps from the venerable 5532, OPA2134, OPA2132... 134, 1611 LF353... lots of OPA op amps and also a Muses02. The best reasonably priced chip was the OPA2134 which did everything really well, but it was beaten quite clearly by the Burson V7 vivid which is what's in it now. It does run warm so I added some ventilation to the case but even without that I think it would be fine.
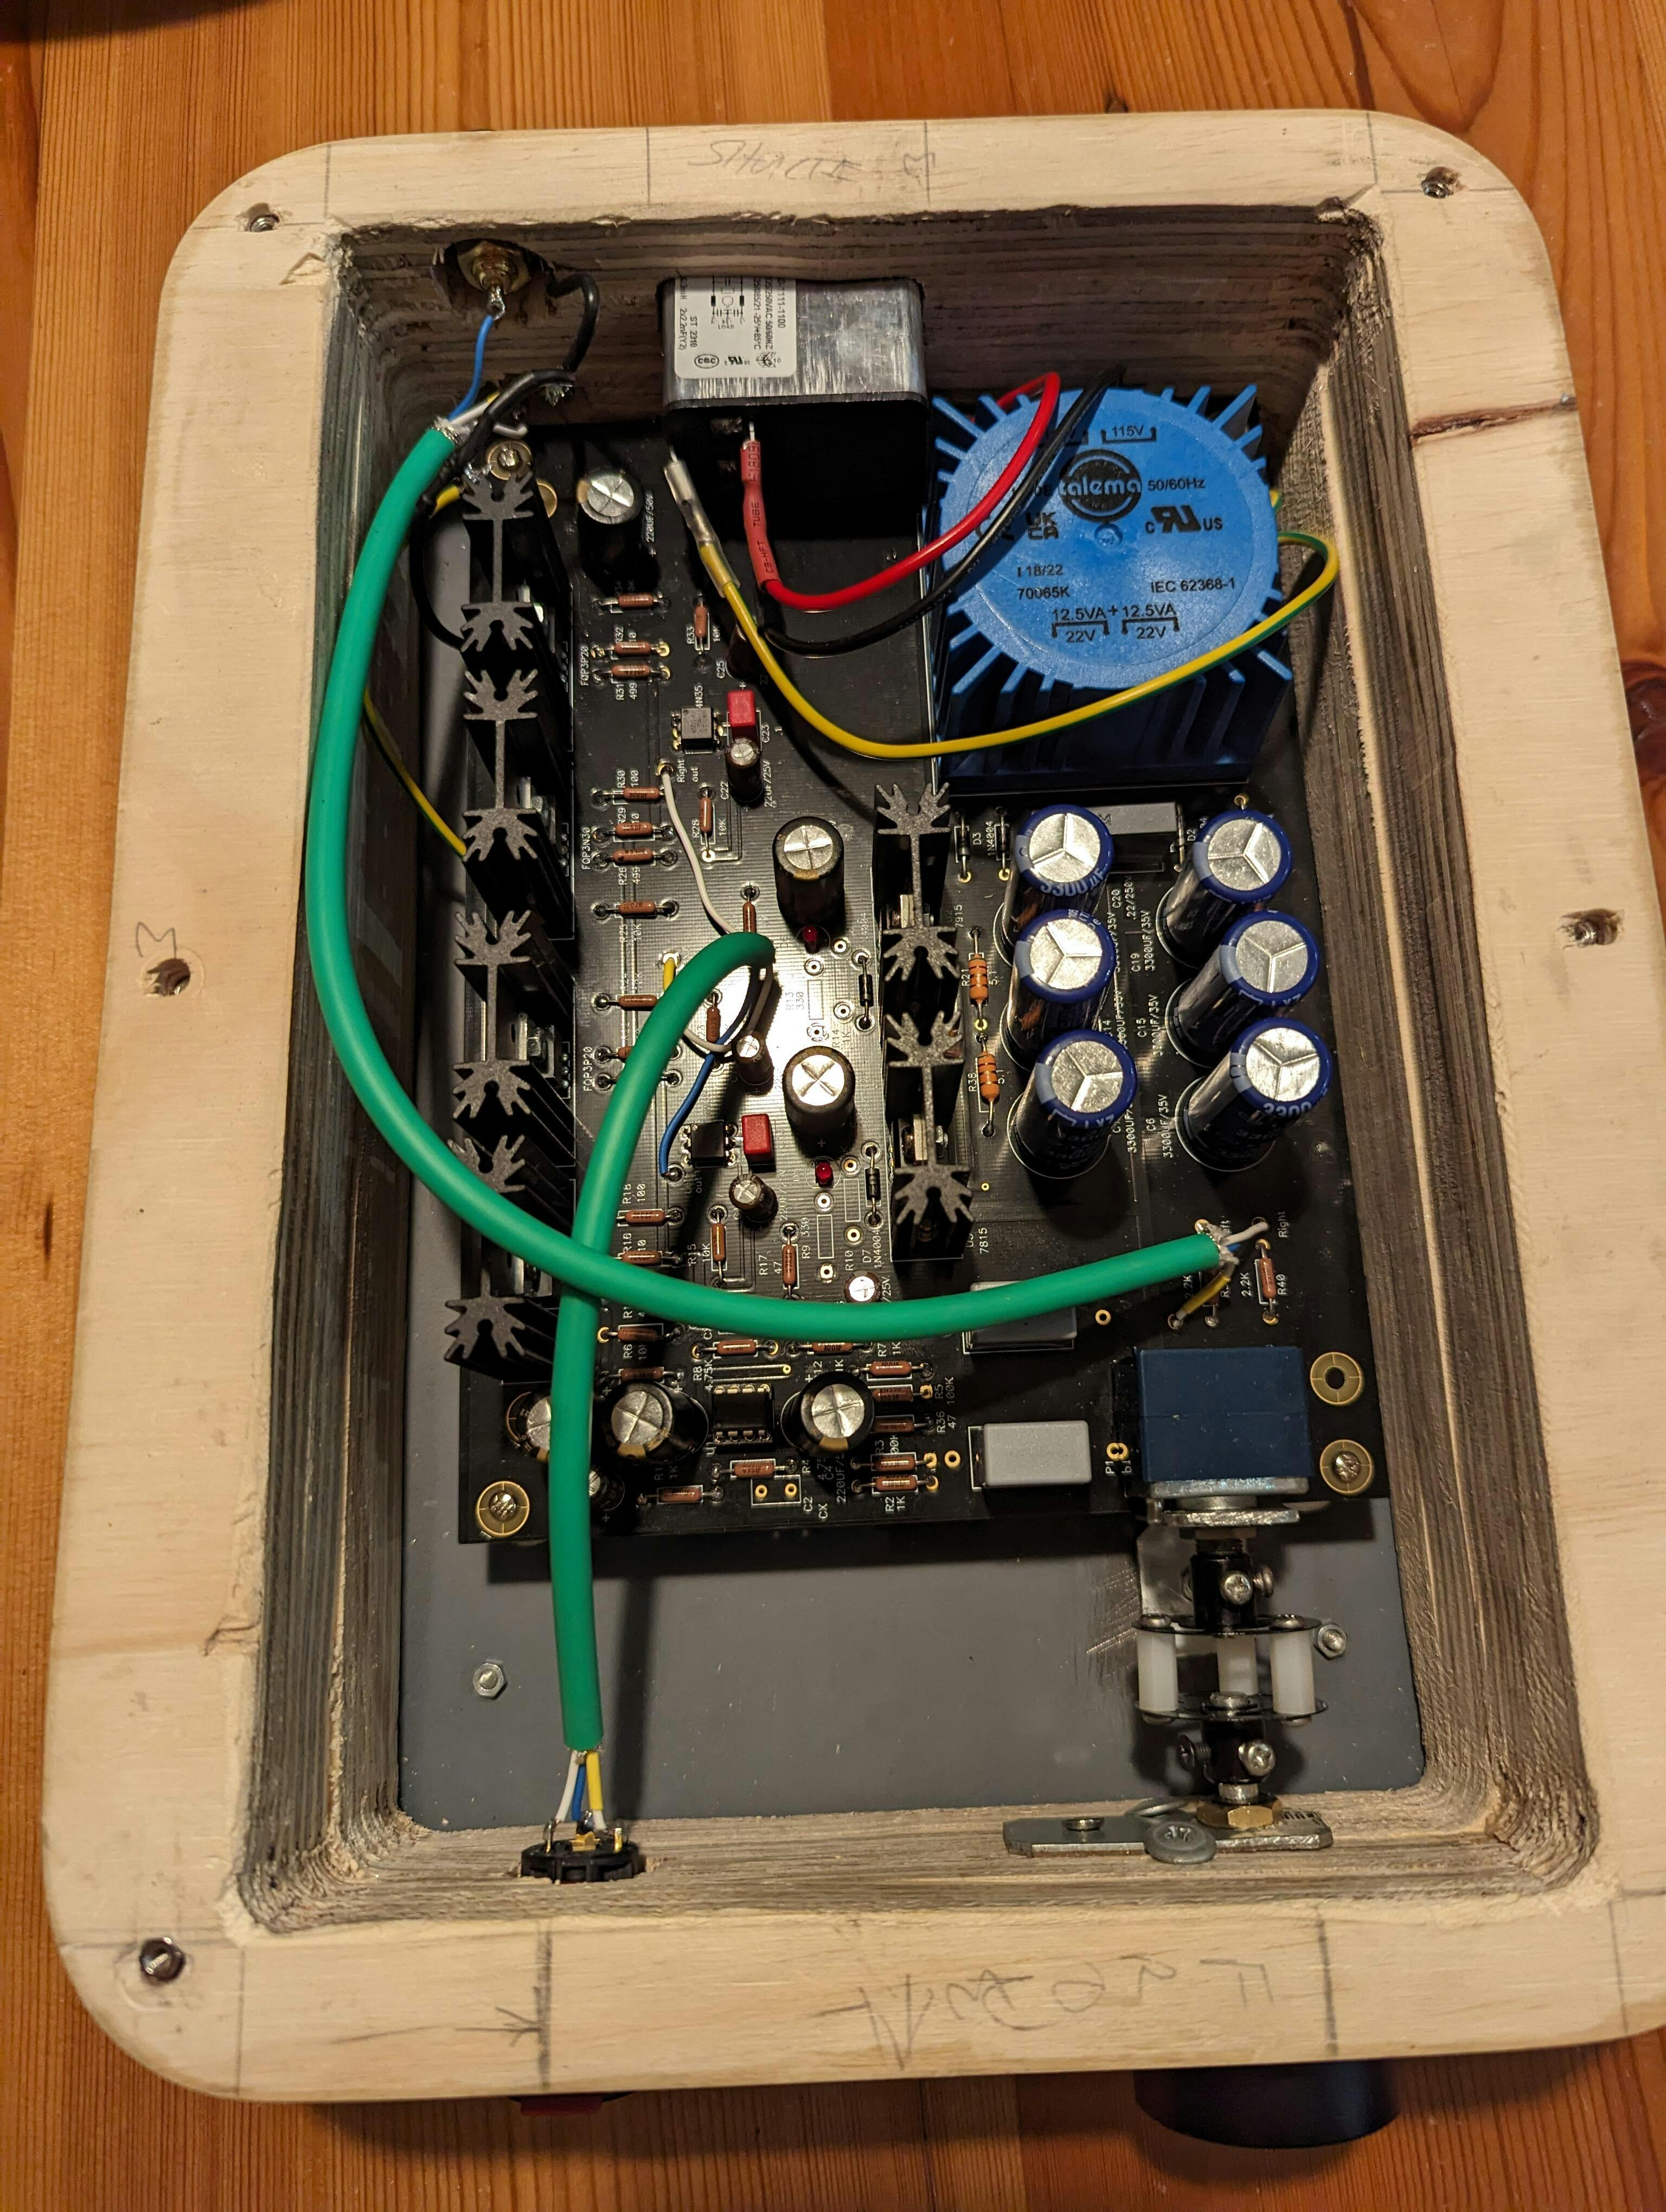
The built process was very easy once all the parts had arrived. Planning the build is important as putting large items in first makes adding resistors and smaller parts more difficult later on. There's plenty of space for most things if you use the recommended values, but if you want to increase or change to different types or values, double check the space available. Make sure you can clean the board using a proper solvent mix, especially around the op amp.
The community on DIYAudio is fantastic with a number of people offering great help and support. I'm a latecomer to the project so there are already lots of questions answered which make for interesting reading.
How does it sound ? It's brilliant ! It copes with my 300 ohm Sennheisers very easily, the bass is deep and strong without being overpowering. (Fit the MUSES02 op amp if you want emphasised bass response) It's easily the equal of most commercial headphone amplifiers.
The PCB quality is very good, double sided and if you find you need to de-solder a part, the pad doesn't automatically lift, as happens with even good commercial products. Being black it looks great with contrasting components, hence the red resistors.
I'd really recommend this project to anybody, forget the fact it's relatively easy to build, what you end up with is a great headphone amplifier which you can modify and test ideas on for years to come.
Many thanks to Wayne Colburn of Pass Labs for the design, you know a Pass Labs design is going to sound great !
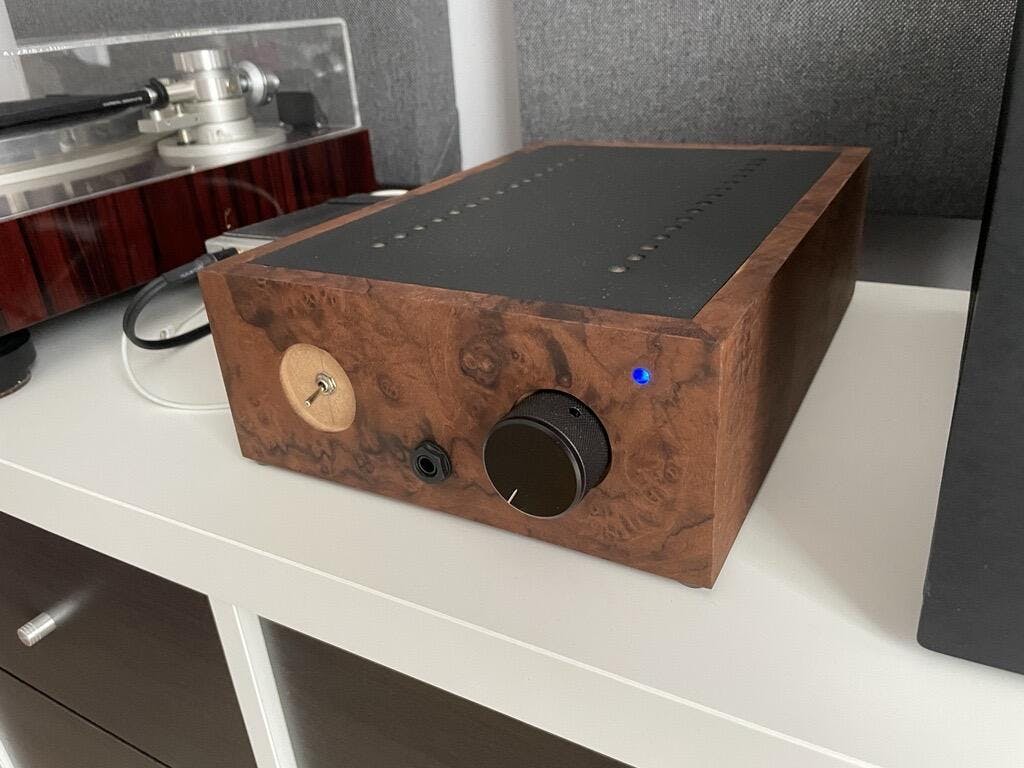
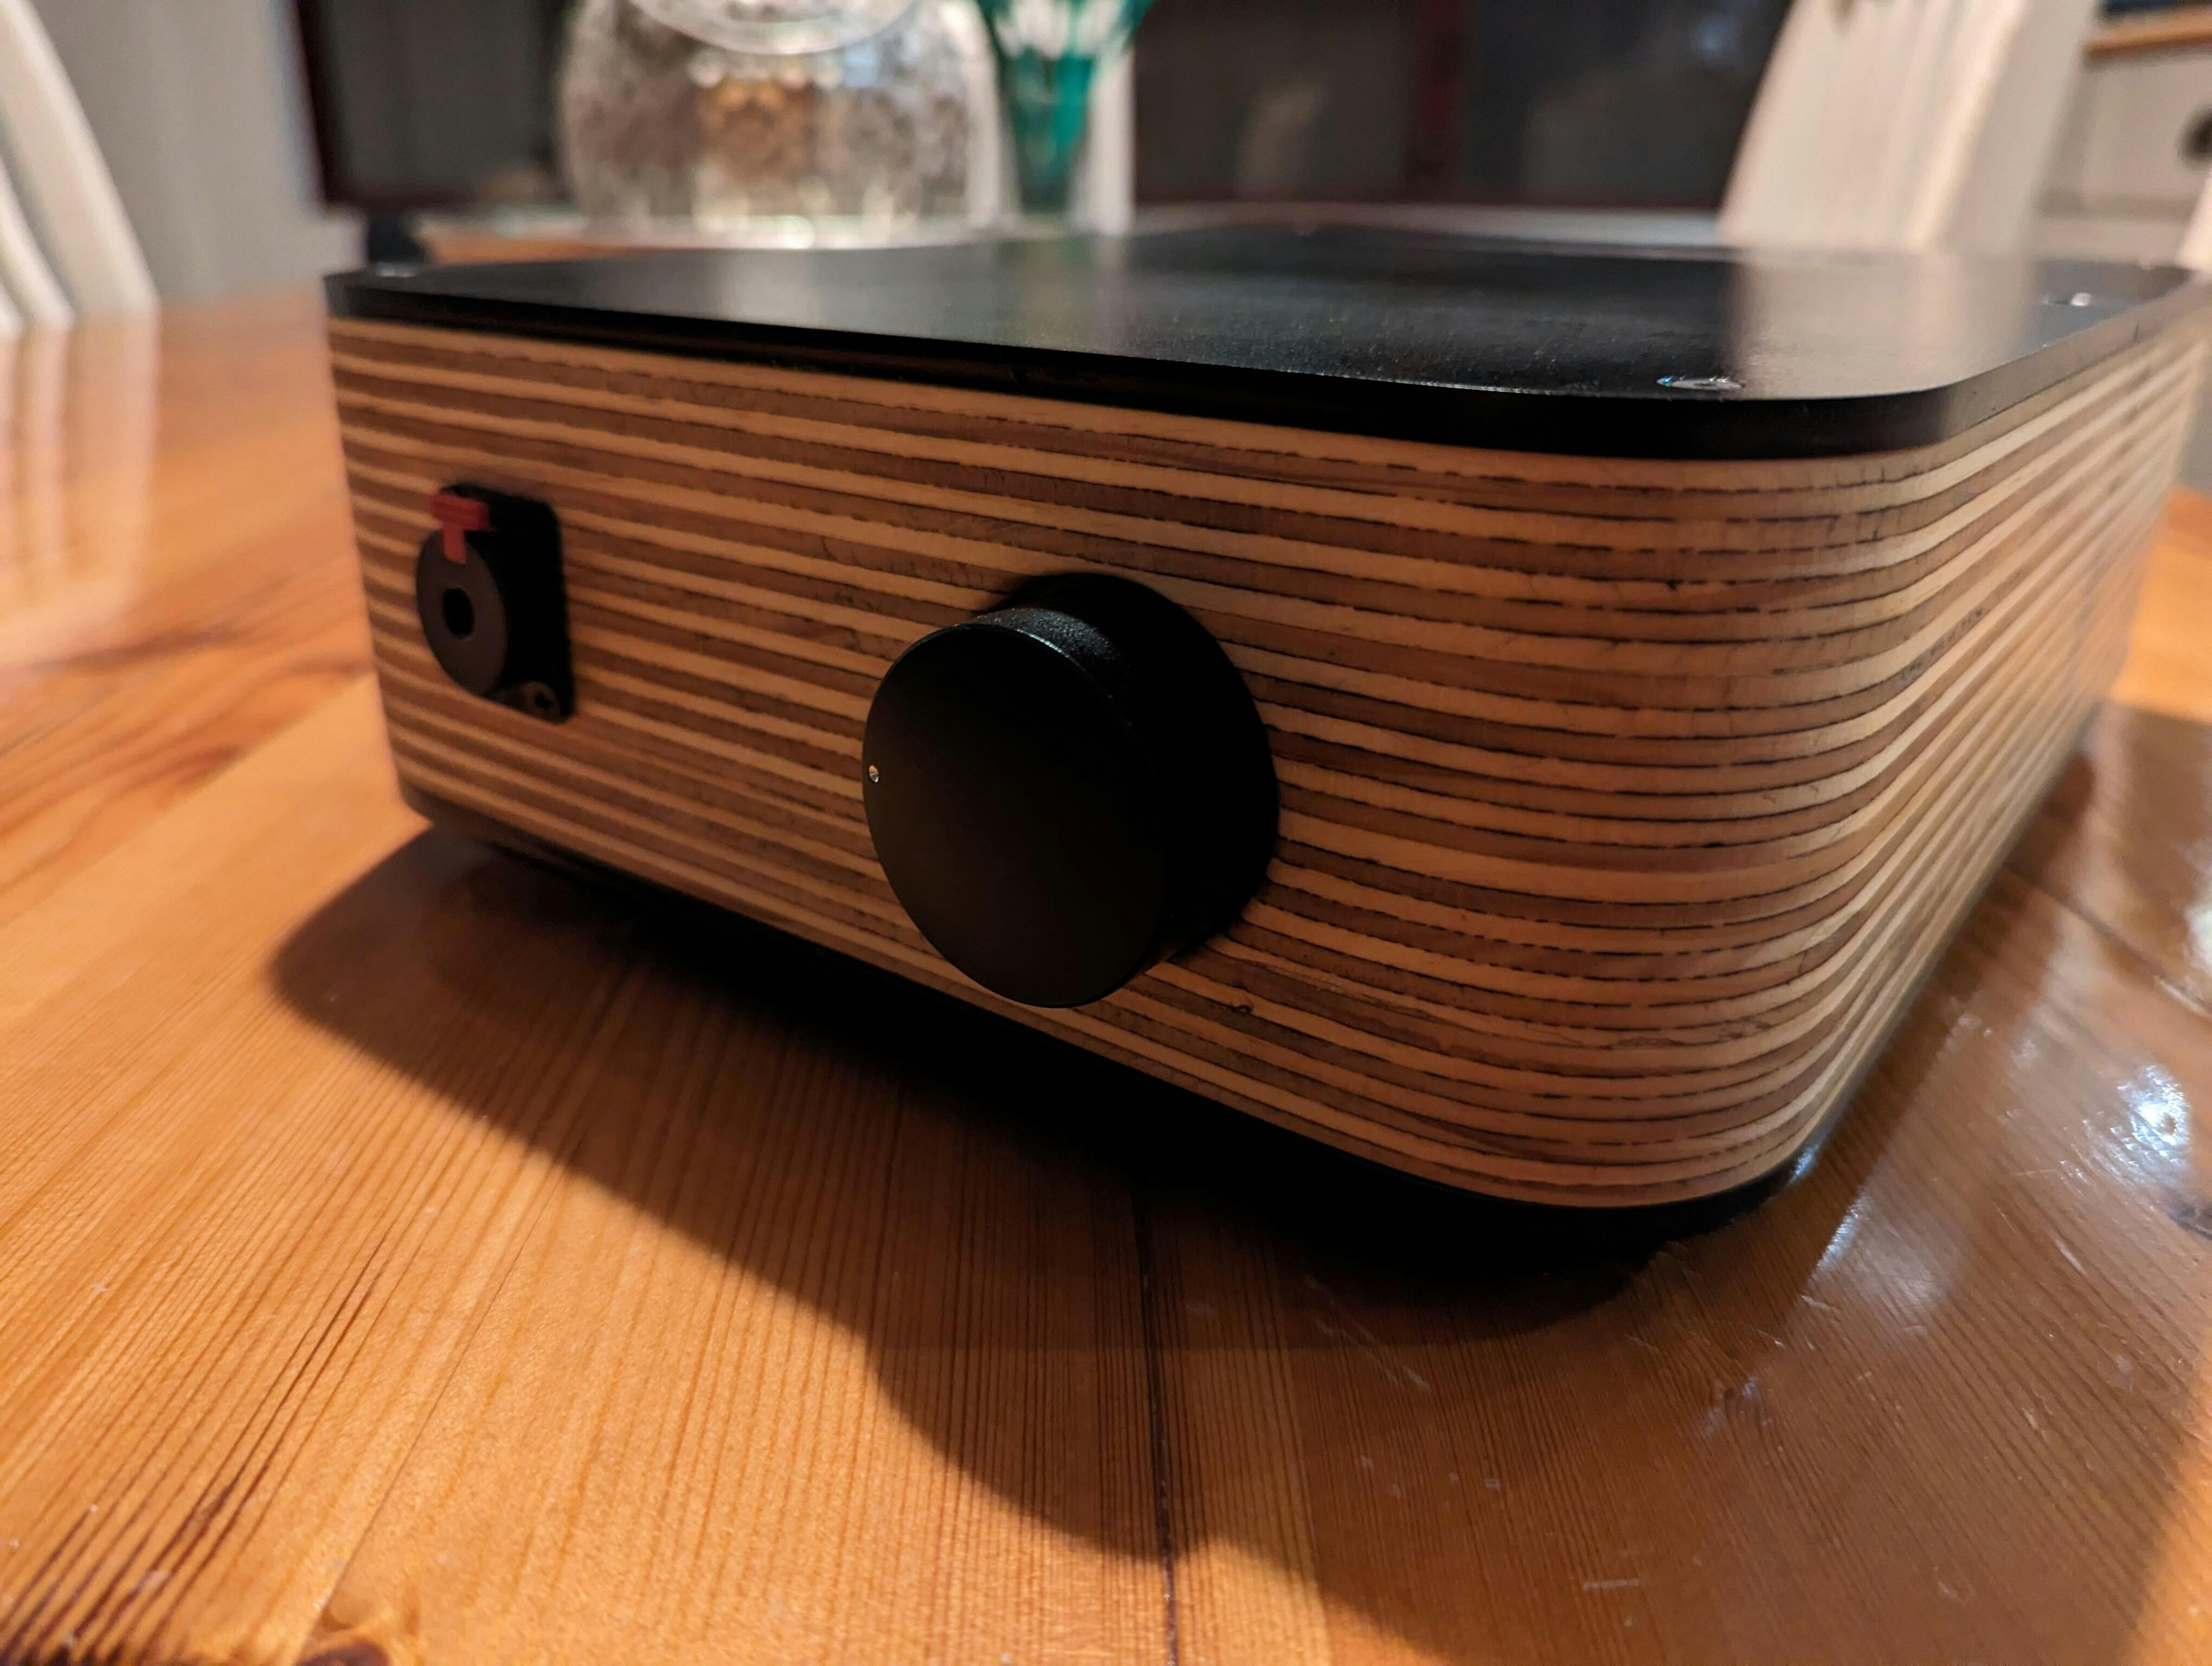
The chassis has a lot going for it. Most of all, I like the thick front plate. It is what separates the chassis other offers out there. Then of course is the fact that chassis is completely silk screened, holes drilled and even the inset for the volume control is a nice touch. I like the way that the chassis goes together, but also wish that the nuts didn't have to be kept in alignment while you are assembling the unit. What I did to compensate was to use a bit of putty on each side of the nut to keep it exactly where it needs to be when you are inserting the screw. It would be a good idea to have 6 of these screws instead of only 4 to hold the top and bottom plates down all the way across the side/top/bottom of the chassis. I used G6000 to keep these plates from rattling. Having that, I would readily buy another one of these for my next Whammy build, as you won't find a chassis better suited for this project.
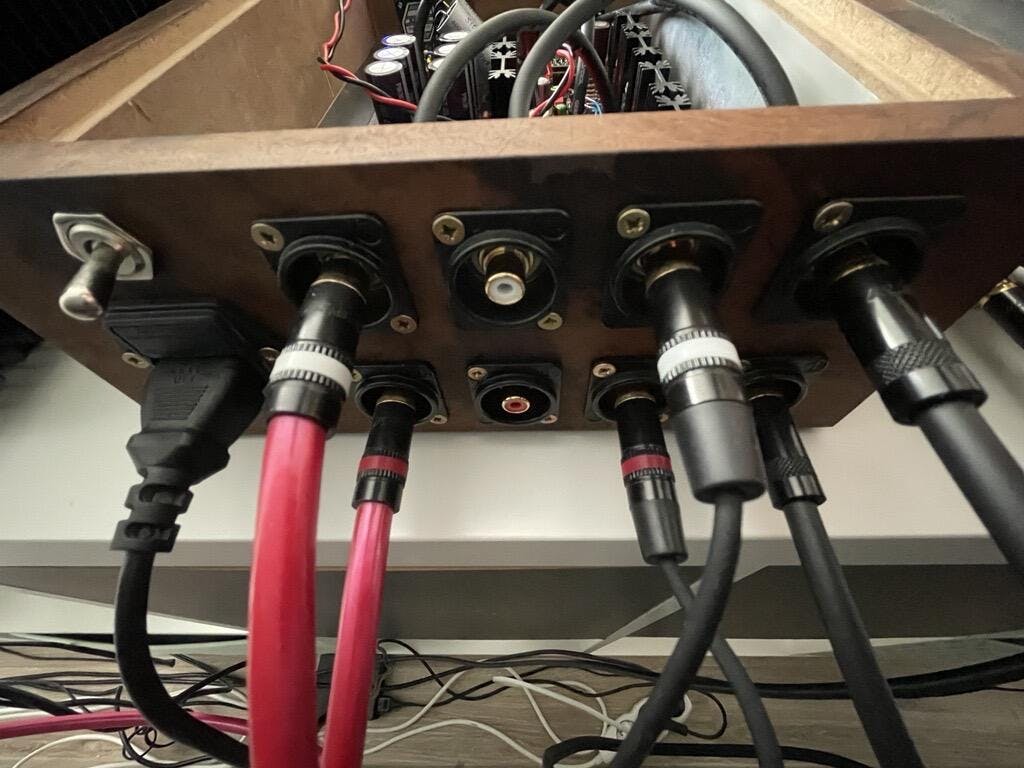
The Kit went together well. The only issue that tripped me up was Neutrik headphone jack. I didn't realize it was different than what the schematic showed. Of course I ended up wiring the wrong side of the jack. Then it took time of chasing signals. It was only when I plugged in and unwired 3.5mm to 1/4in adaptor that I noticed contacts moving. My stupidity.. 😳
Other than that it all worked on the 1st shot, sounds fantastic and was a fun project. I'm embarrassed to mention my screw up... Oh well, live and learn.
The pick shows the mistake ...

I always felt that solid state amps lacked the soundstage, presence and timbre that you can get from a good tube amp. I was wrong. My Whammy is *almost* as good as my OTL tube amp, and I mean it's very close. Building it was a fun experience and not that hard, even for a novice like me.

Building and finishing the case was much harder the building the electronics. Easy to build for even a novice like mem using the standard bill of materials. Worked first time with no noise at all, even at full volume. Upgraded the op-amp already, with impressive results. Drives my Audeze LCD-X very well. I am really very happy with my decision to build this and the sound quality of the final result. The case it not too bad either!

Just wanted to add some thoughts regarding WHAMMY as a PreAmp for F6 (powers Troels Gravesen's Discovery 861 DIY loudspeakers which are awesome) and some upgrades which have been made (Jantzen Audio Silver-Z caps and Sparkos Labs SS3602 Dual Opamp). It has been used for ~1,5 years as a headphone amp and I was very happy to listen to it (all stock components, AD823ANZ opamp). But as a preamp it was also very good, best I have ever heard. Plenty of details, pleasant to listen. Upgrading C1 and C5 to Jantzen Audio Silver-Z provided some additional clarity on highs, but SS3602 pushed it to another level. Everything has improved: much more precision on lows, bass guitar sounds much more clear, separated; punchier drums; vocals much more separated, articulated and pleasant; highs were good before, but with SS3602 become even more airy, so precise. Lower distortion gives an ability to listen louder with no fatigue. I expected some improvement, but SS3602 provided much more than I thought. Obviously, your experience may vary due to the different speakers, amp. But still, I highly recommend to try SS3602! Keep in mind that you'll have to provide some space by drawing back C3, C4, C9.
I don't think that Silver-Z caps alone give a big difference compared to 5$ foil caps, but 40$ for 2 is not as much. Also worth trying.